
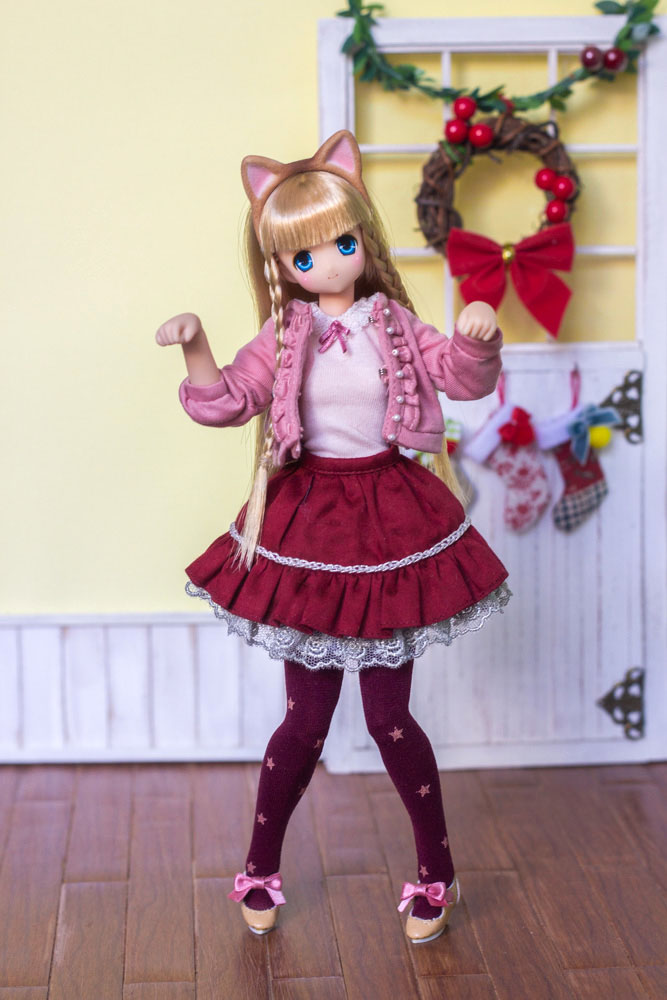
Hello everyone!!! November is coming to an end and with that it’s time to prepare for Christmas!! Who is excited?! I definitely am. In fact, I’ve been planning and preparing for some time now so hopefully I will have nice doll Christmas photos this year.
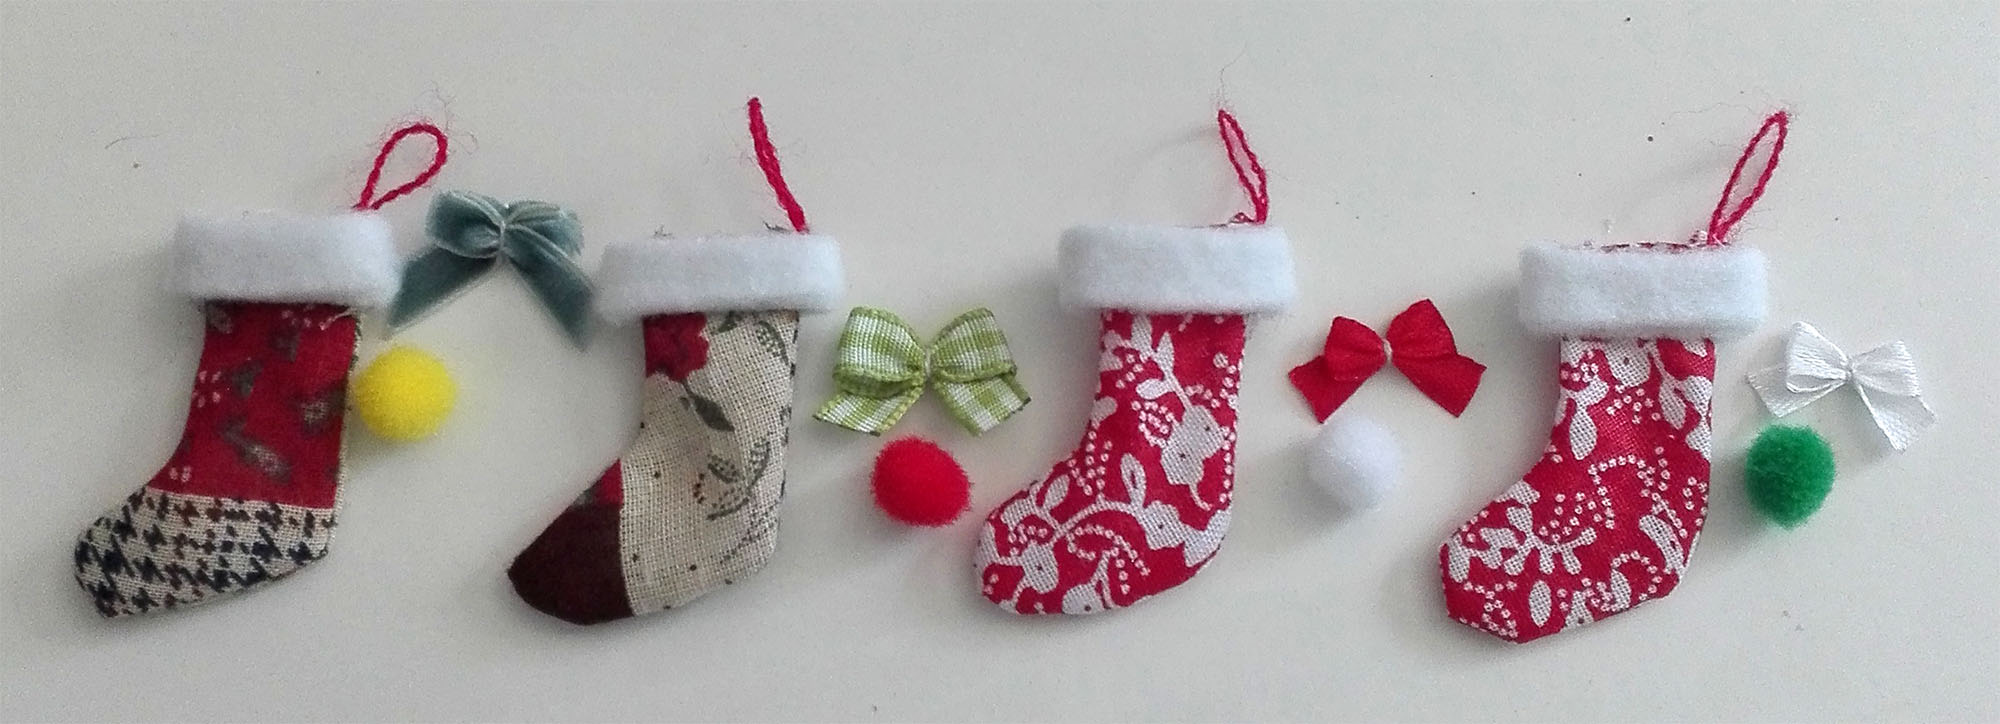
And today’s tutorial is all about Christmas socks. I think they will add a nice touch to any Christmas diorama you are planning on doing. I was testing yesterday with my famous scraps of fabric and this is what I came out with:
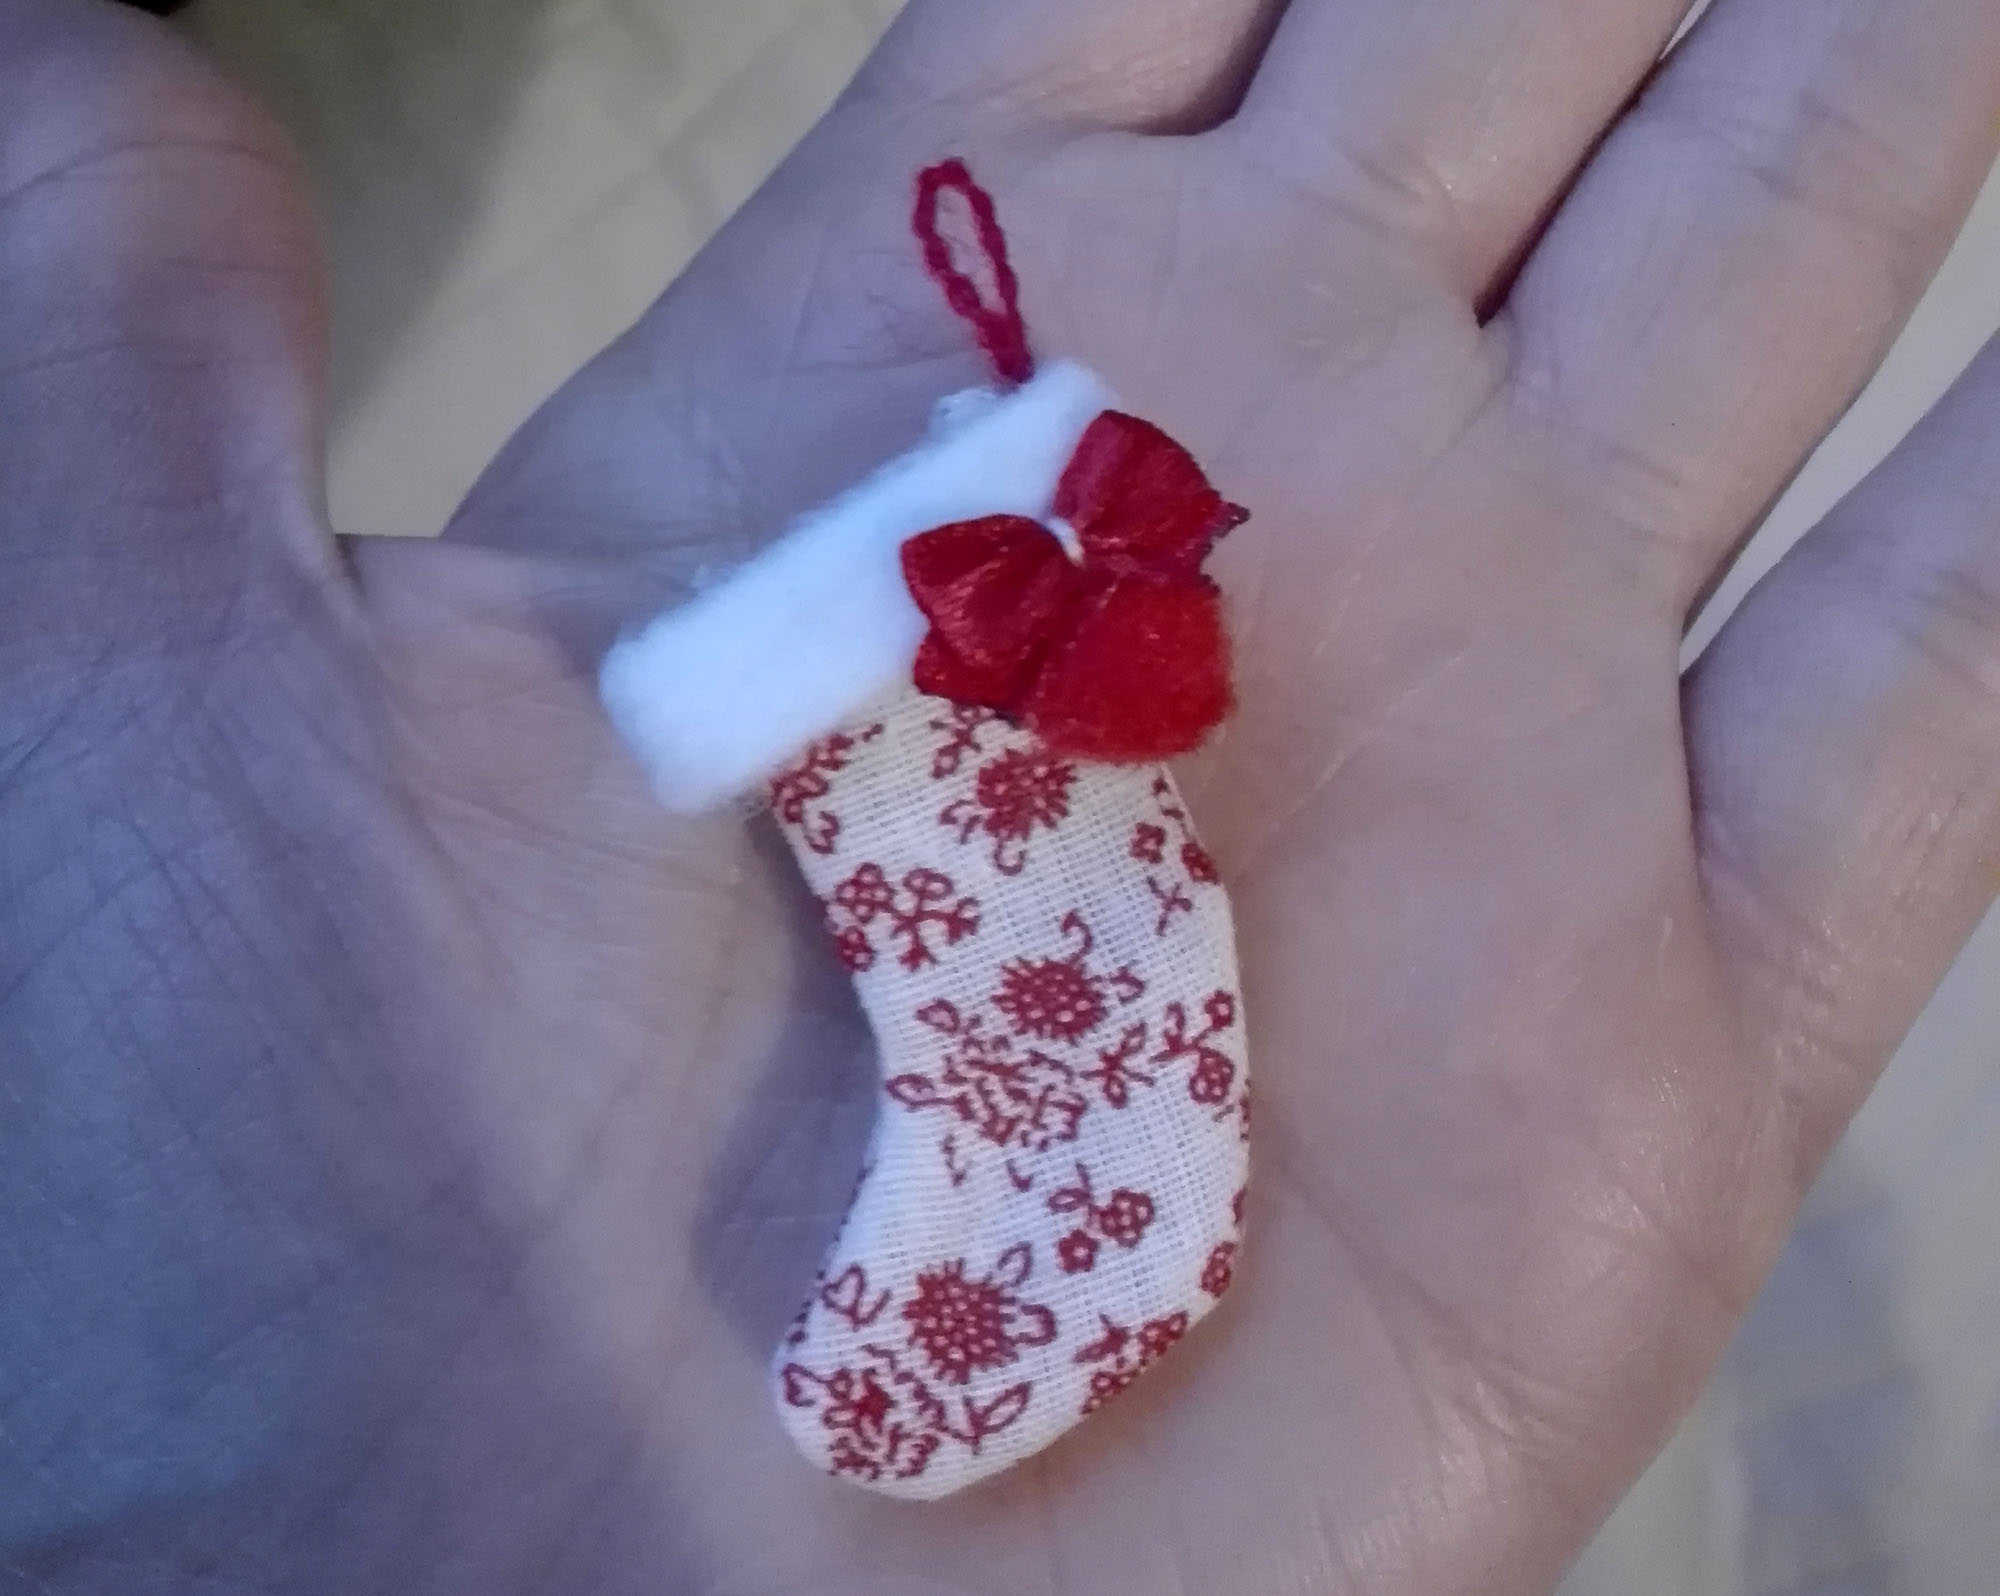
Cute, isn’t it? I posted it on Instagram and someone asked me to do a tutorial, so here it is.
You will need:
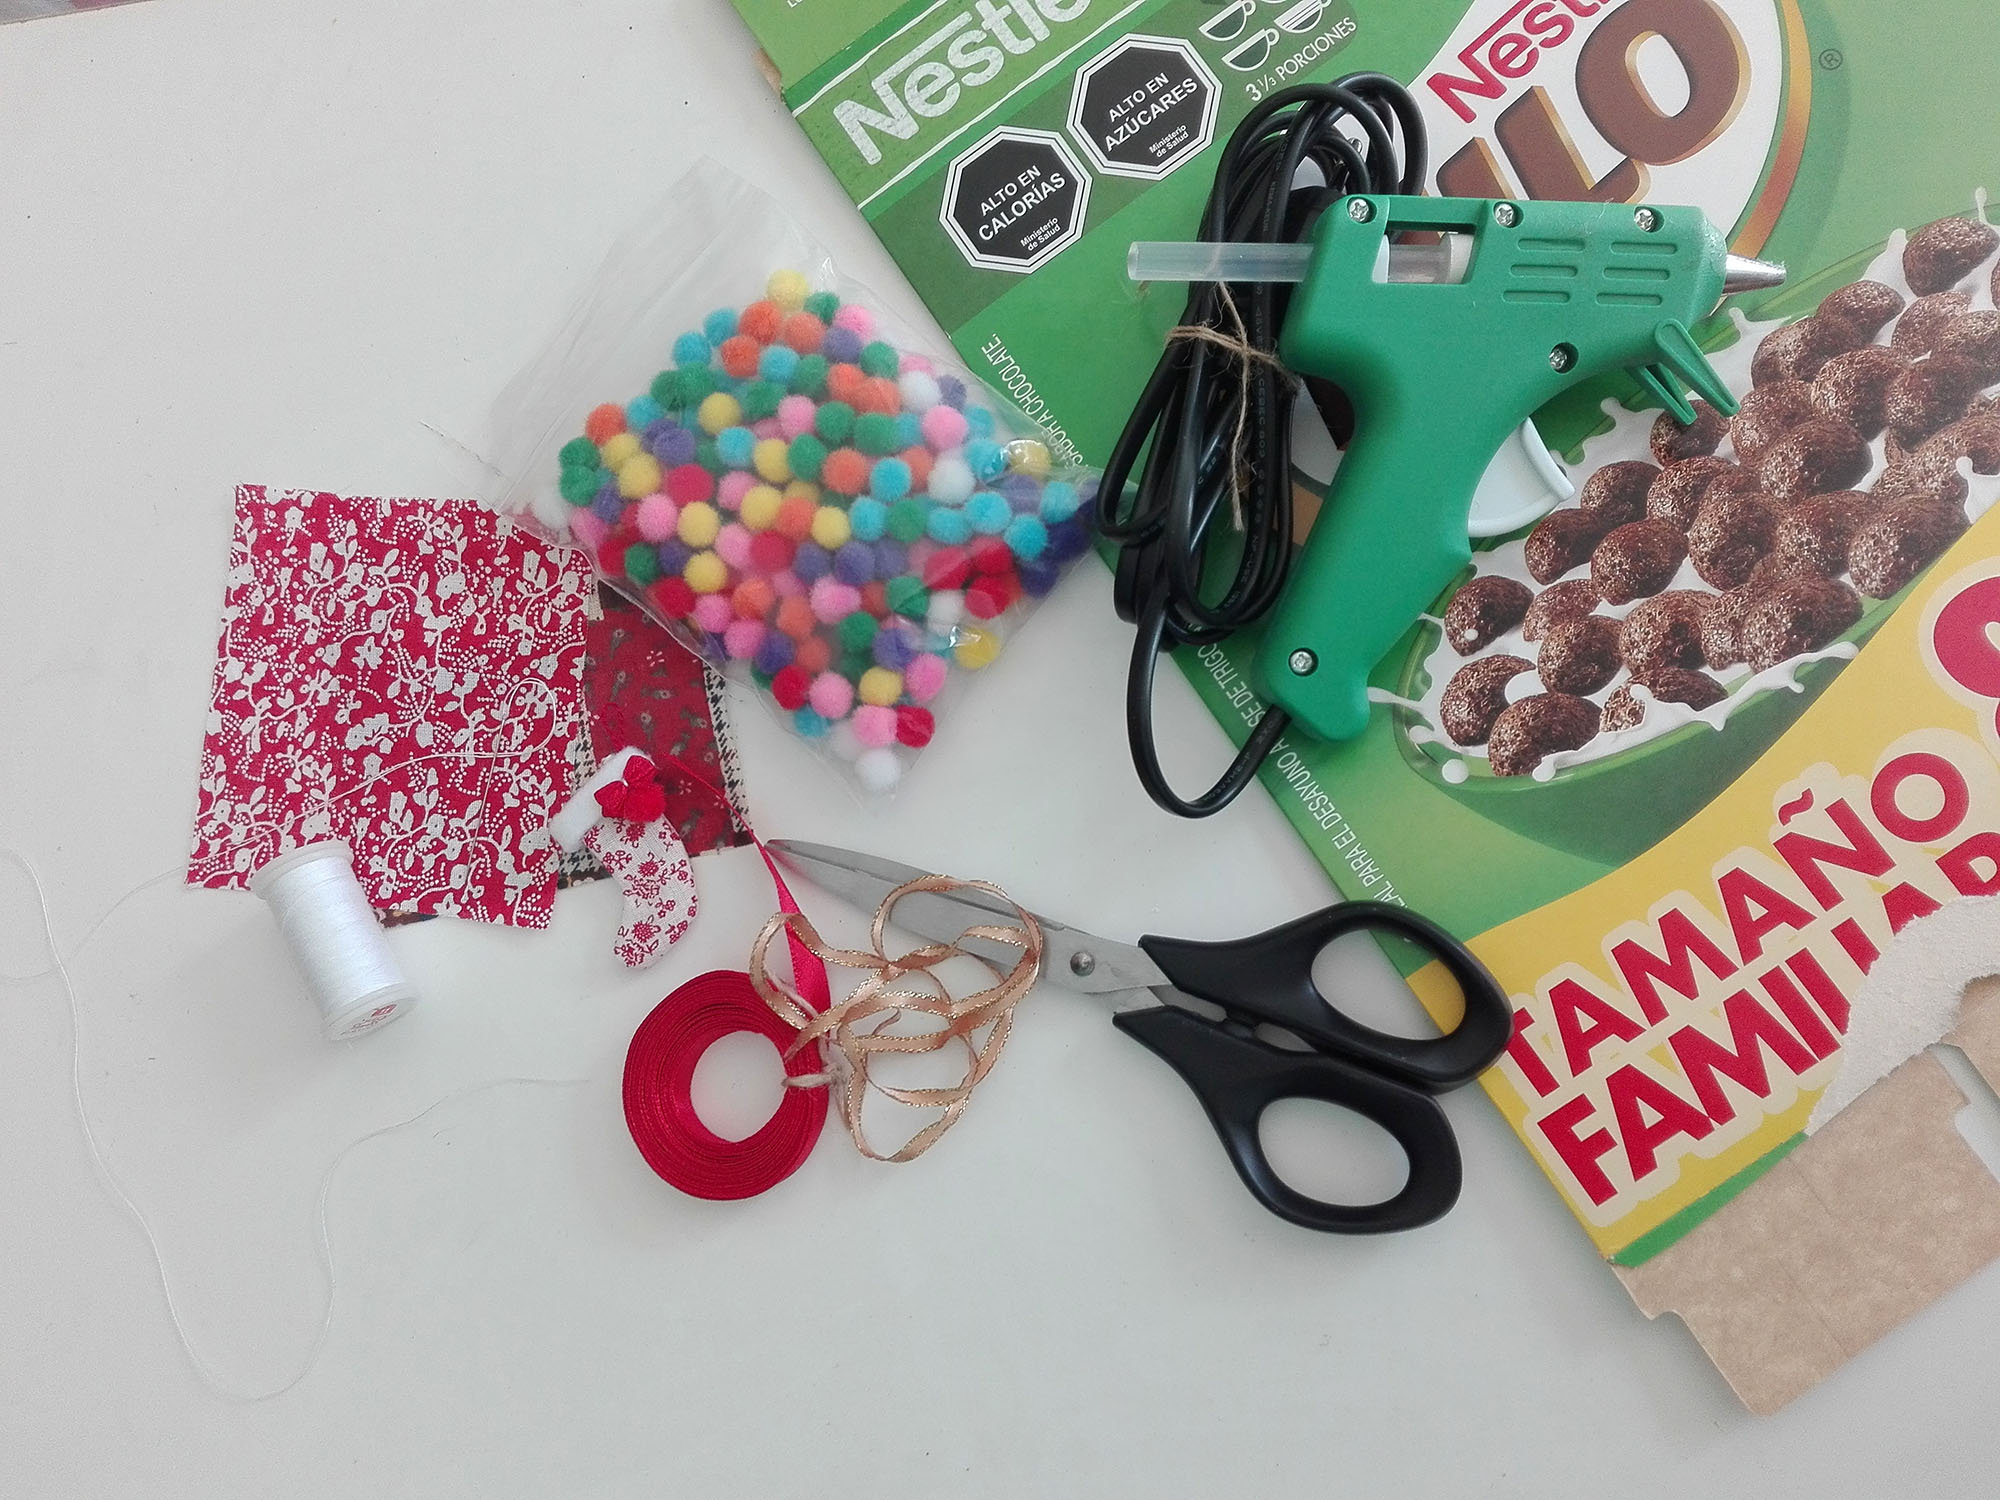
- Scraps of fabric. Yeah, you guessed it, I’m using my 10×10 cm. ones.
- Scissors
- Needle and thread
- Cardboard (I’m using cereal boxes)
- Hot glue gun (be careful when using)
- White felt fabric (not pictured)
- Red, white or green thin yarn (also not pictured, sorry!)
- Ribbon, pompoms, charms or anything you would use to decorate.
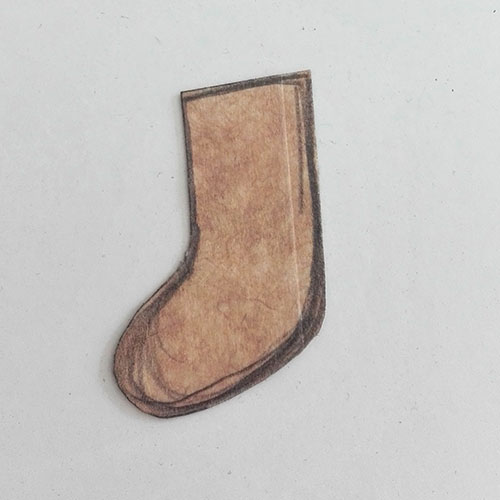 First, make a boot shape on the cardboard, whatever size you would like your socks to be. Once you are happy with the shape, cut it out. This will be our pattern so all the socks come out the same shape and size (unless you want to make them all different, which is also fine).
Fold a scrap of fabric in half, with the good side on the inside and copy the boot pattern on it. I’m making Christmas socks for Momoko and Pure Neemos, so my boots are quite small. In a piece of 10×10 cm. i could fit 2 boots.
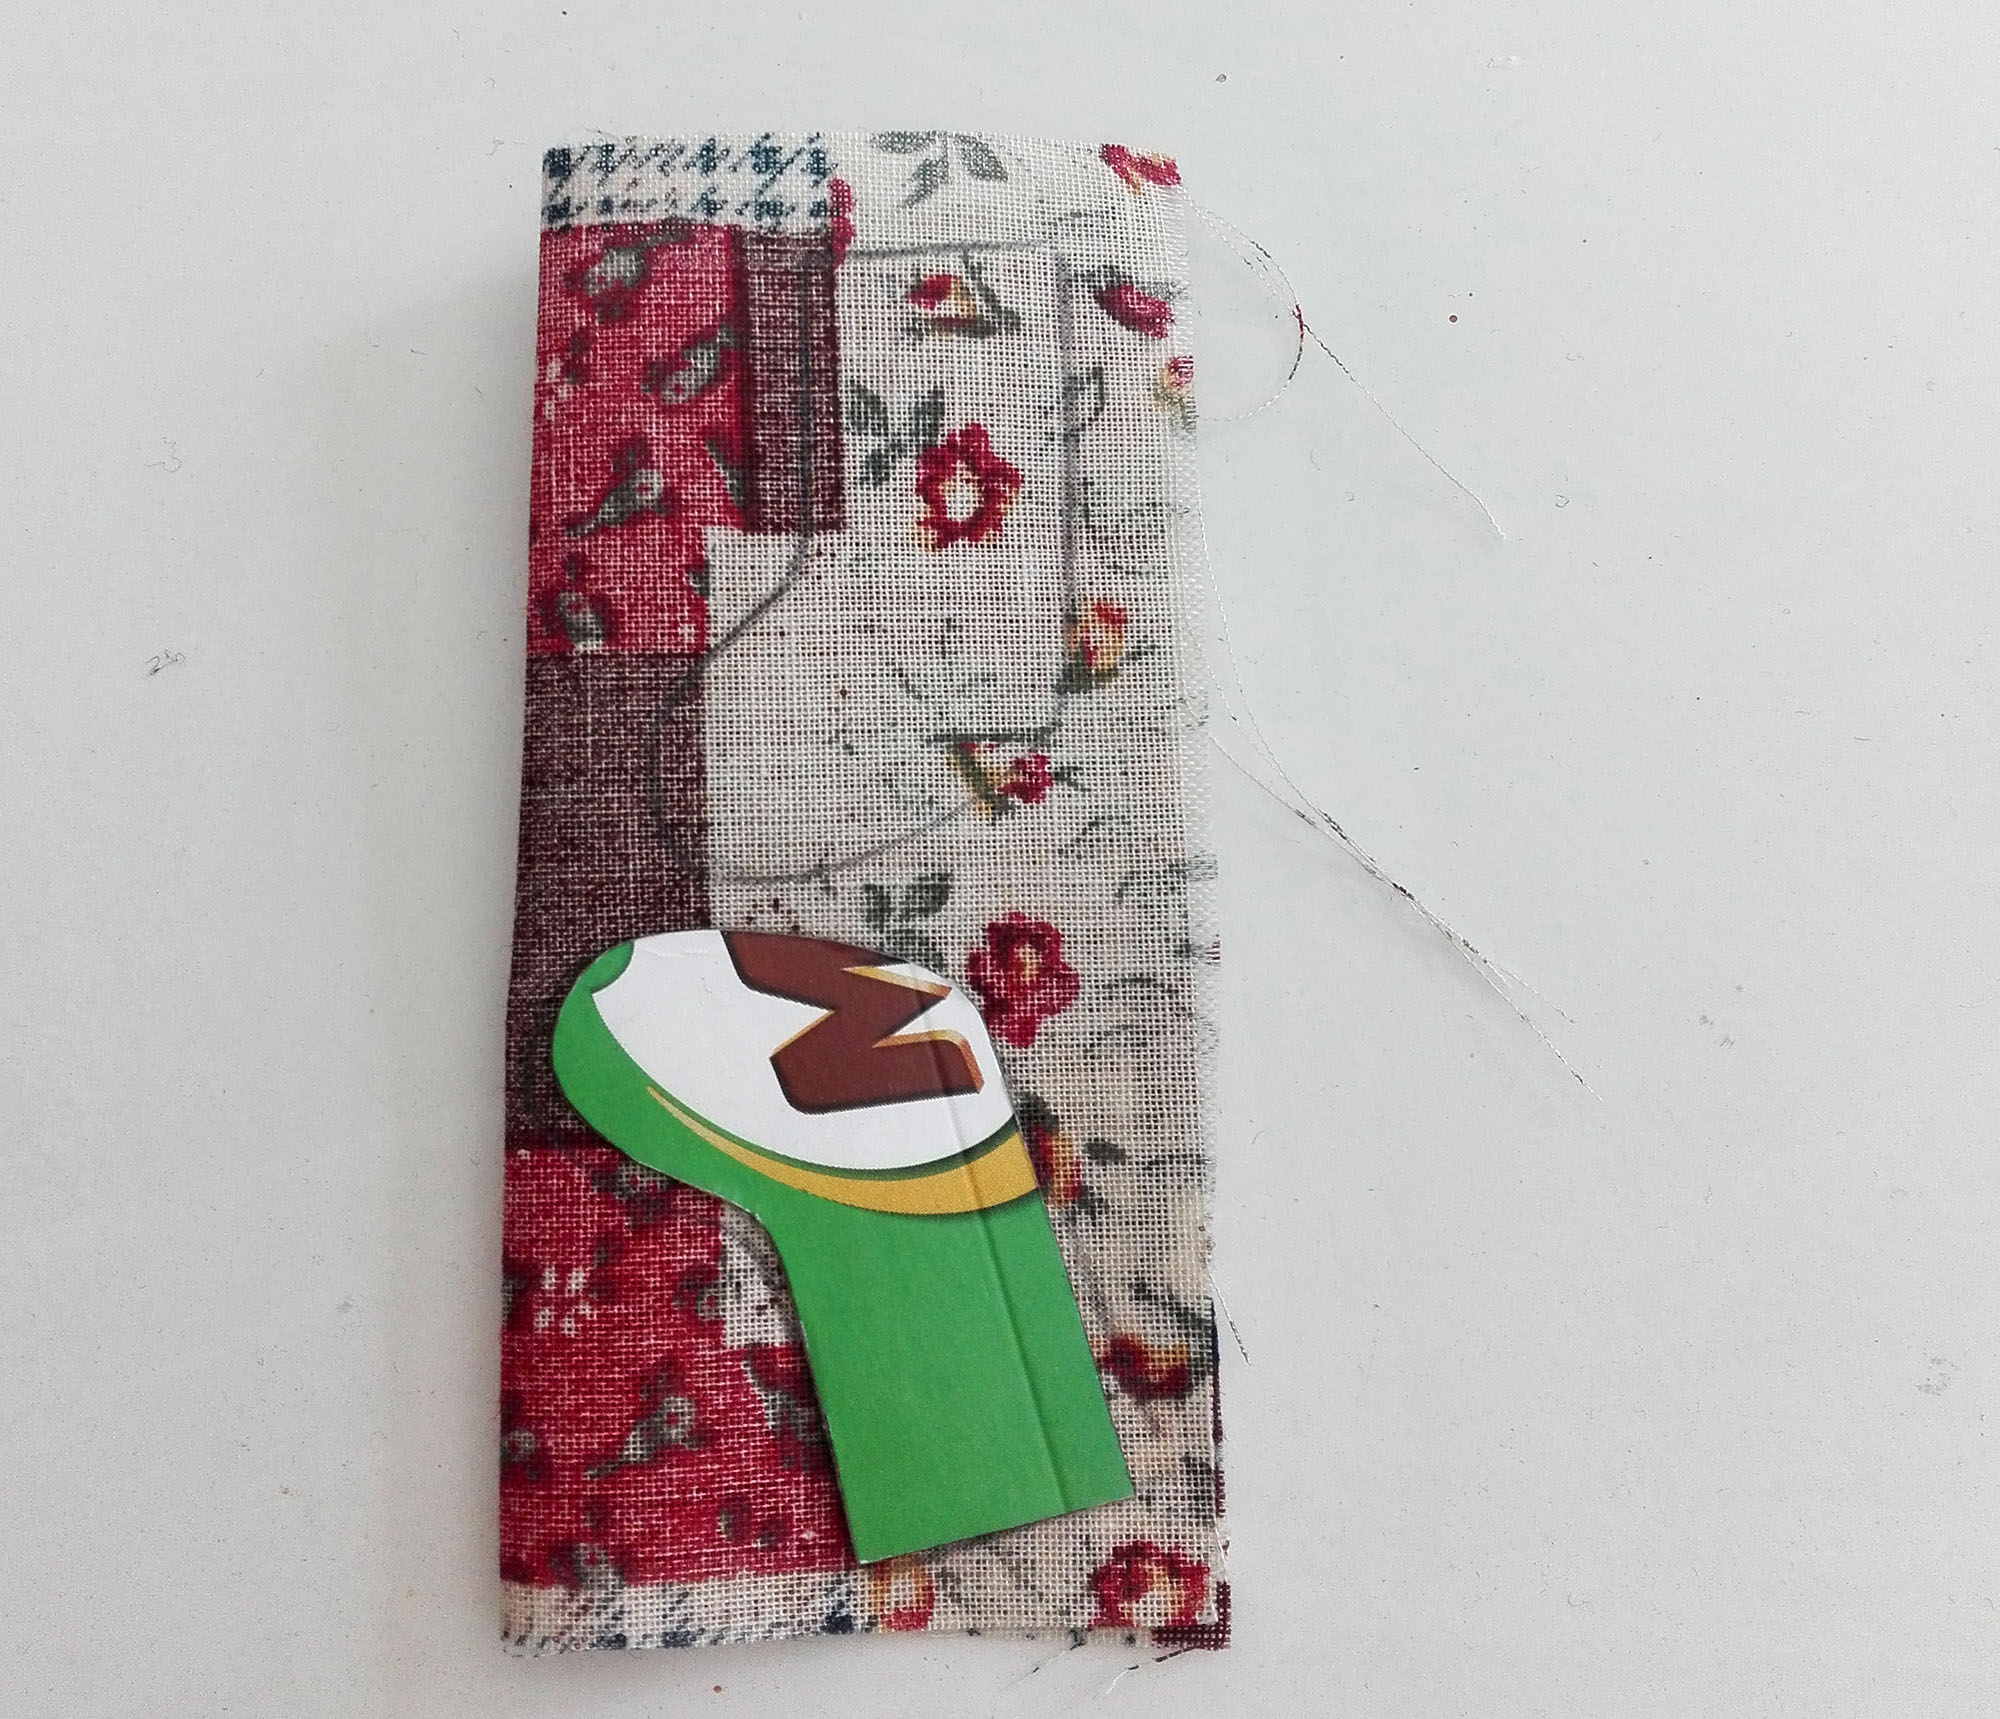
Don’t forget to leave some space between boots, so we have a seam allowance. We need extra fabric on top as well.
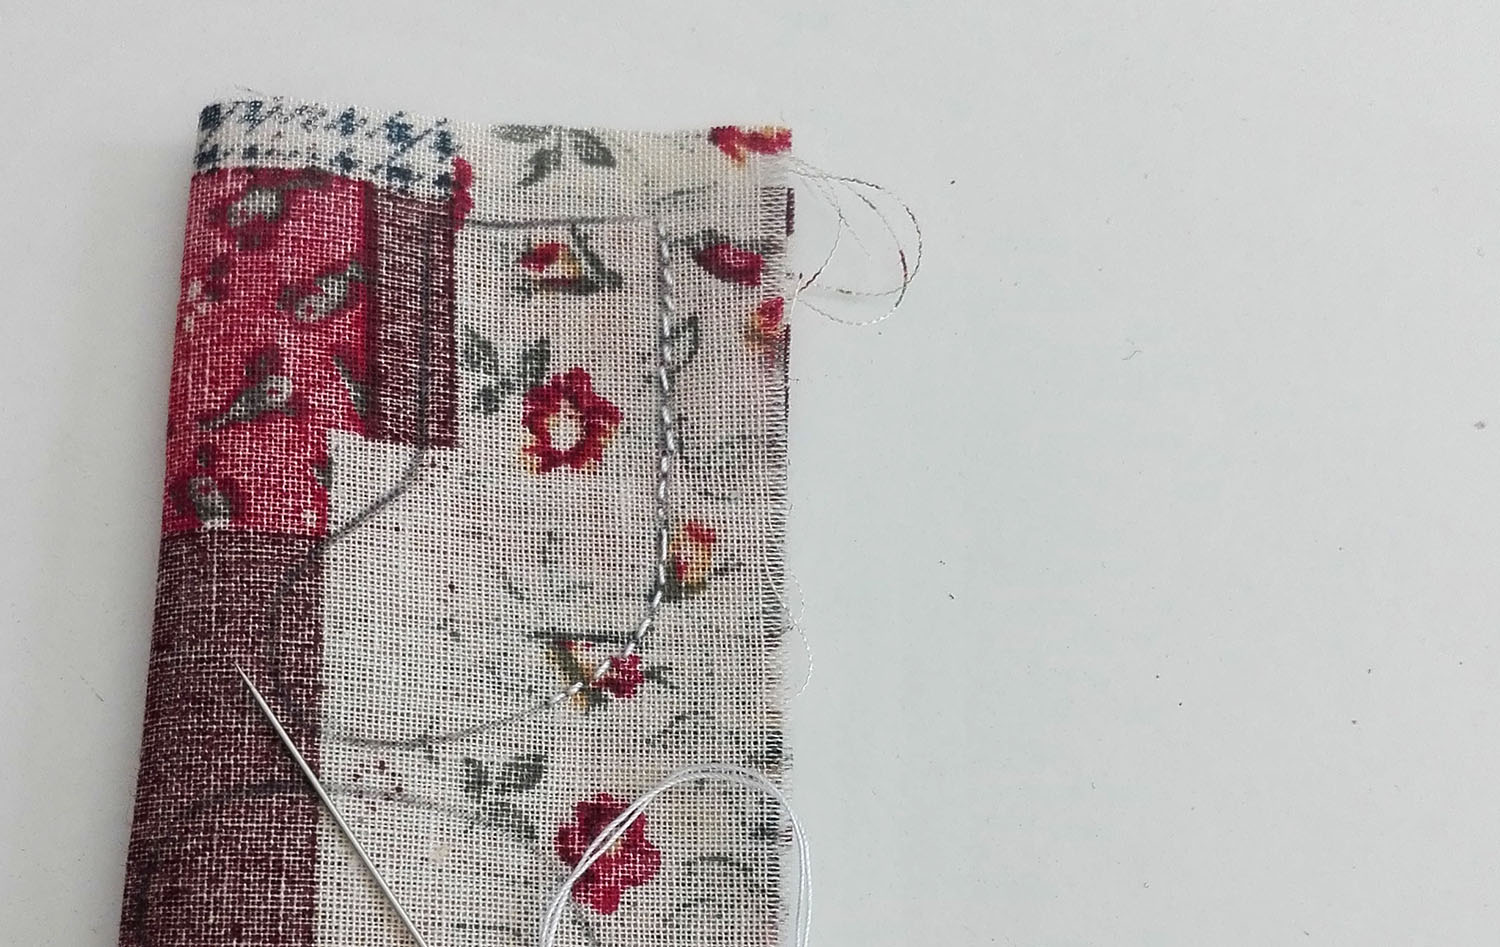
Sew around the drawing, leaving the top part untouched. I used a back stitch because that’s what I’m most comfortable doing. I’ve never been too good sewing anyways.
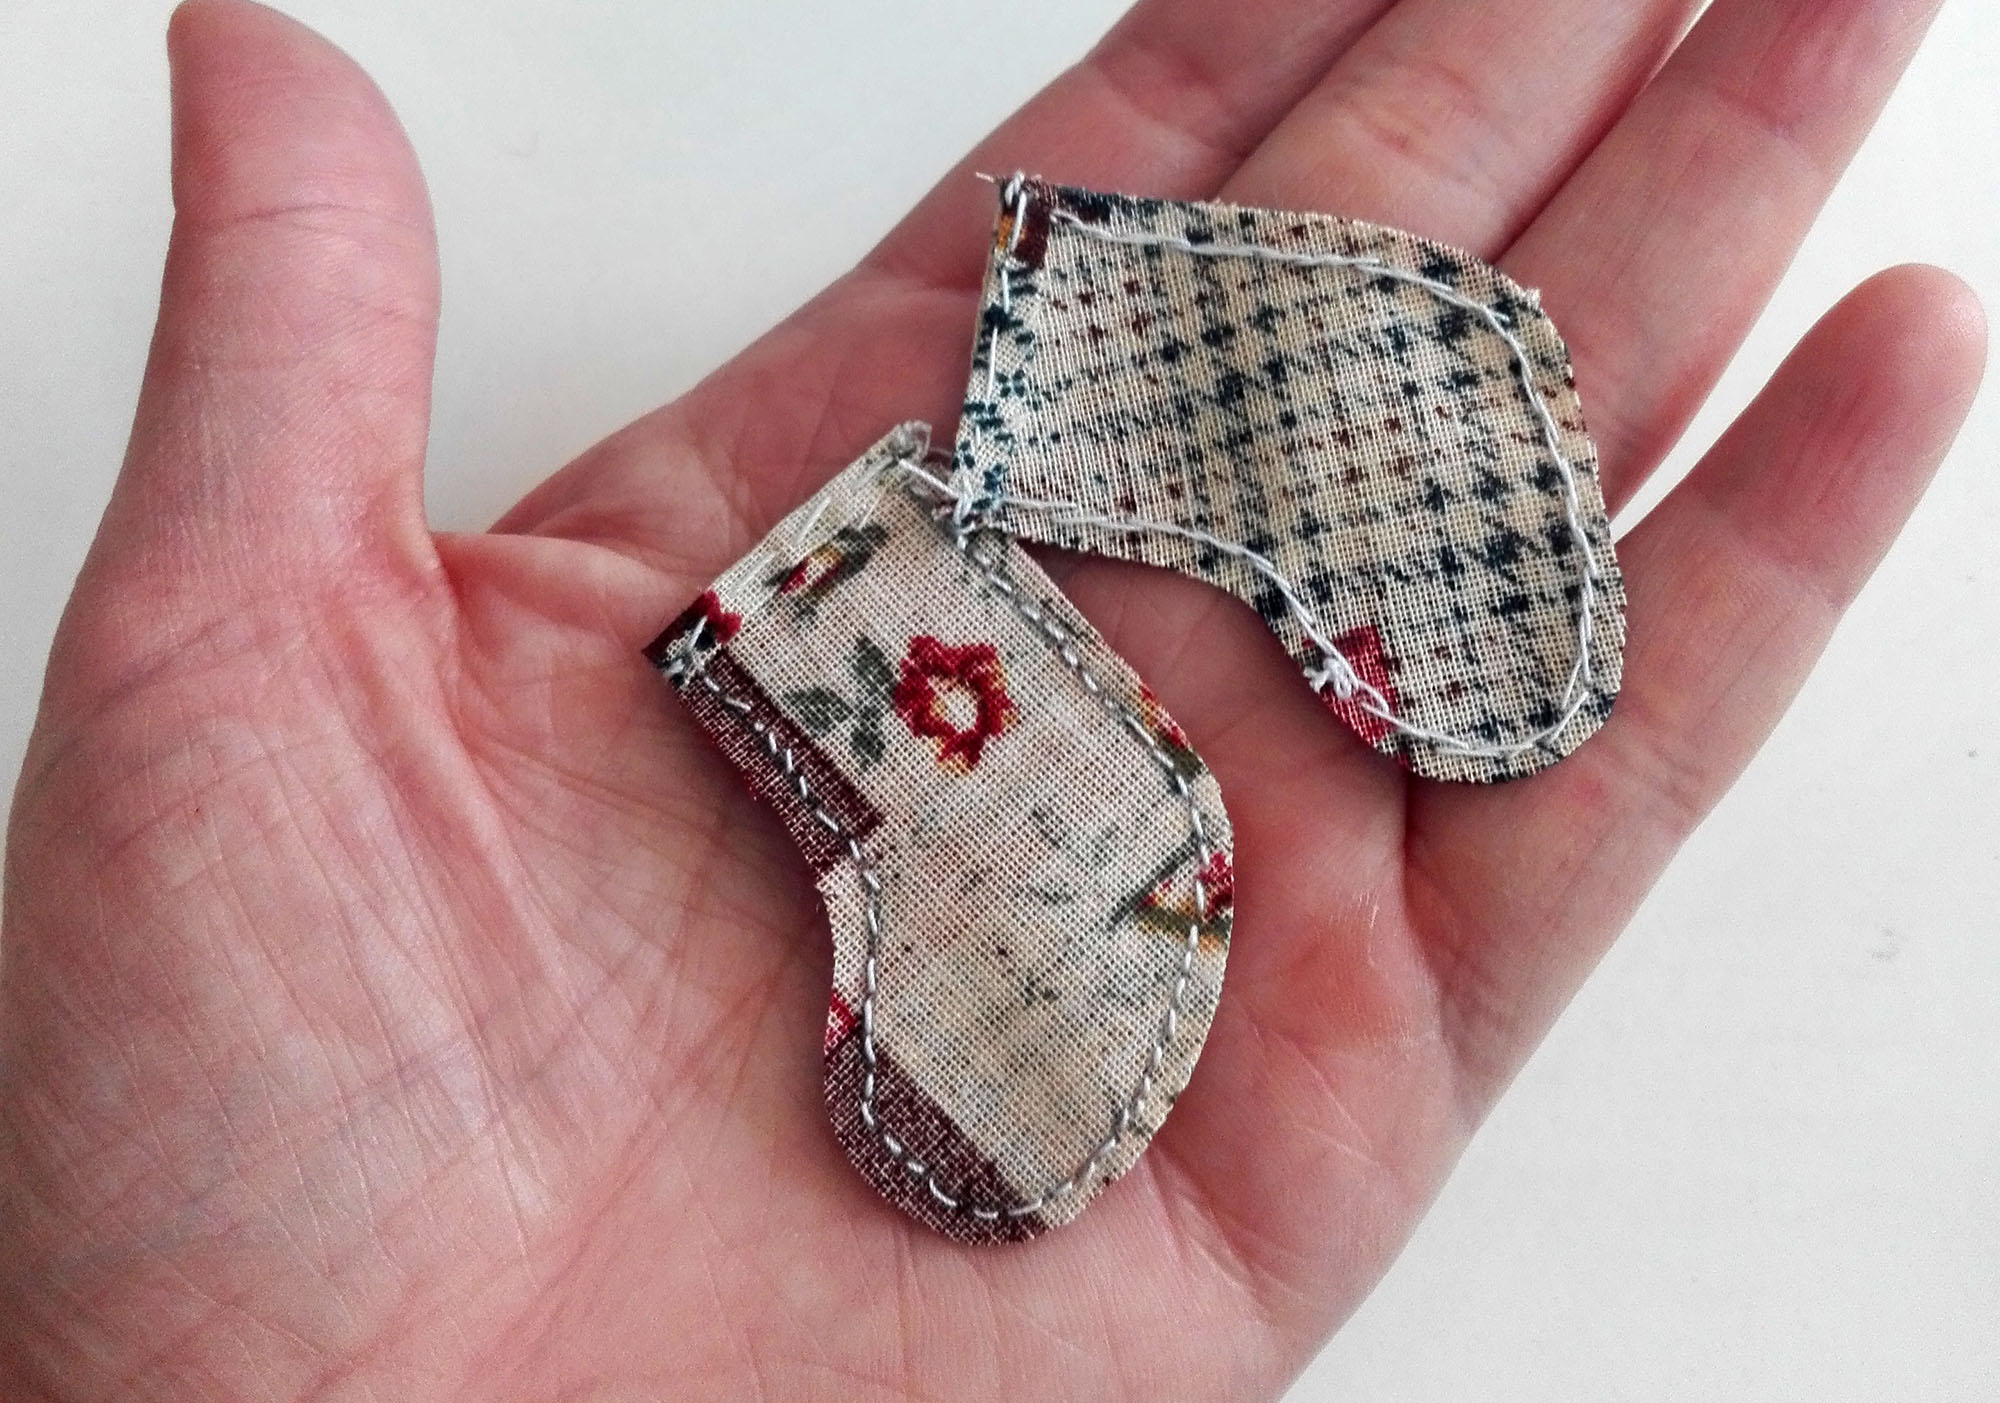
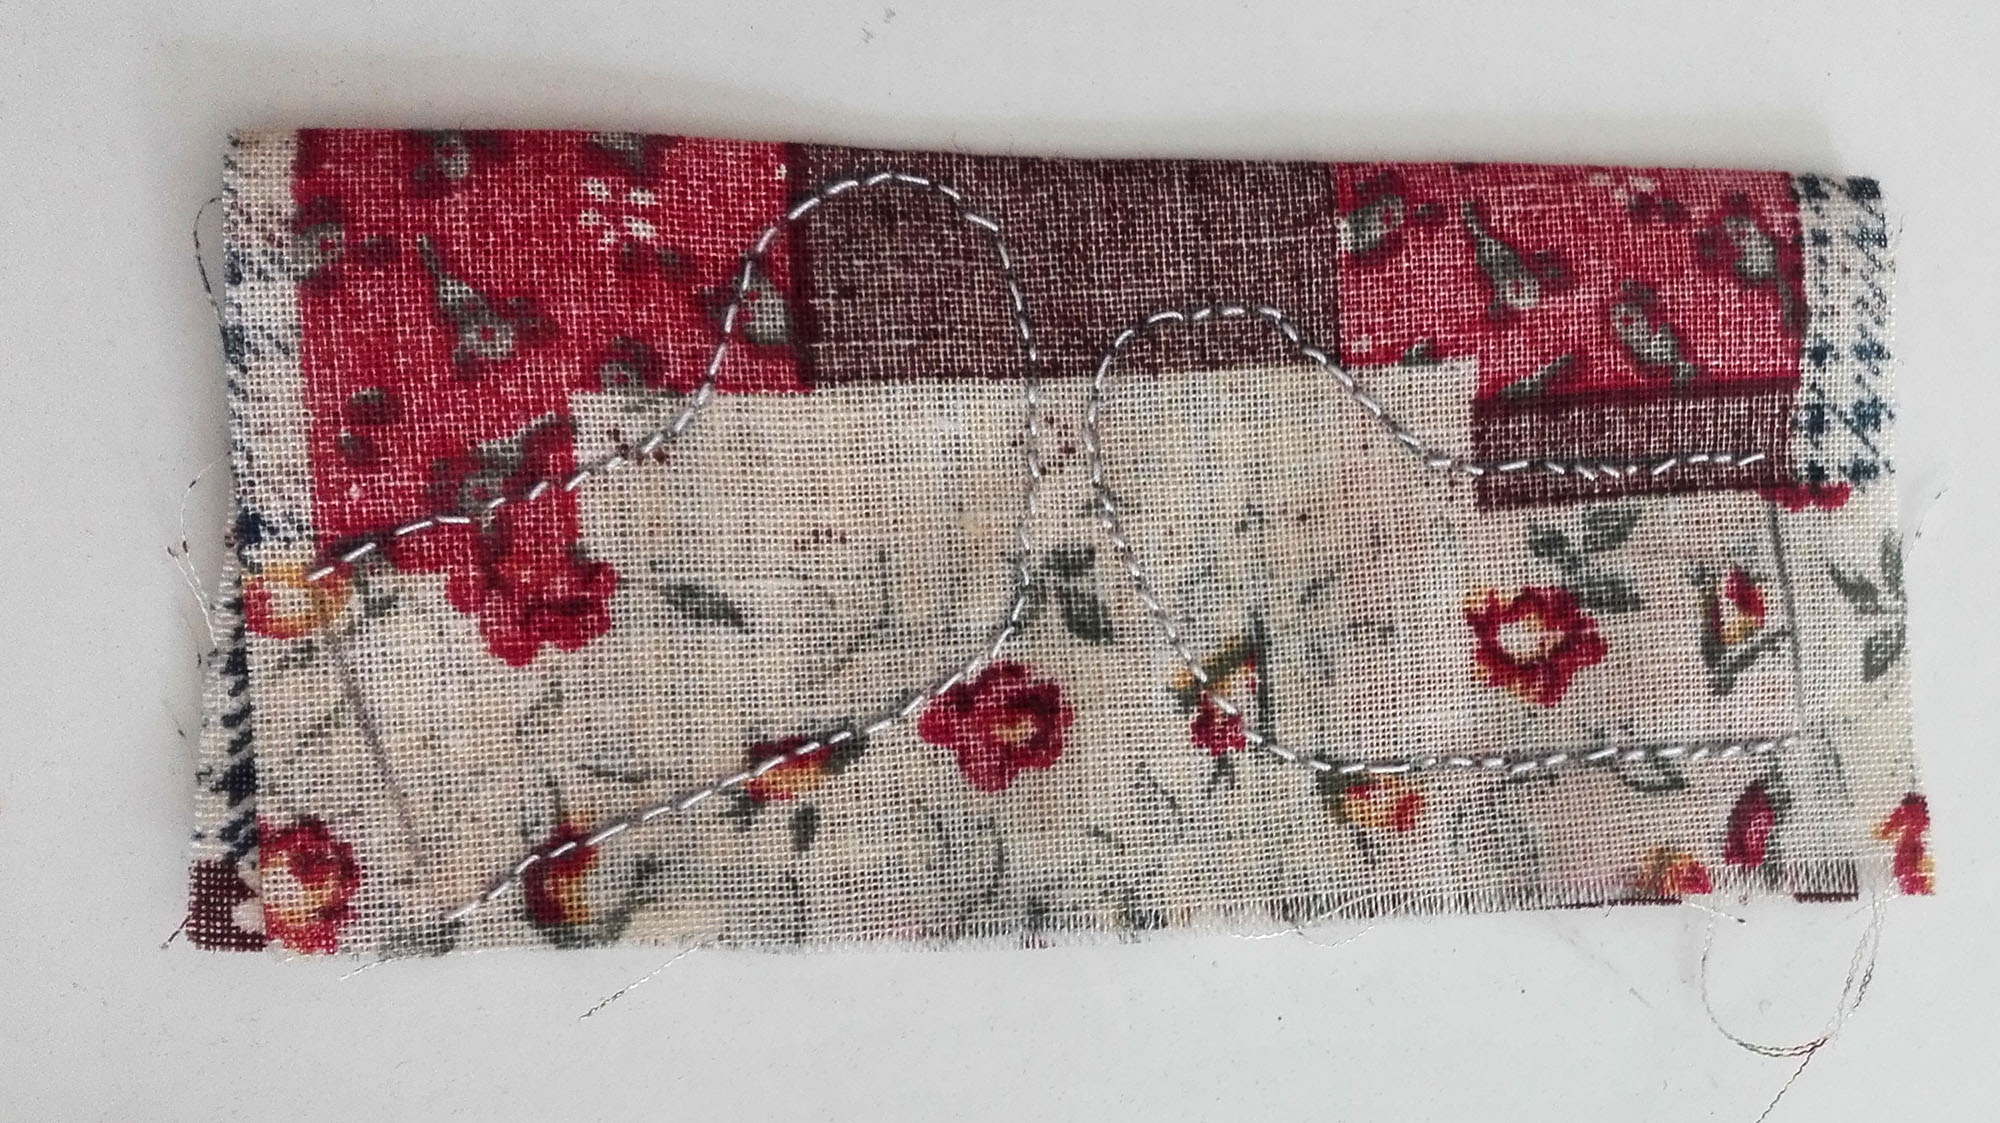 Here we have 2 boots done.
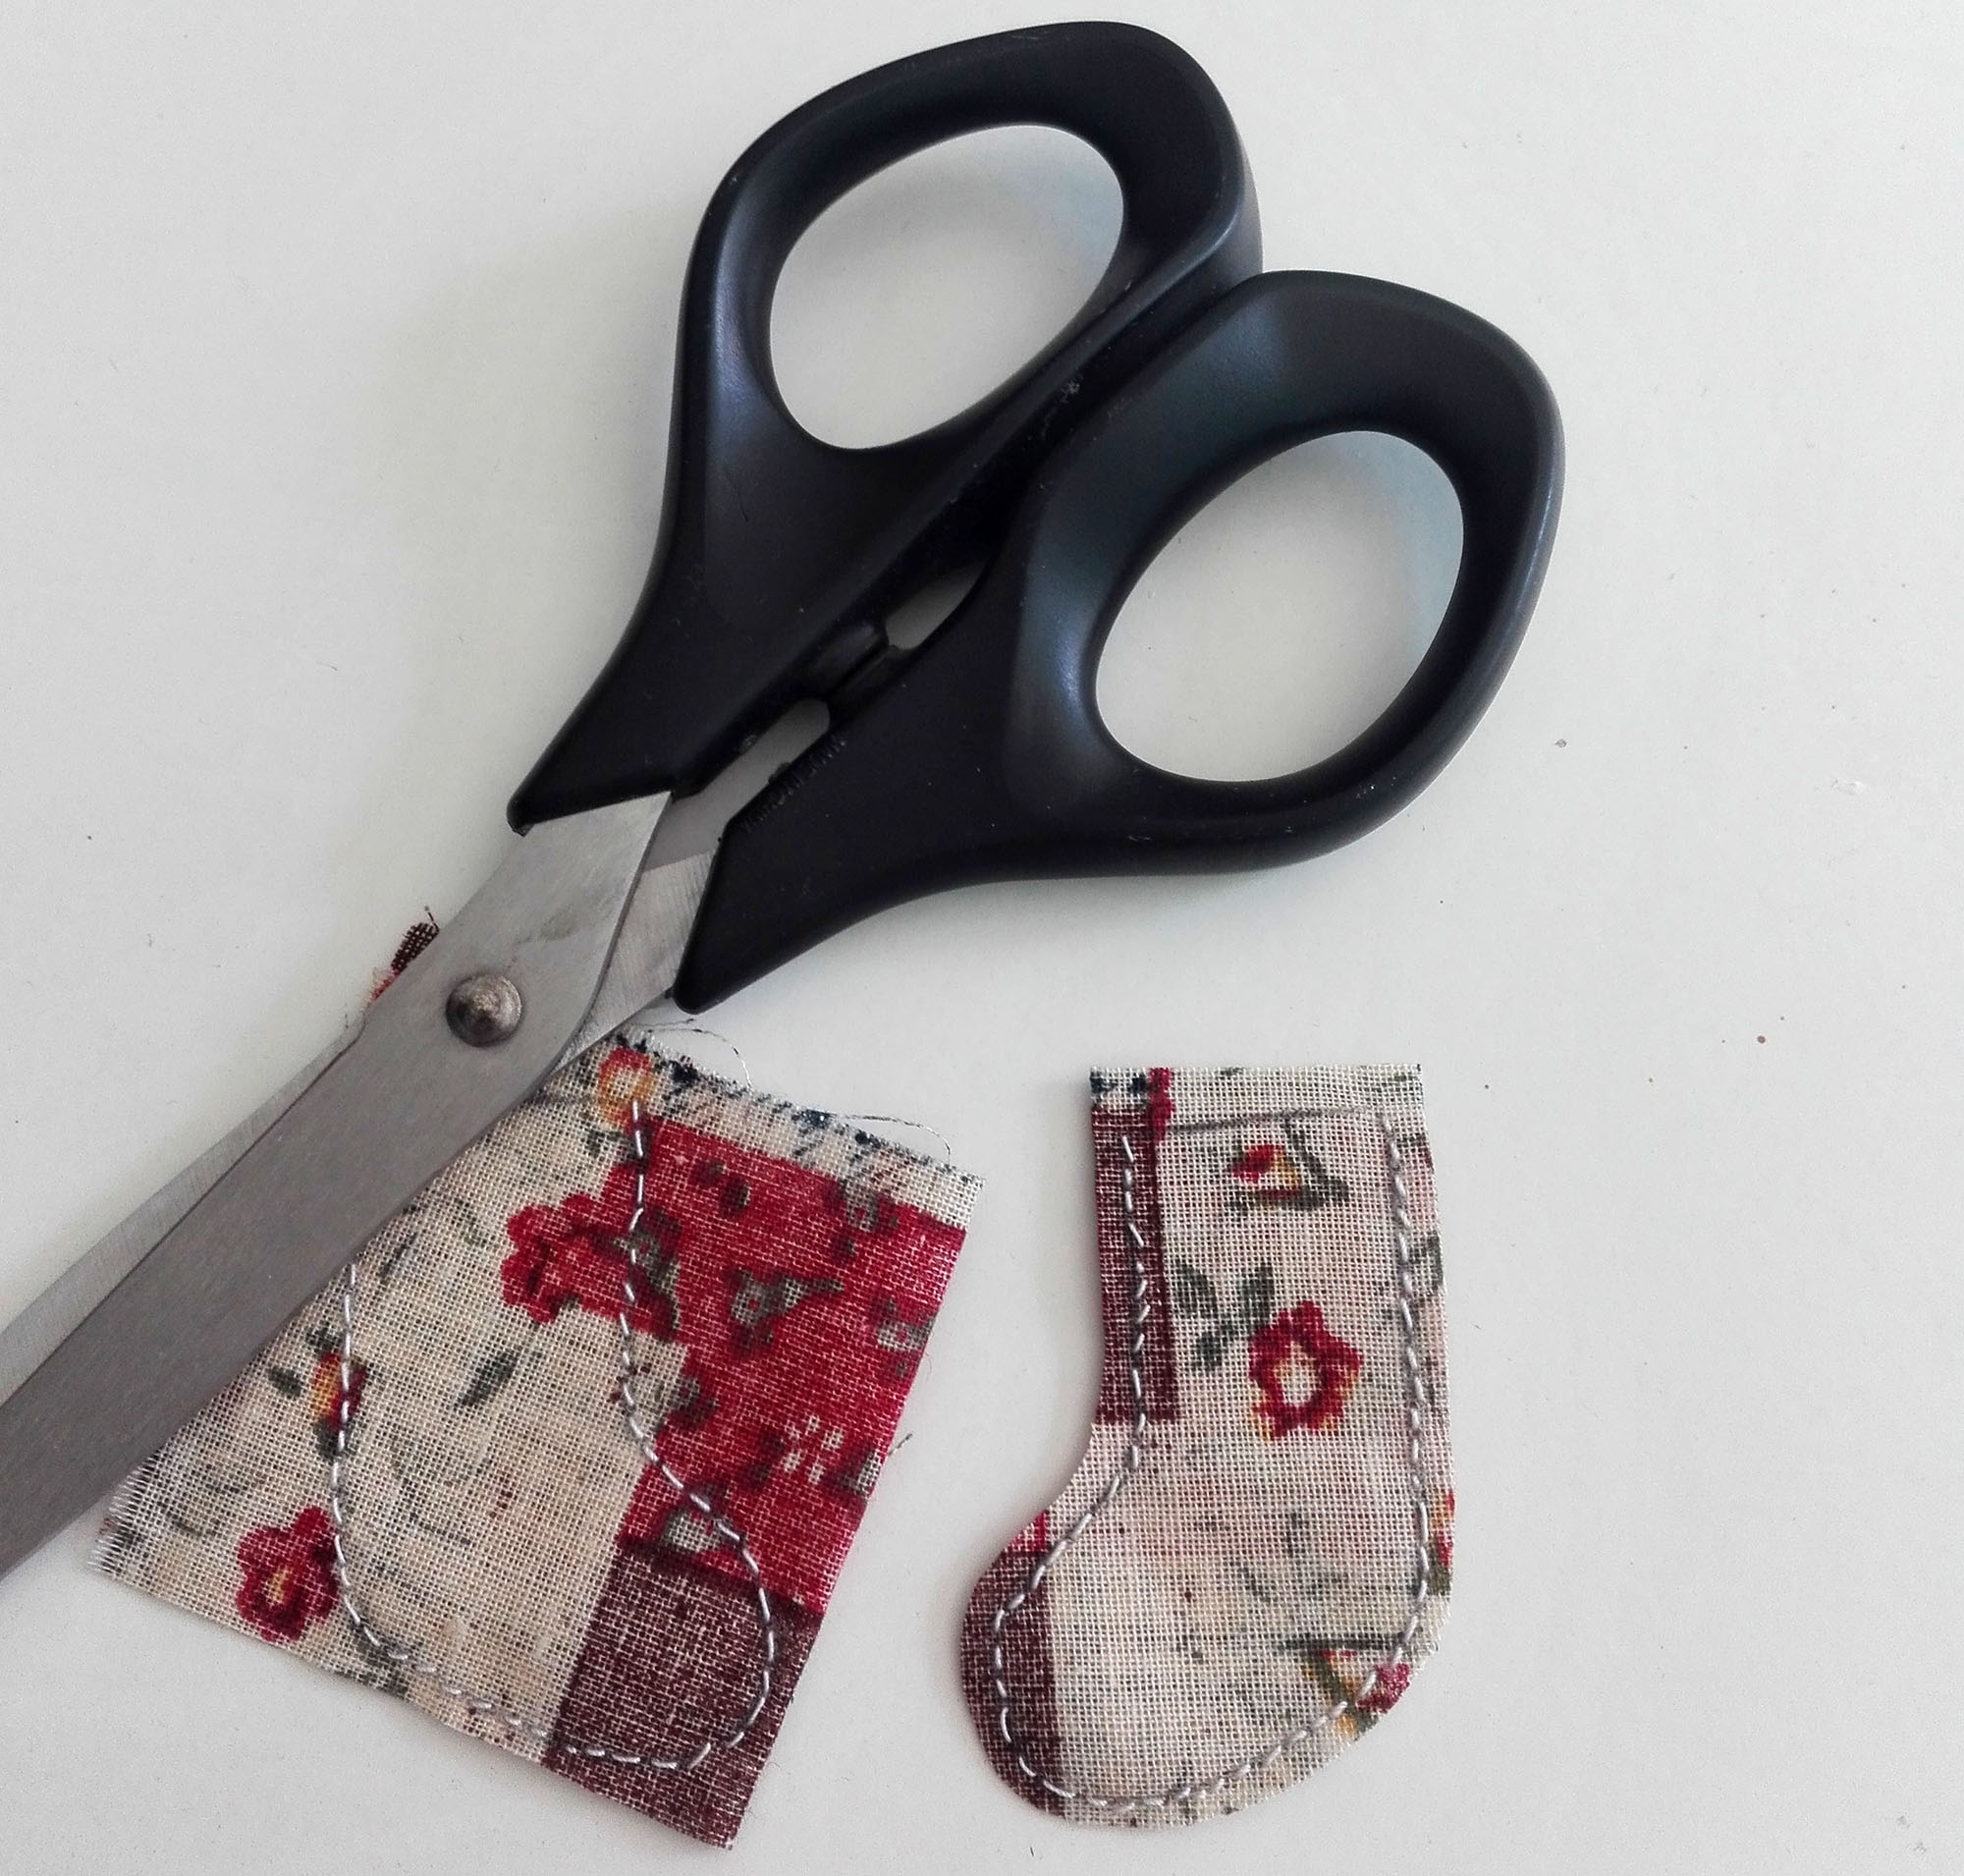
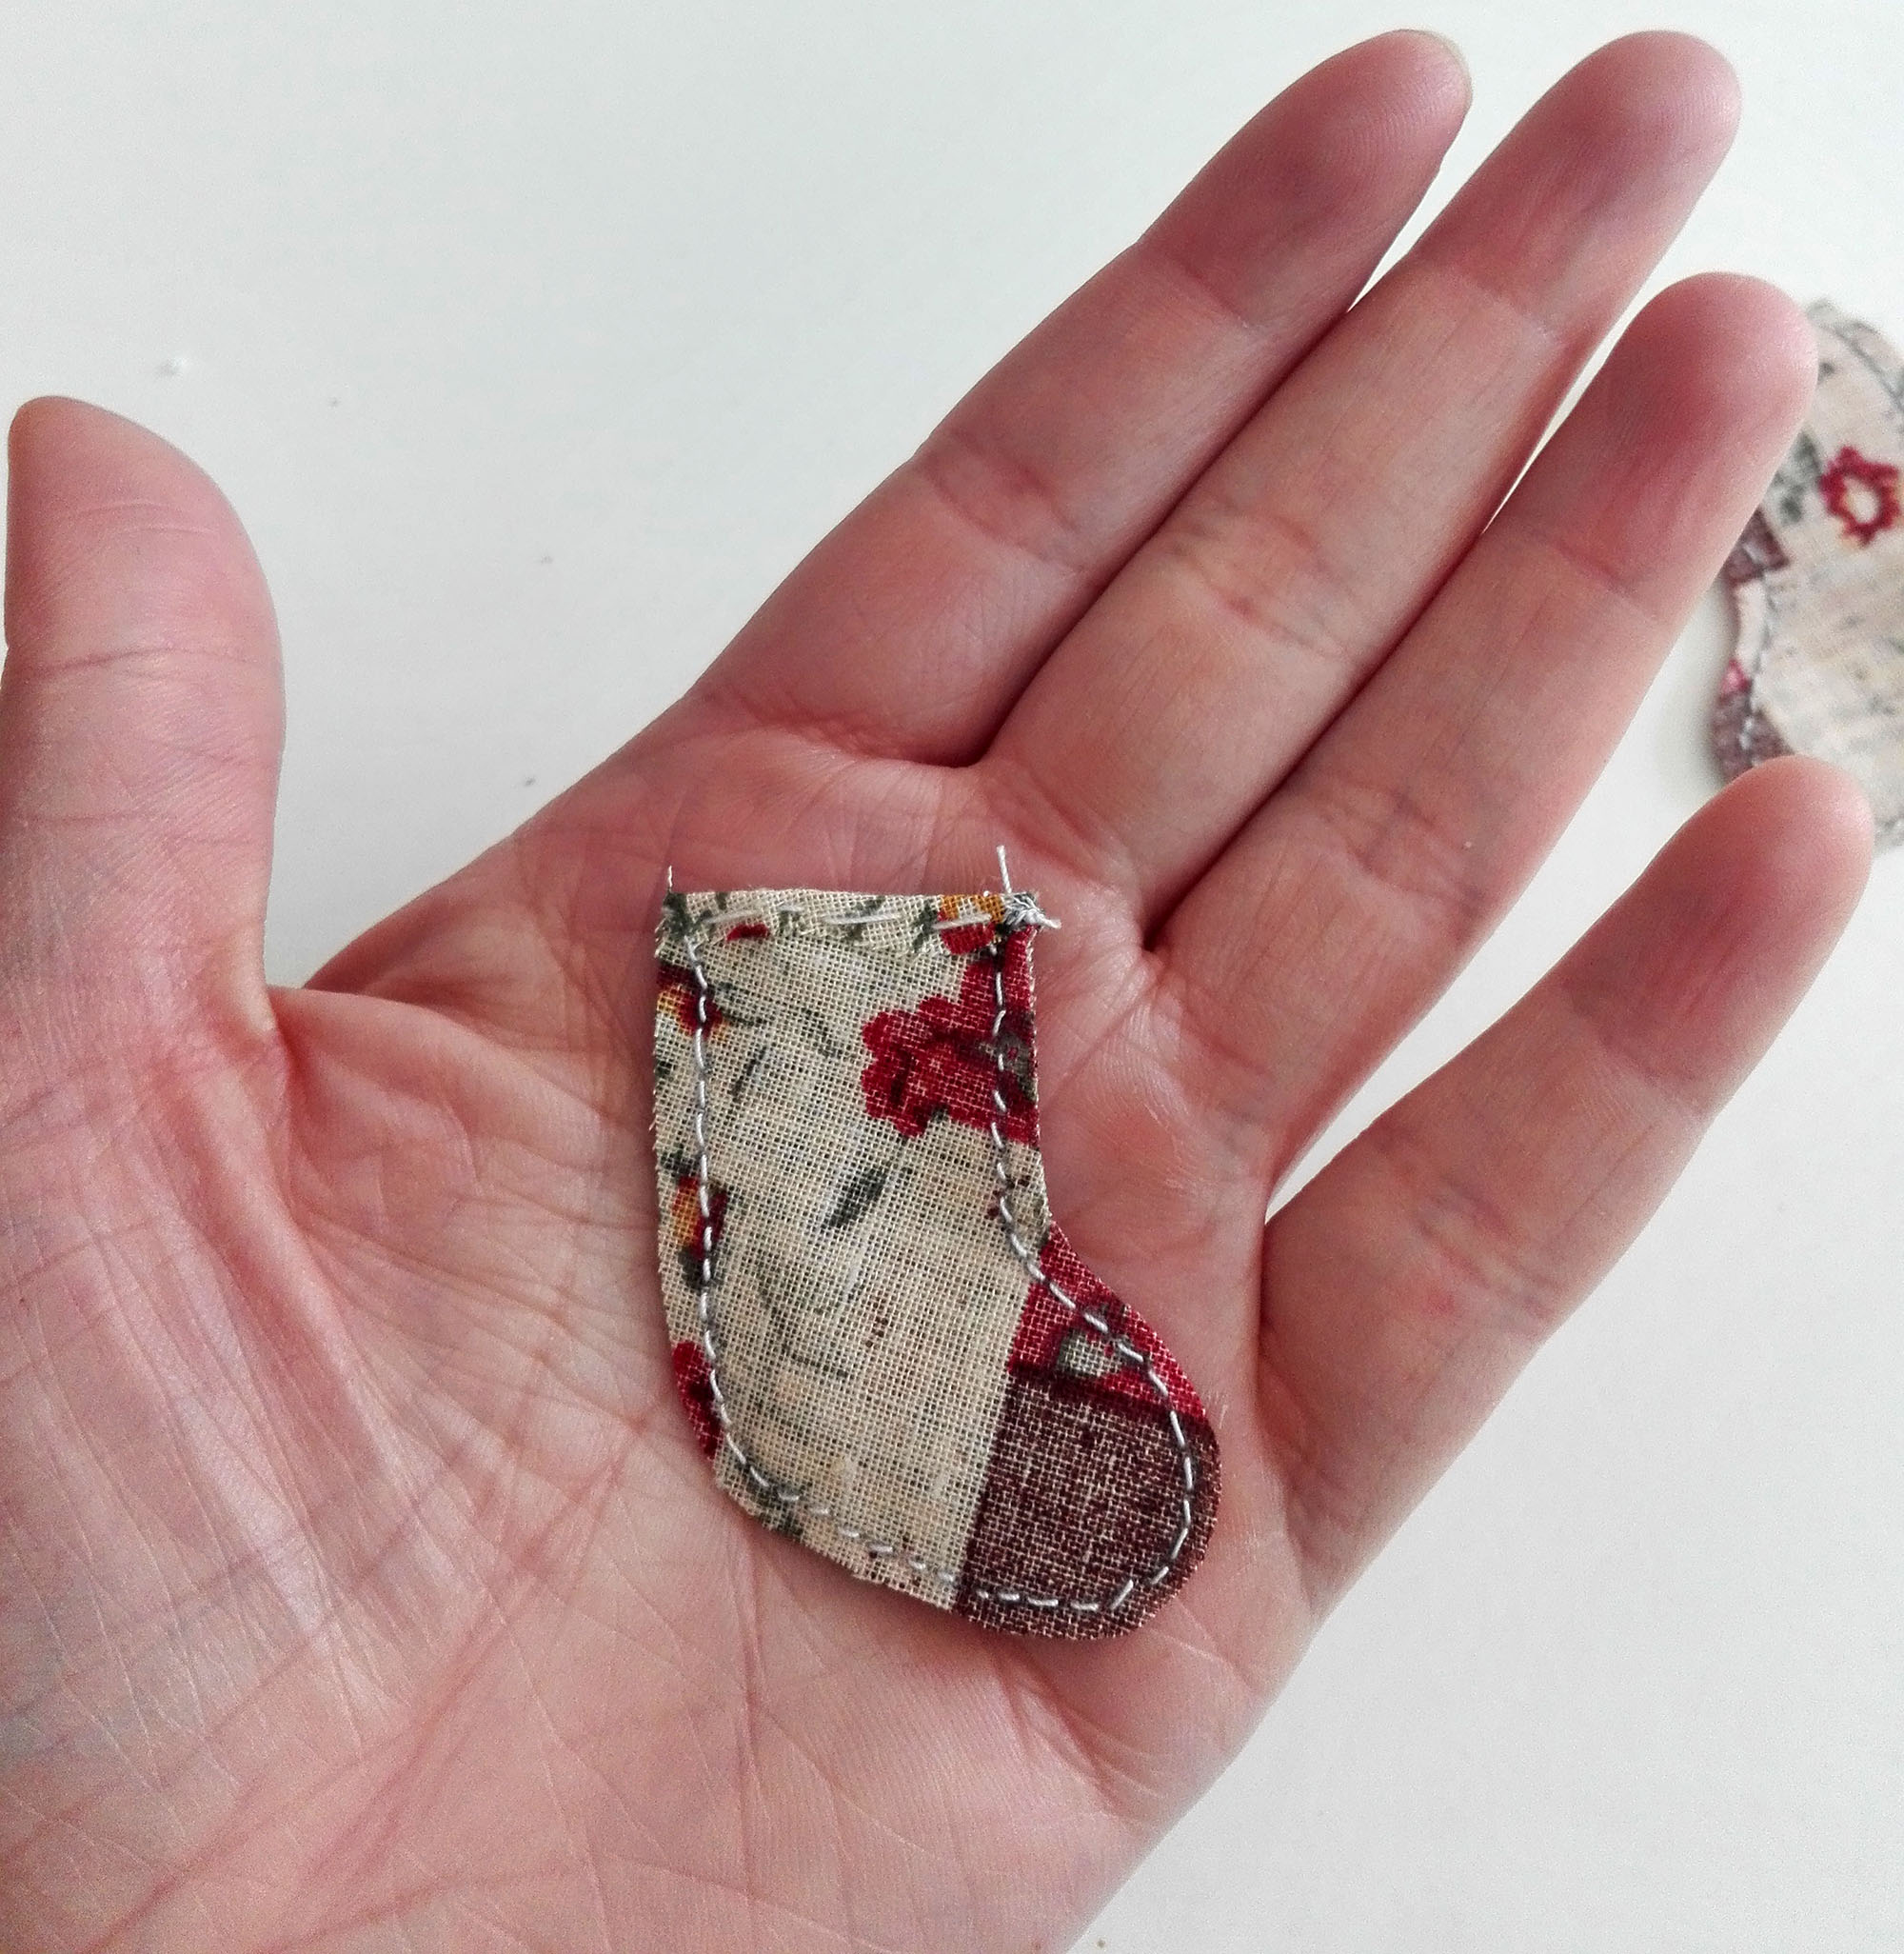
Cut them leaving extra fabric around, including at the top. We are going to use it now.
I made a few small cuts wherever the boot had a curve, just in case. I’ve seen tutorials where they do the cuts on curve sewn projects to release tension so I thought I’d give it a try. I don’t know if it made a difference or not.
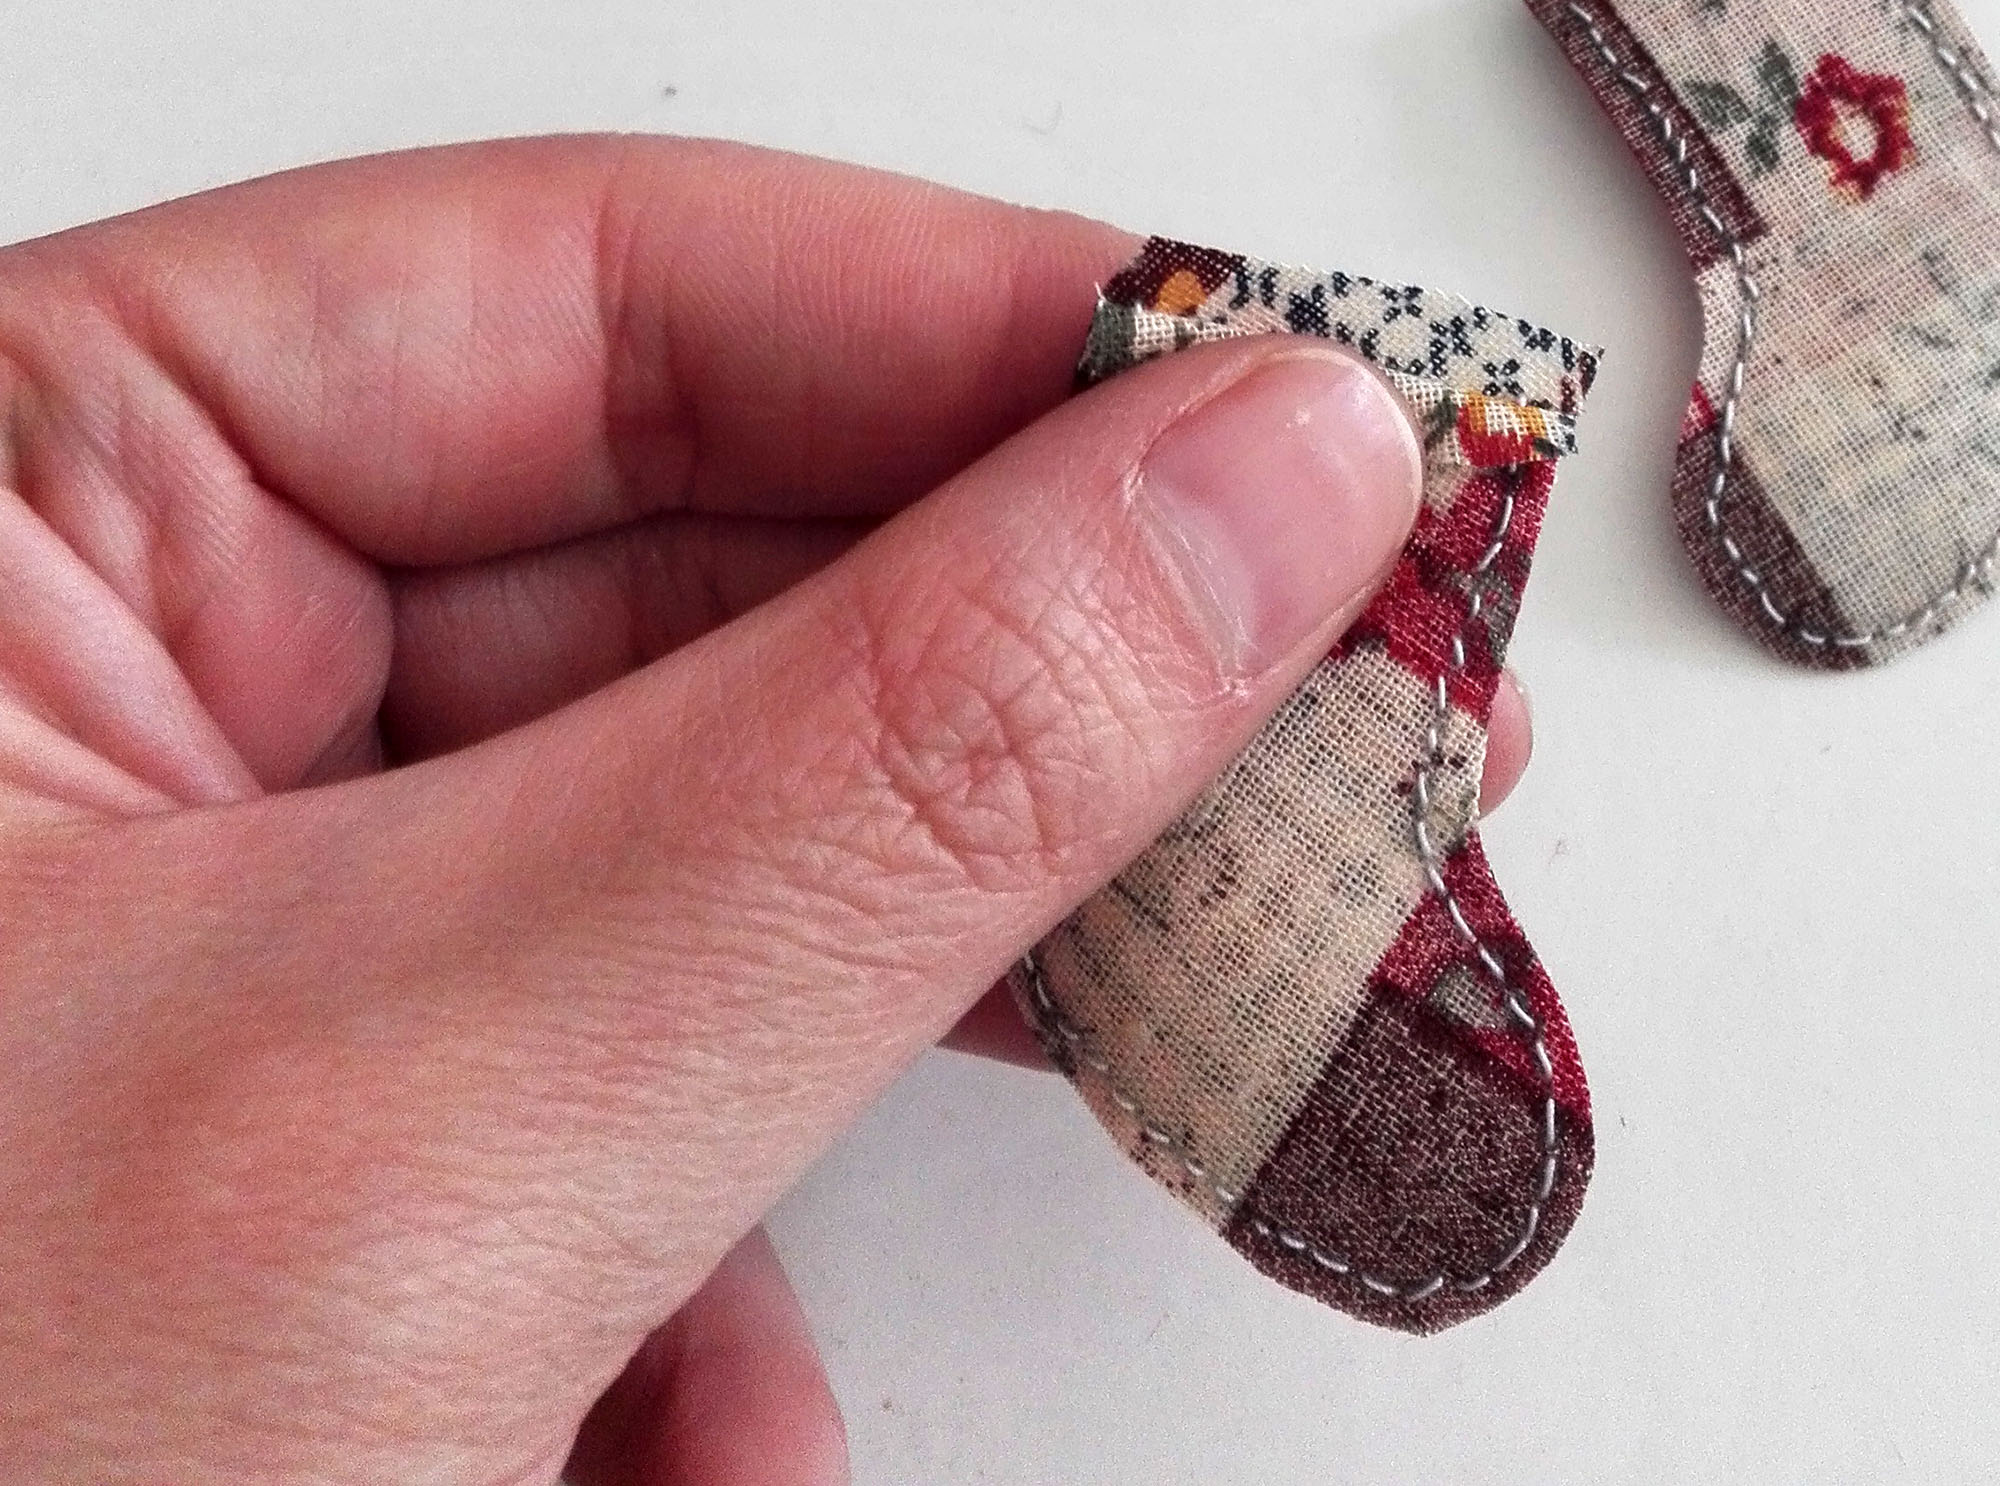
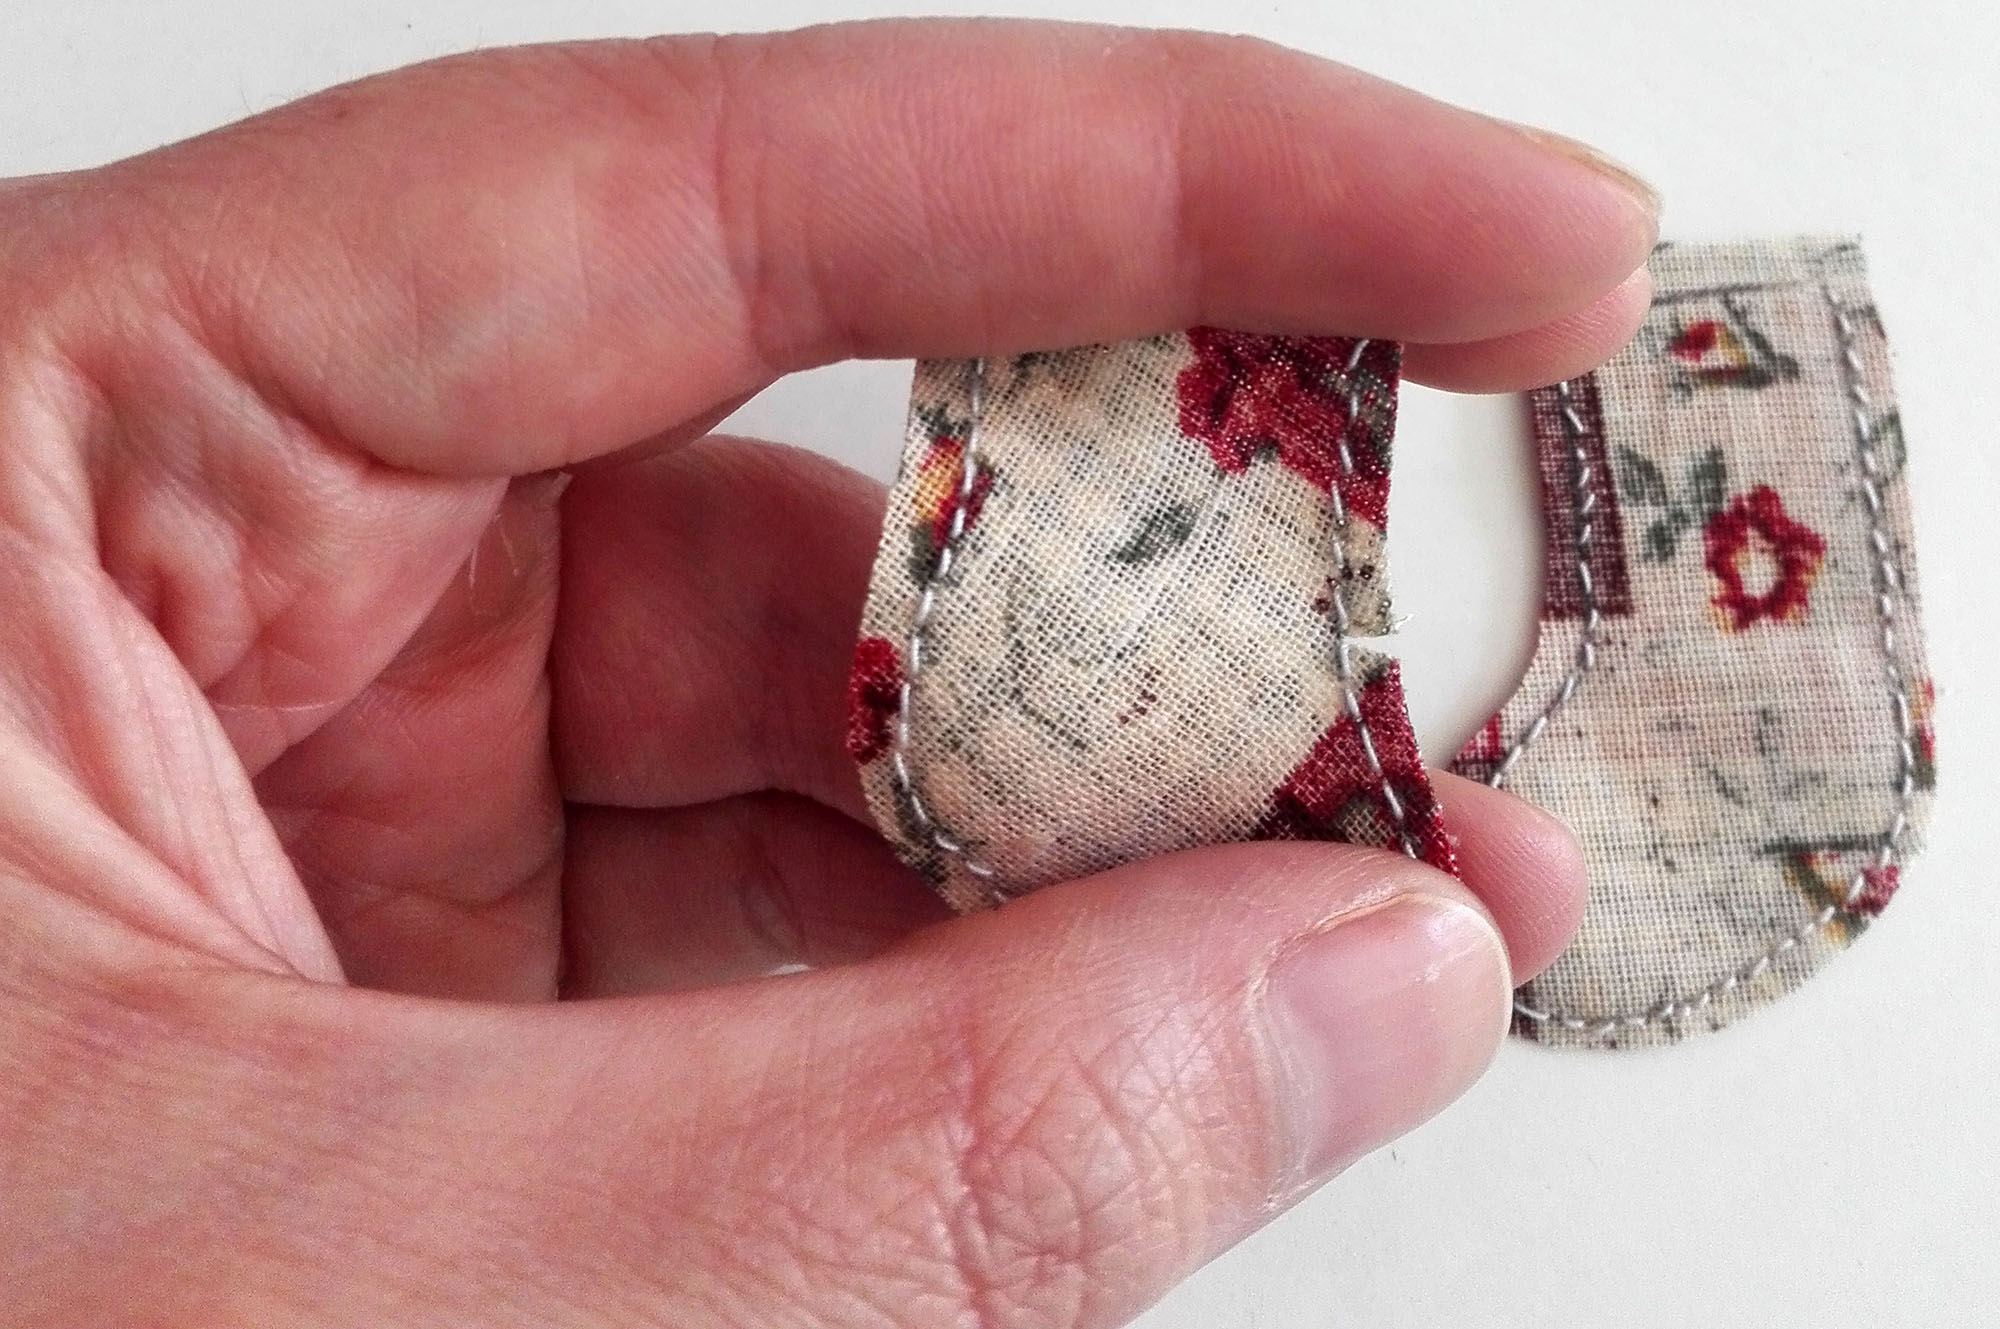
Fold the extra fabric on top and sew it in place with a few stitches. They don’t have to look pretty since we will cover them anyways. Don’t sew the boot close!
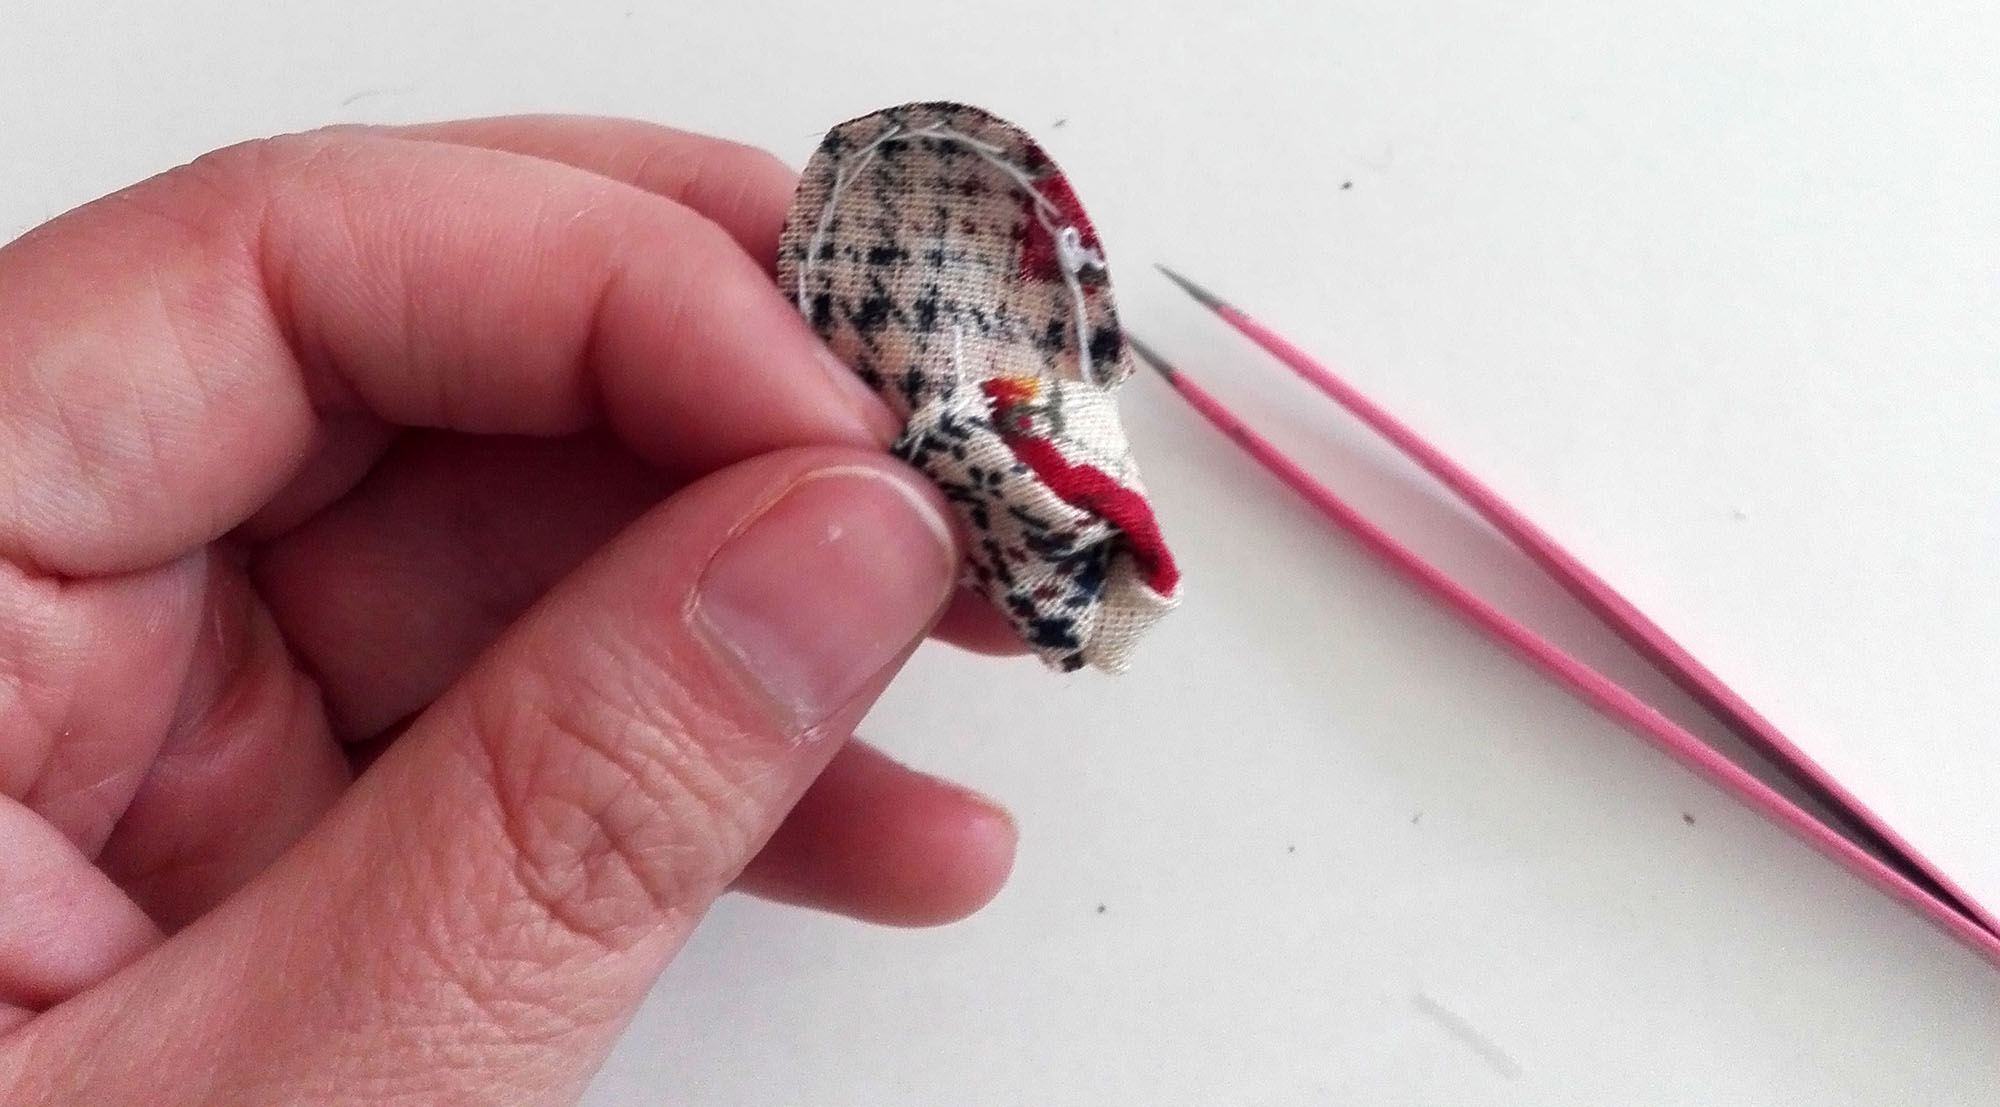
Turn it over. You might need tweezers if your boots are this small. I think this is the hardest part. Be gentle not to pull too hard. Patience is key.

Here are all the boots turned to their good side.
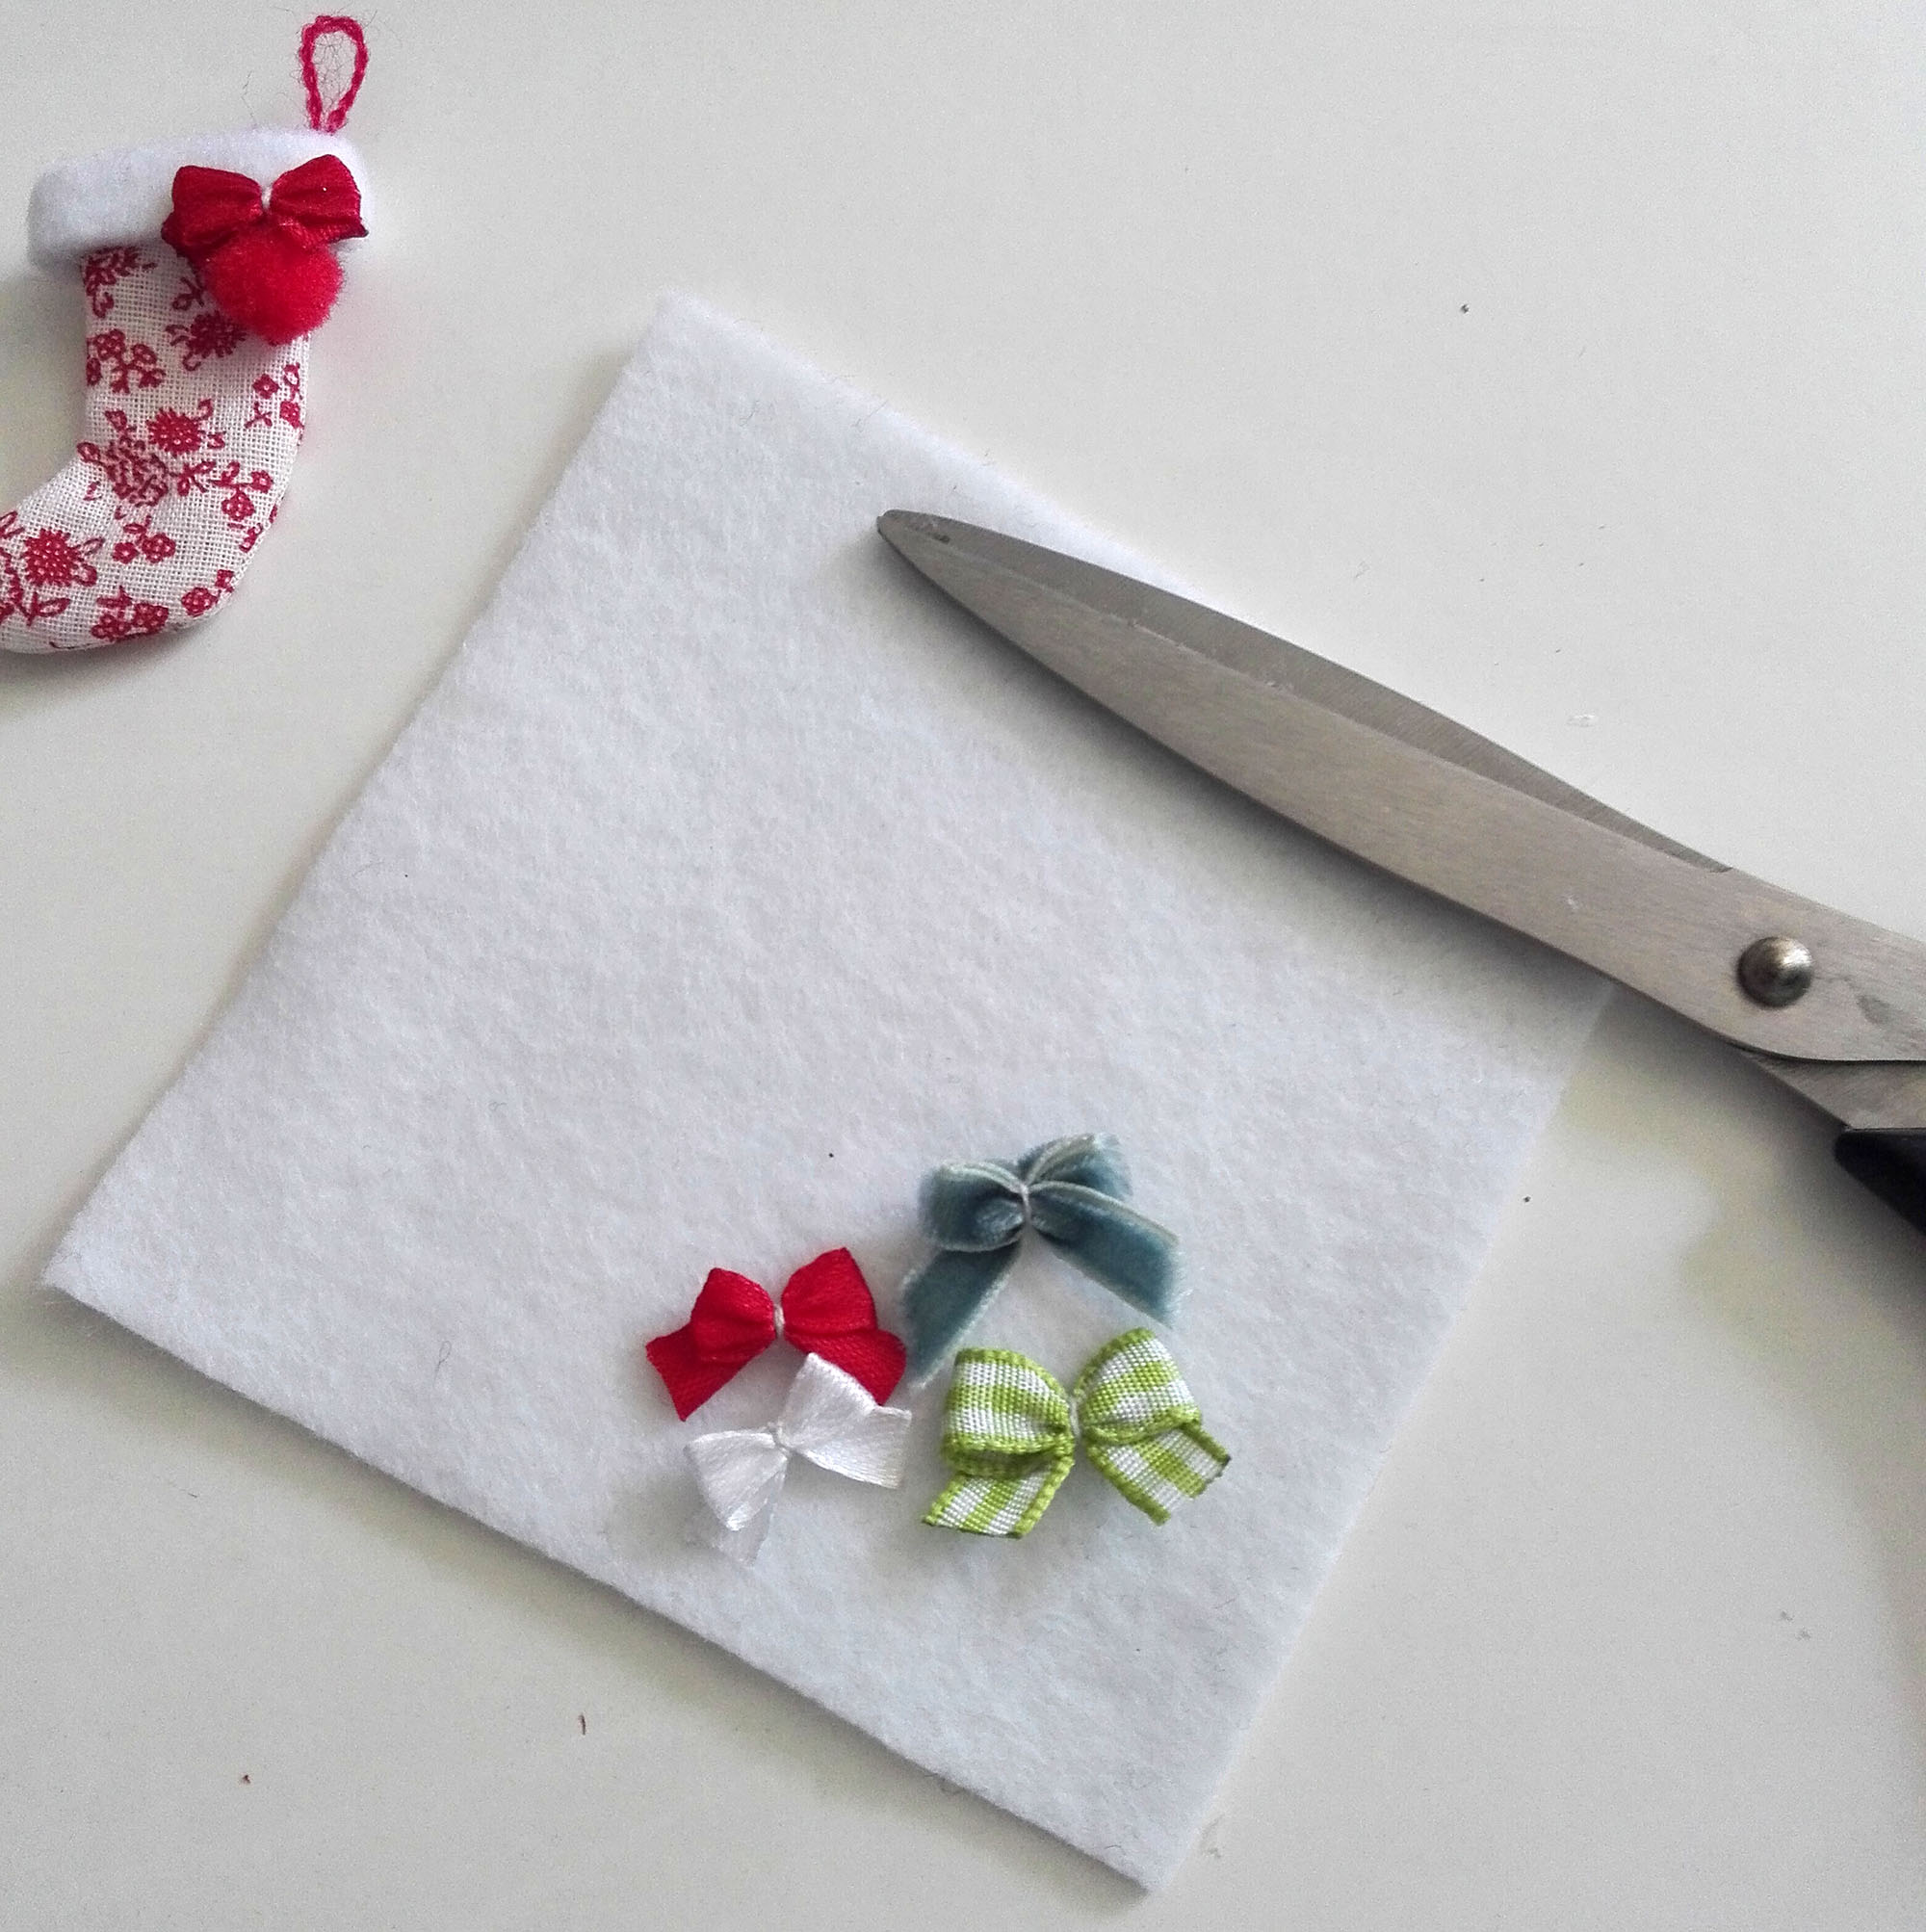
Now we will decorate them all Christmas-y! First we need white felt fabric. If you are going to add ribbons, this would be the time to make them and have them ready. I made one for each sock.
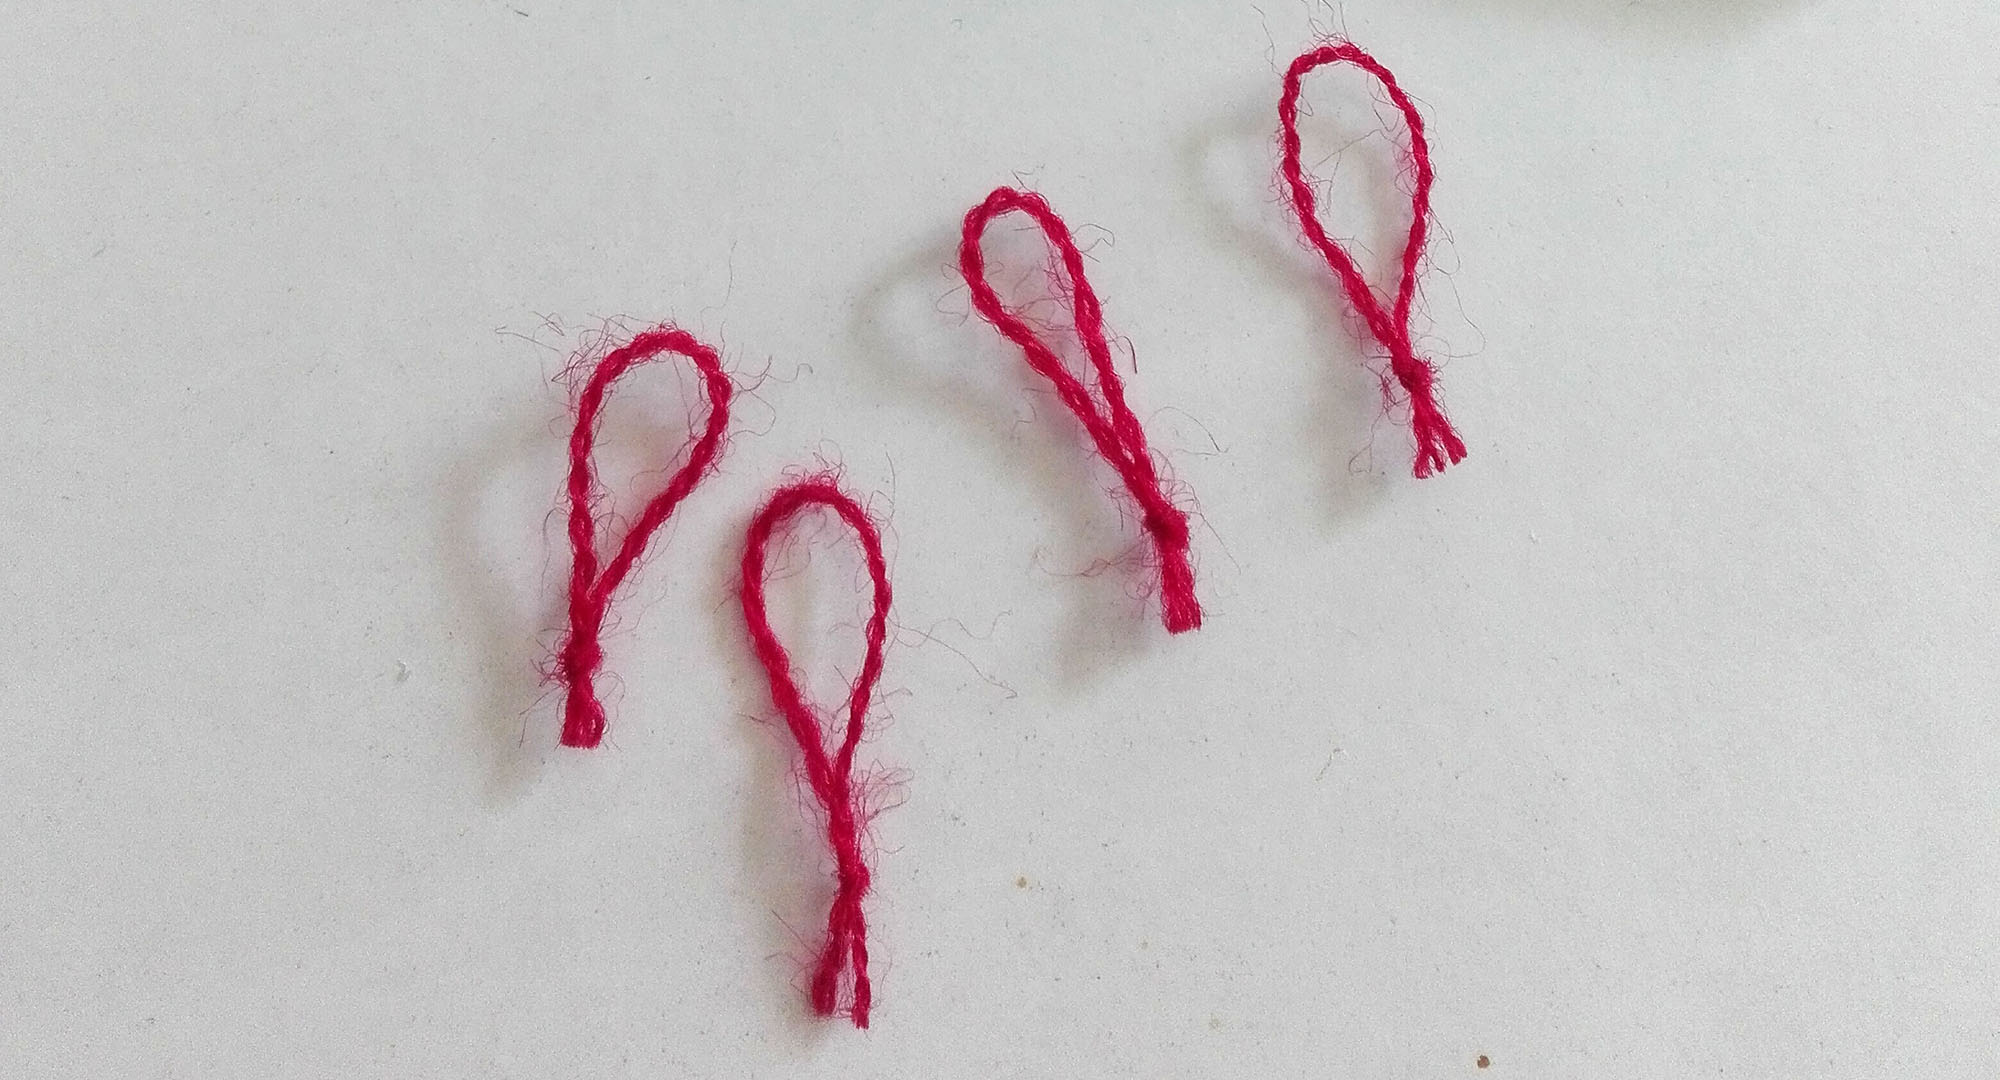
Cut and tie some tiny loops with thin yarn. Christmas colors work best in my opinion, but if you are making pink, blue or any other colored socks, choose what fits your style. Get your hot glue gun ready now.
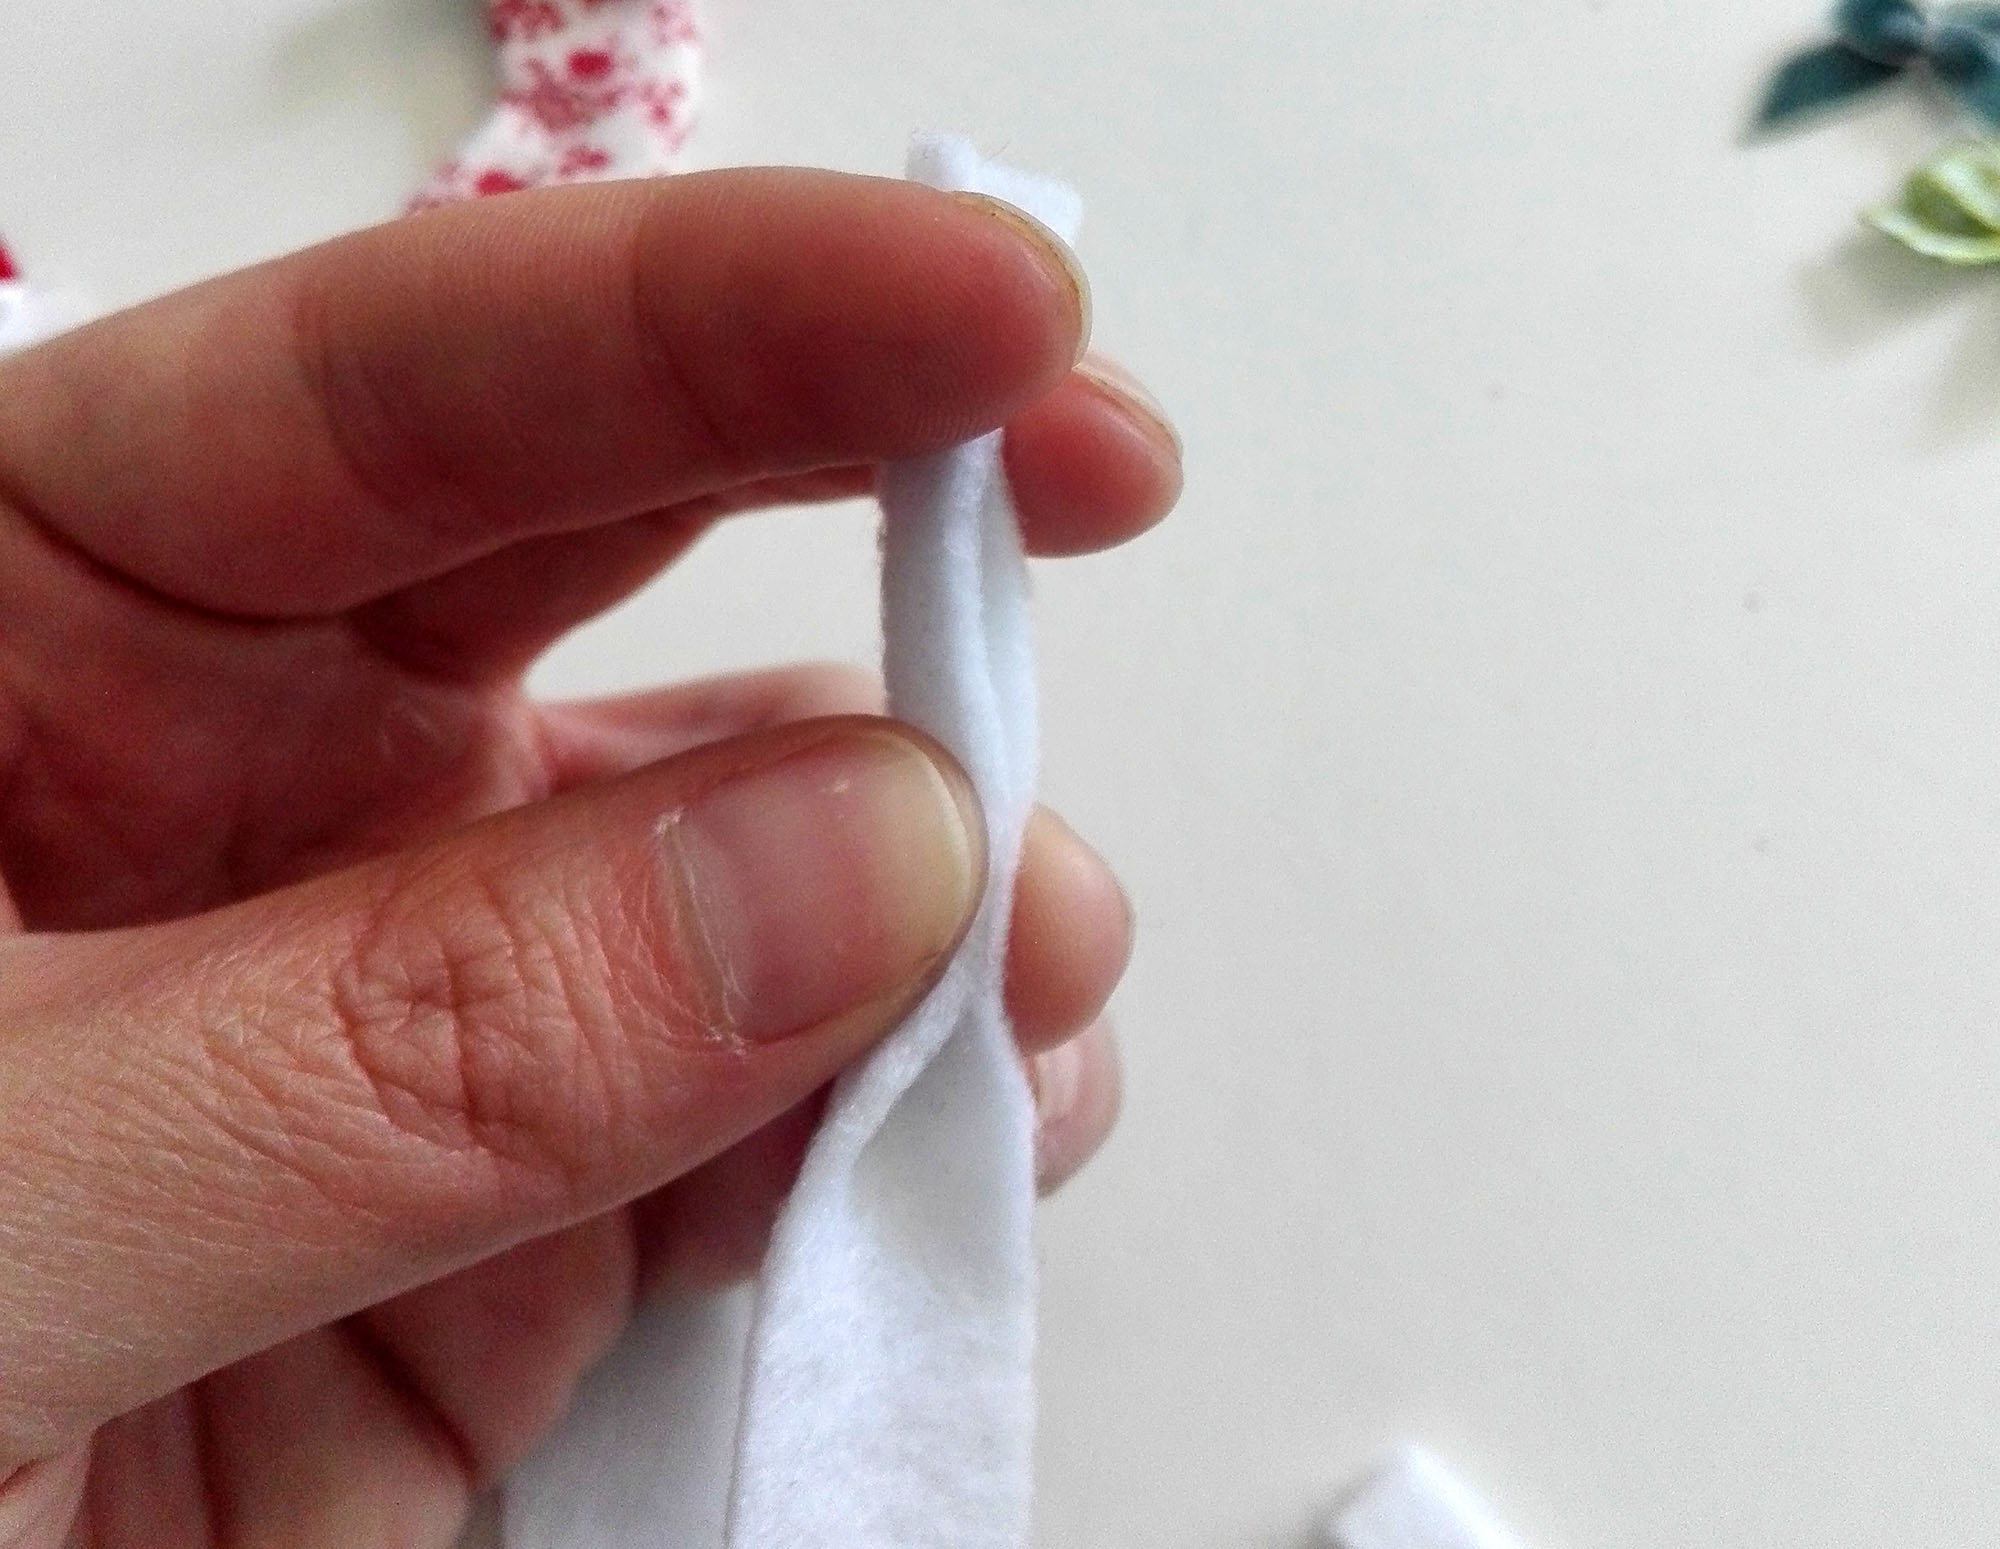
Cut stripes of white felt and glue it folded, so it’s thicker. This will give more dimension to our socks.
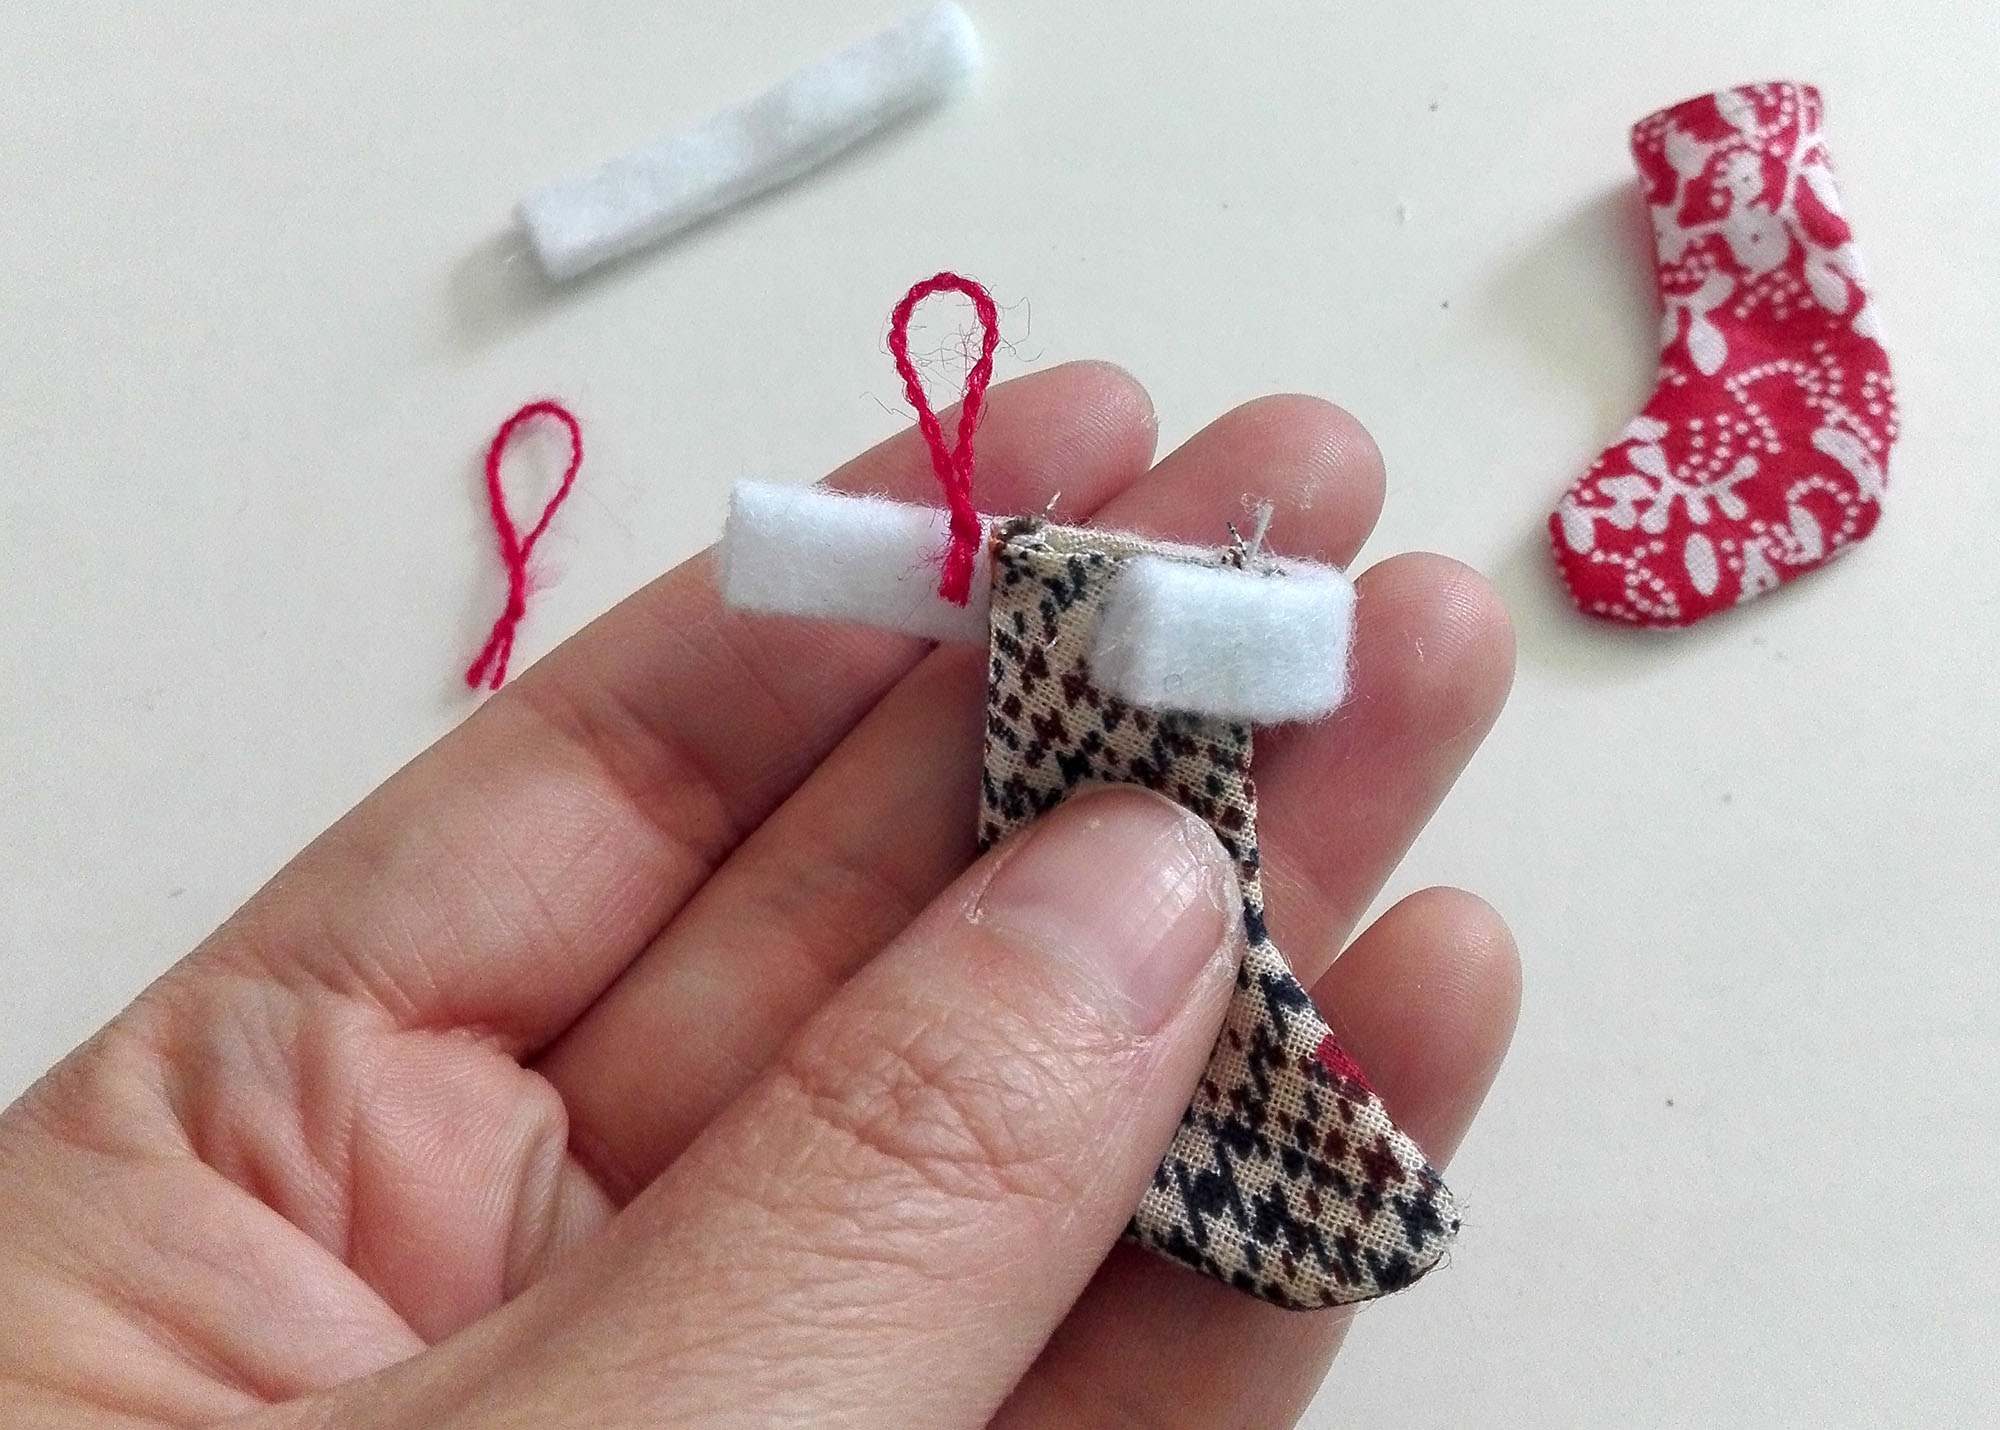
Glue the felt around the top part of the sock. Add the loop of yarn to the side while gluing it, so the knot gets hidden inside.
Once all your socks have the white felt glued, it’s time to decorate. Plan before gluing!
I decided all my socks would have one pompom and one ribbon, to keep it somewhat consistent.
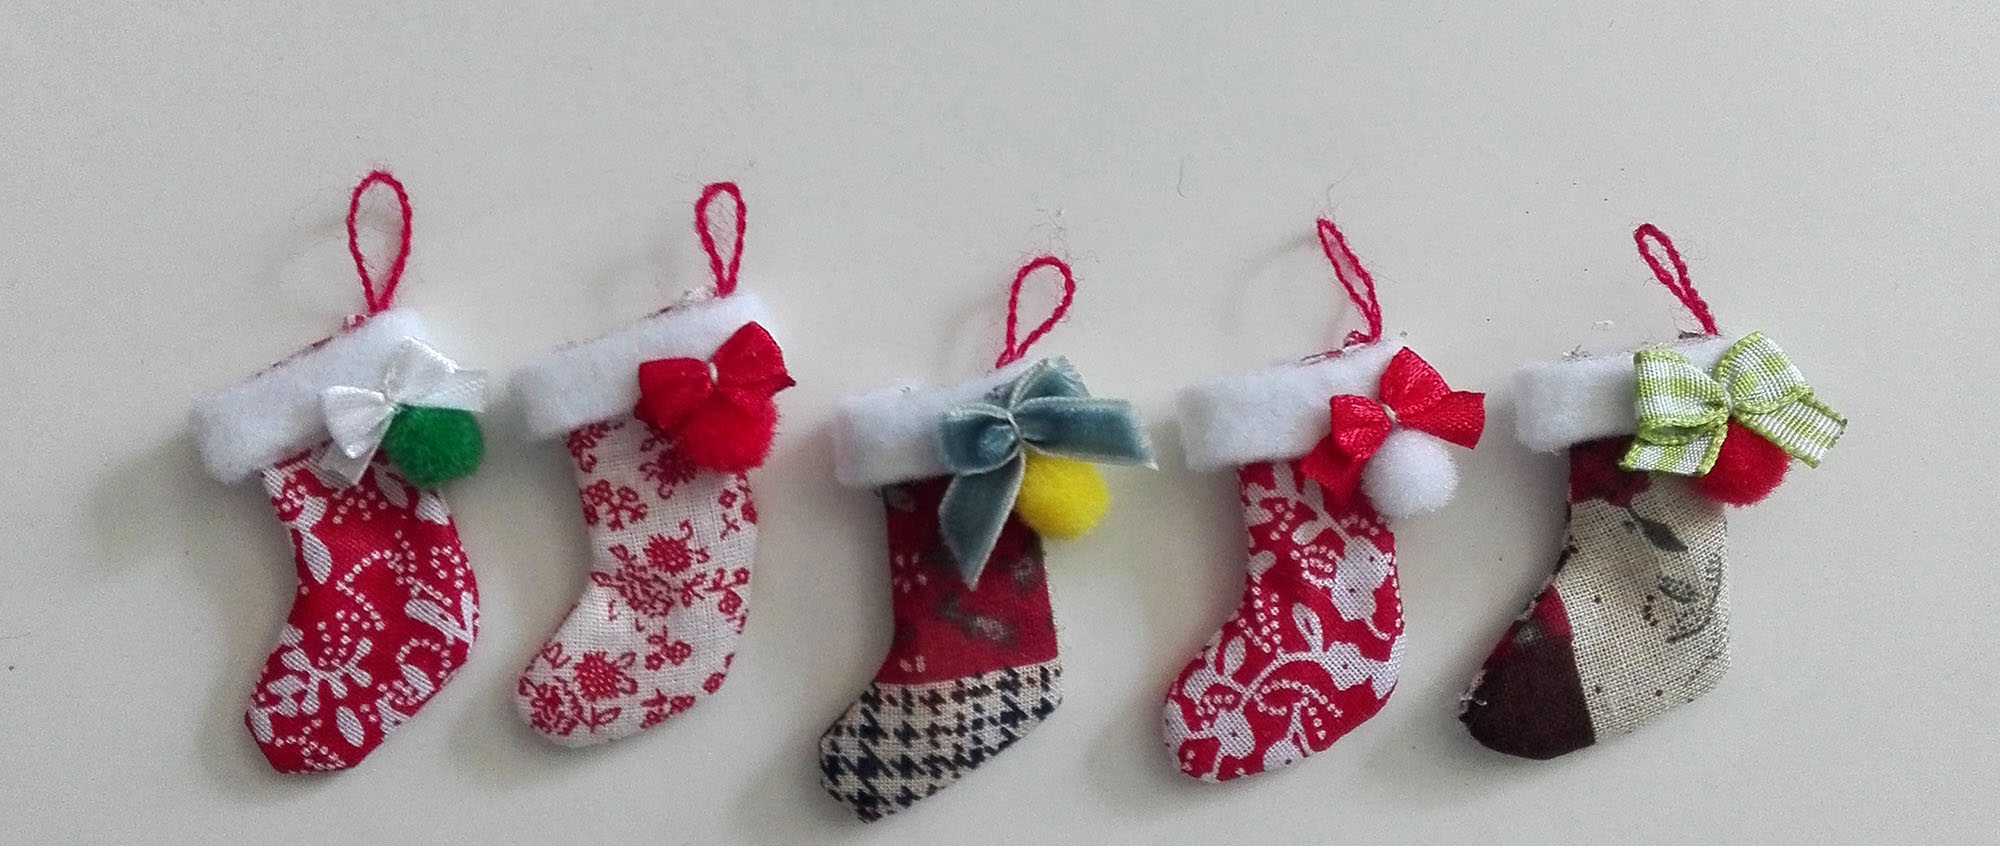
And here is the final look!
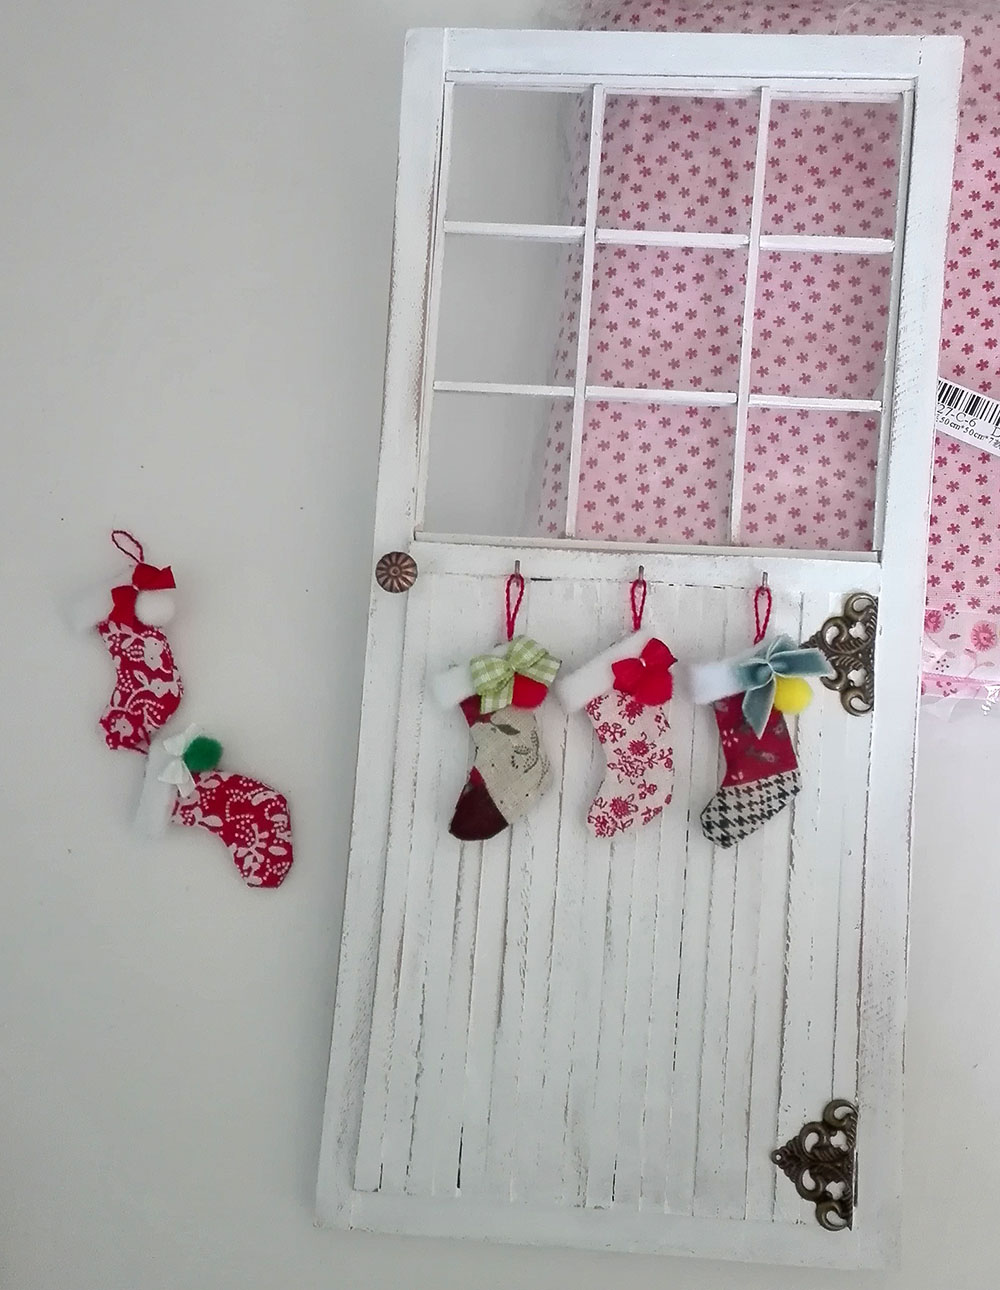
I also made a door with 3 hooks on it so I could hang them. No tutorial for the door because I just literally glued wood sticks together and painted them, and then sanded it all for the rustic look. I used whatever sticks I had on hand, didn’t plan much.
And that’s pretty much it. Simple, doesn’t take much time and it’s super cute! Do you guys liked it? Hope you give it a try.


Wow, the socks are super cute! I think turning them to the right side is the hardest part.
I’ve never liked the process when I sew something really small.
But if I make socks for my boys they’ll be bigger so no problem. 🙂
Right now I’m thinking of some Scandinavian or wabi-sabi X-Mas decorations.
I’m glad you liked them! Turning them over it is definitely the hardest part. Everything else is super quick to do. You set up such nice rooms, I think they would look great in your boys room! I had to google wabi sabi but I like your ideas!!! I’m a fan of Scandinavian style.
Now that’s a simple tutorial that anyone could do Alejandra, it’s good to see you helping out those that have a problem sewing. I also like what you did with them, hanging them on that door was a great idea! 🙂 I would suggest if anyone is making them in miniature, a pair of hemostats are a must, it makes turning tiny things in the right way a breeze. I always use them when making mini teddies. 🙂 You can find them on eBay for less than $10.
Big hugs,
X
I’m glad you think it can help some people, you see, I’m the one that has problem sewing LOL. I like tutorials to be simple and give decent enough results because I can’t make too complicated things hahaha. I spent 2 days on the door because sanding takes a long time and the wood sticks I had were super uneven (the door is actually uneven, couldn’t fix it more than that haha), but I’m really proud on how it looks. If anything, it helps with the rustic look. Now I need to make some walls and hopefully a window where I can display the lovely Christmas cards from your blog.
Thanks for the tip!!! I’ll make sure to buy some hemostats next year, when the whole Christmas craze calms down.
Hugs for you too!
I was wondering where you got that door from when I saw it on your IG. That is fantastic that you made it and it looks super good. I love it. The design is great. And it comes out a treat in photos.
Thank you for making this tutorial. I was just thinking the other day I should make some Christmas stockings for my dolls. Whether I get time to before Christmas though is another thing. But I love how they turned out and what a great way to use up scrap fabric too.
I will be looking forward to all your Christmas photos! I was hoping to get a fireplace from a local doll furniture maker for the Christmas doll photos this year but so far, I haven’t done it yet. Time is getting away from me!
Thanks!!! I think the details on the door make it look way nicer than it is. I used a jewelry ornament that was shaped kind of like a diamond to decorate on the side (I just cut it in half and glued one part on the middle and the other in the bottom). It was one of the many craft supplies Irene has sent me at some point hehe. The door knob is just a pin , the ones you stick to fabric on furniture to keep it in place. I found ones with ornaments on the round part so I used that, I’ve had them for years!
Hope you get time before Christmas for some photo, I’ve always admired your setups 🙂
A fireplace sounds great! I thought of making one but in the end I settled for a window, which I’m actually making at the moment!
Hugs~
Socks are great, but I love the door! 😀
Great tutorial, I hope I will find some time to try it. 🙂
The door turned out very nice, I’m glad you like it. Since I don’t have the right tools for working with wood, it was a lot of time and hard work to finish it.
That door and those socks are amazing! And so easy to do, too! I ordered some wooden sticks and glue the other day and my hubby came home with some fabric scraps, so maybe I should try this out! 🙂
Ohhh! the door is a pain to make if you don’t have the right tools (which I didn’t), but it’s also fun to make, and really easy. And it looks great with some socks or Christmas decorations. Hope you give it a try too!