Hello all!! It’s been a while since I did any face up posts (or face ups, really), but I’m happy to be able to talk about my dragon Ashes face up progress today. I also decided to keep the name I long planned for him: Fiyero. What do you guys think?
It was a 3 day weekend and I spent all three days doing face ups. I sadly screw up all the other heads I started painting so I only was able to fully finish Fiyero and bleater’s body.
I took photos of all the steps (minus one). I didn’t include blank photos, but you can see lots of them in my Ashes box opening and also in my body review.
I received Ashes on July 12th, so it took me 3 months to paint him. You might think that’s a long time, but considering it always takes me a year to paint a doll, this is a HUGE accomplishment.
This post is image heavy. For the same reason, I didn’t do much edit to the photos, even though they didn’t came out great and most were overexposed.
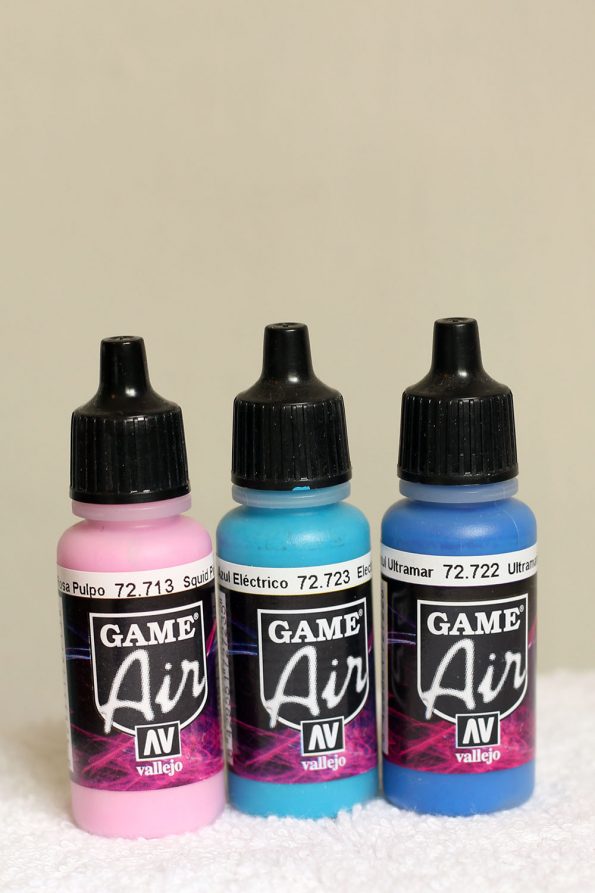
This was my first time trying these paints. I bought them online because they don’t sell them here. I could have gotten Golden acrylics in my city, around an hour travel from where I live, but they were bigger bottles and more expensive too. These were small which is something I like because I won’t need that much color when airbrushing dolls anyways, so I can have more colors in less space.
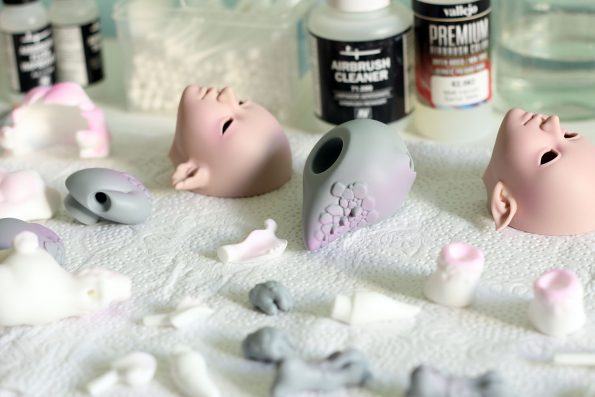
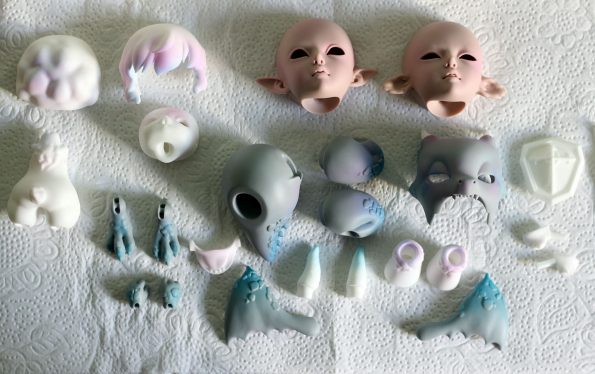
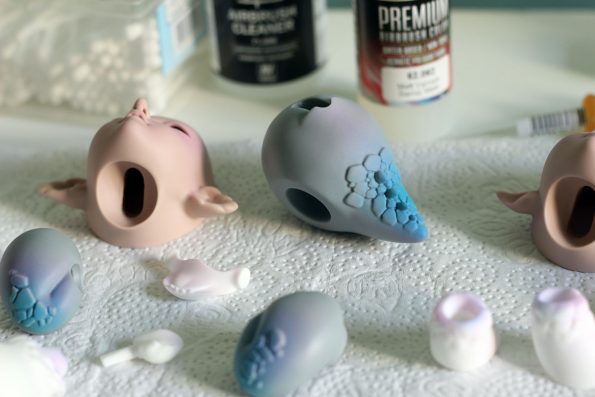
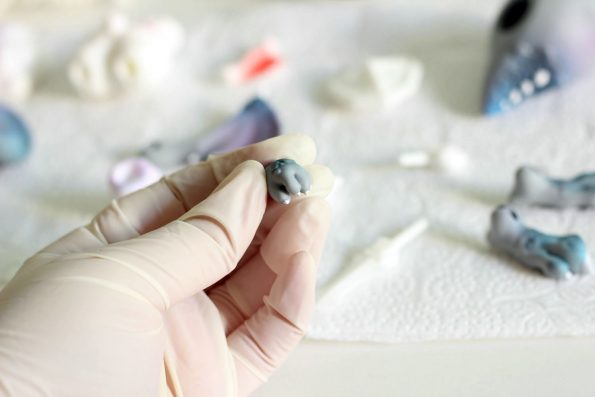
I first did a base of pink blushing using the airbrush on most pieces (I skipped the horns, hands and the back of the wings). I also didn’t blush the arms, the back piece for the head nor the torso.
This is how the first layer of airbrush looked:
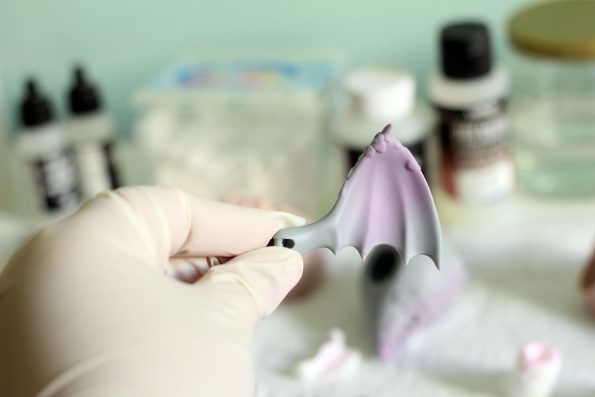
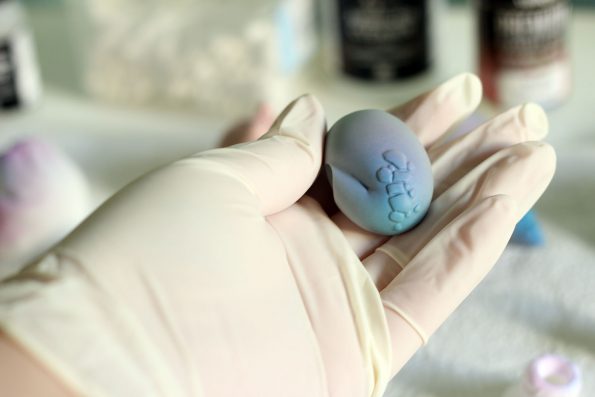
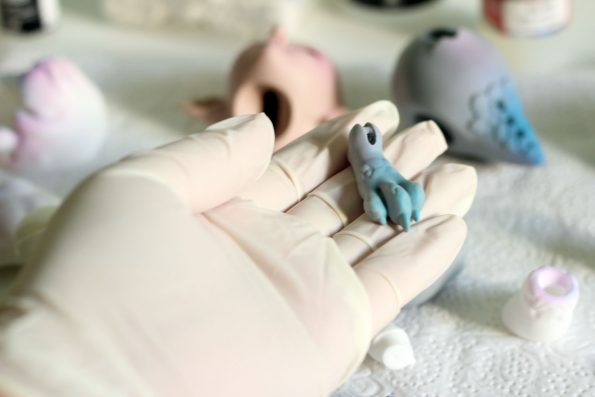
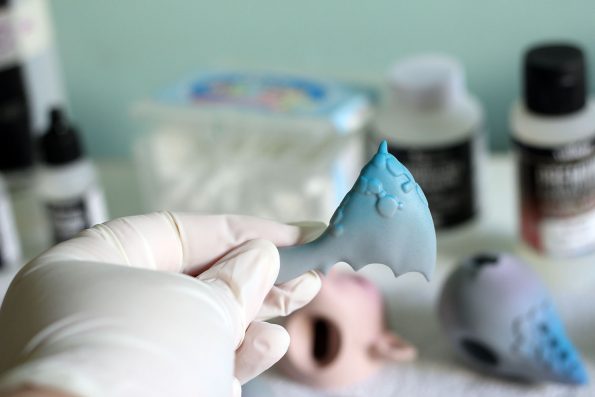
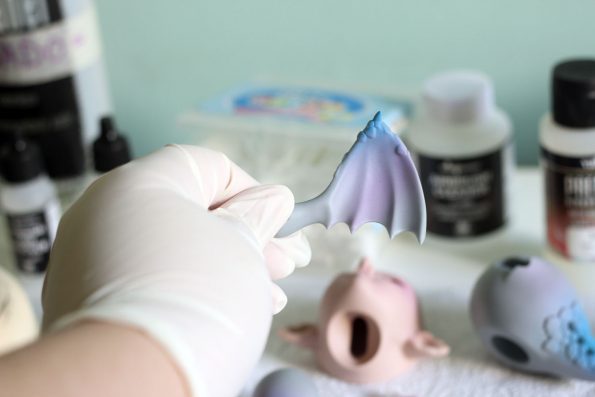
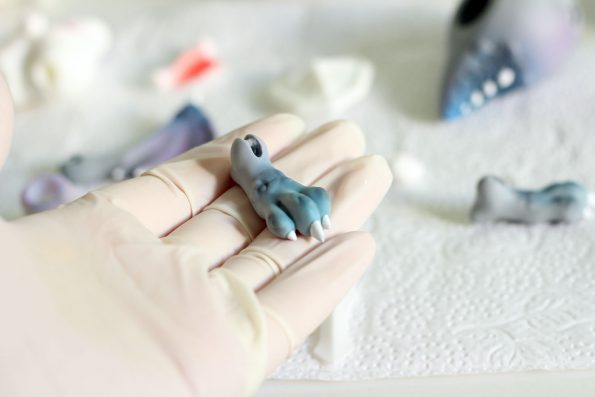
After sealing that, I added a layer of electric blue (the lighter blue in the photo):
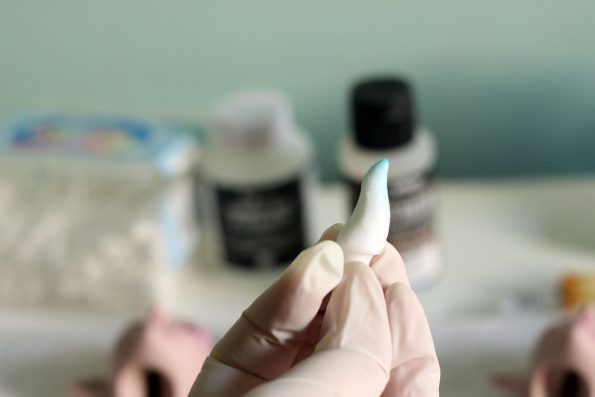
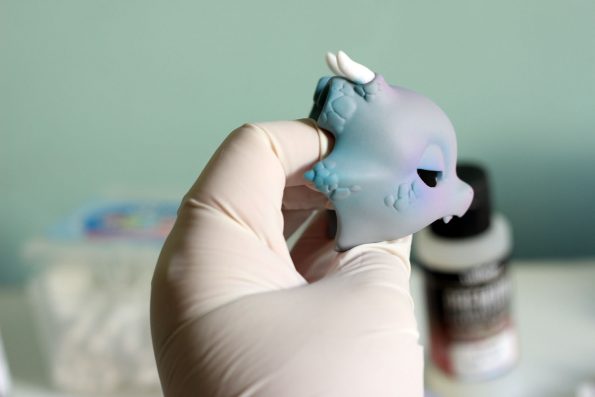
To keep the tiny horns that were glued to the head white, I used masking tape to cover them on each layer of color. You can see in the last photo the color still touched a bit of the horn, but I was able to clean it using thinner.
That was all the airbrushing color I did, since I do not have great control over the airbrush (I mostly use it to seal heads).
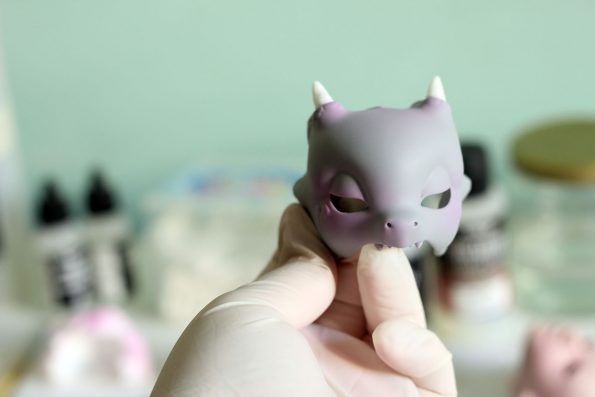
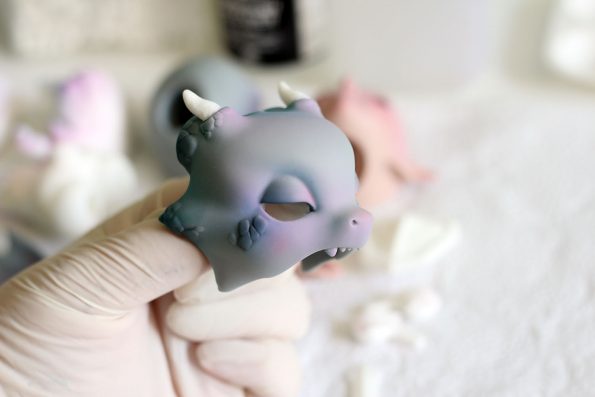
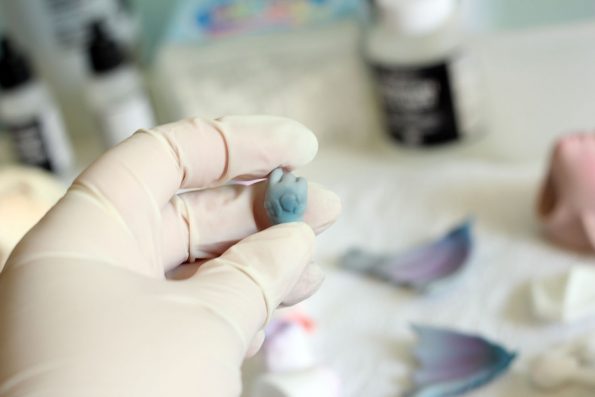
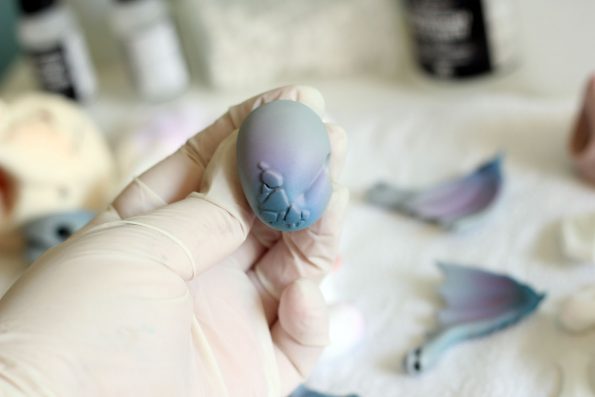
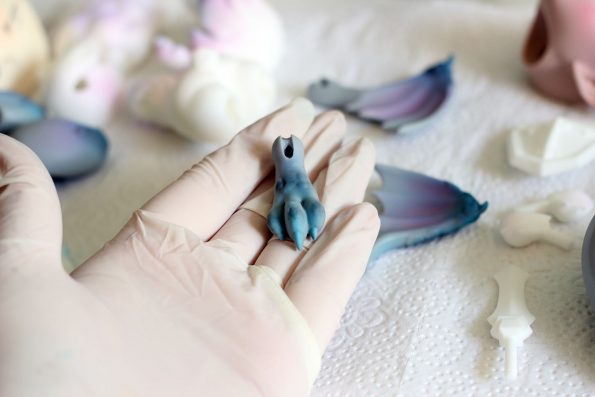
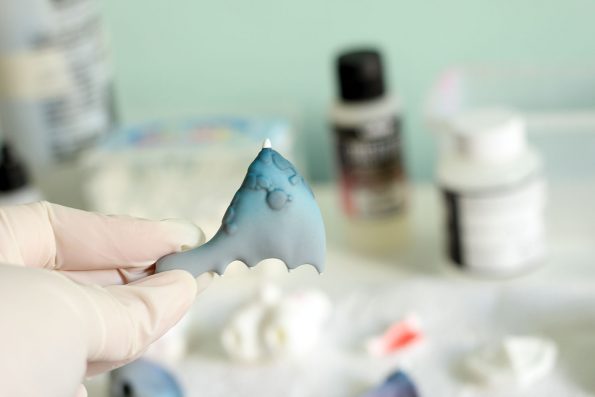
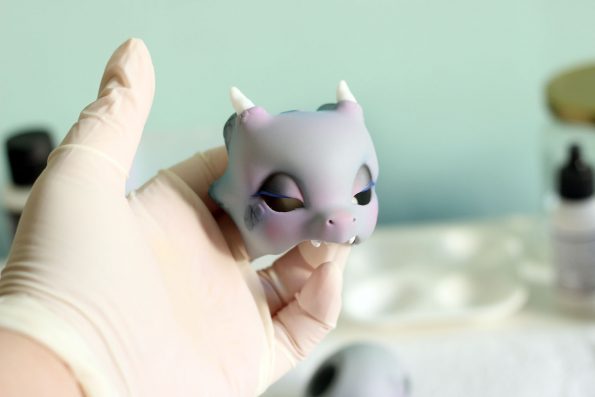
Once all the airbrush job was done I sealed the pieces one more time, then I applied more pink blushing using pastels on the wings (to visually separate each membrane of the wing) and on the face.
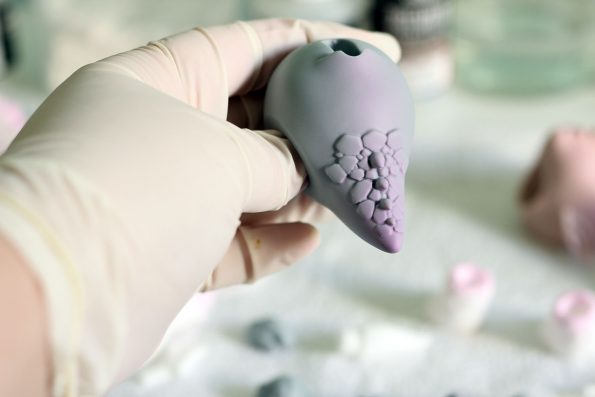
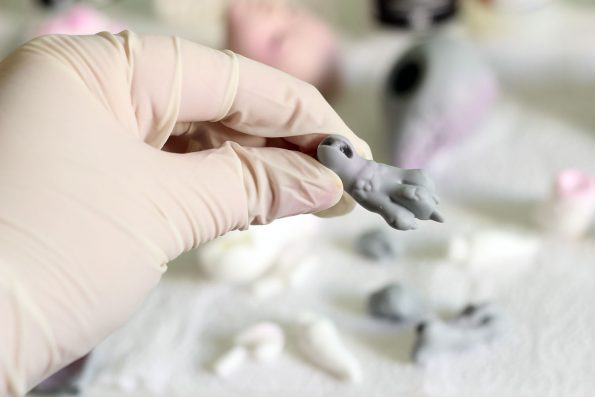
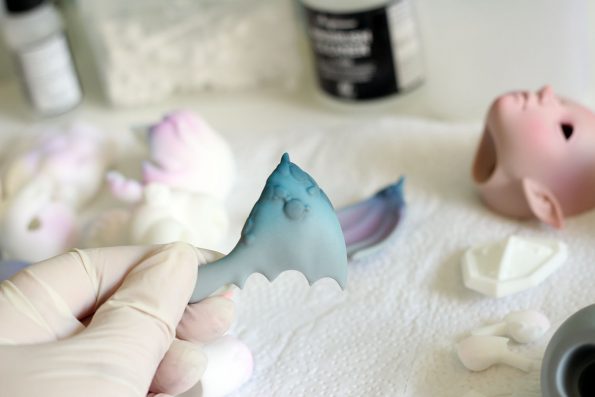
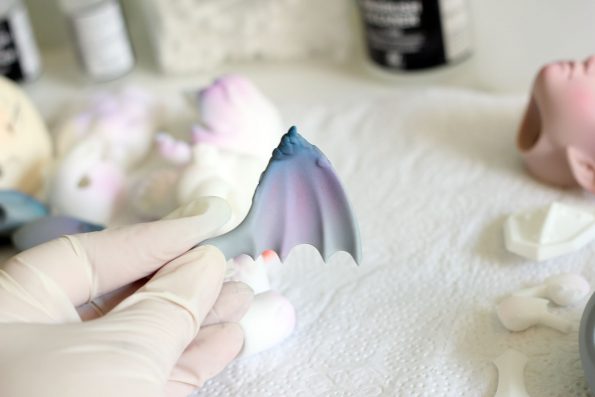
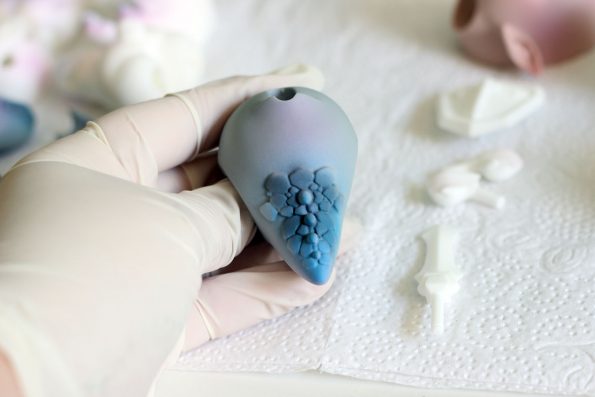
I also applied dark grey pastels on the scales of each piece and the eyes:
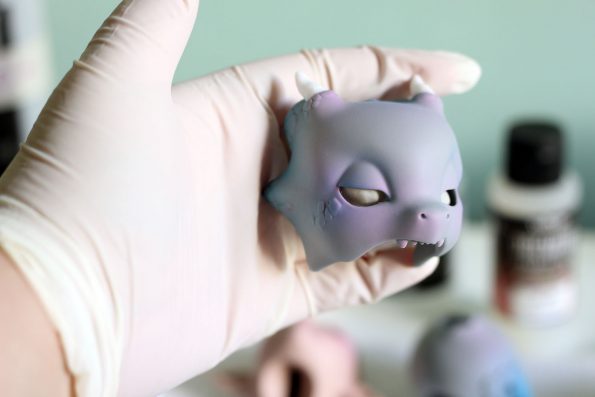
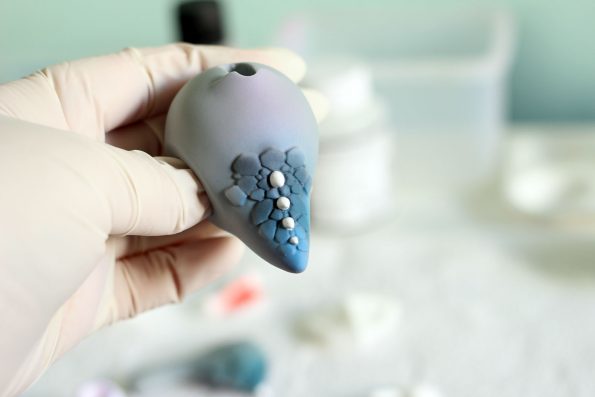
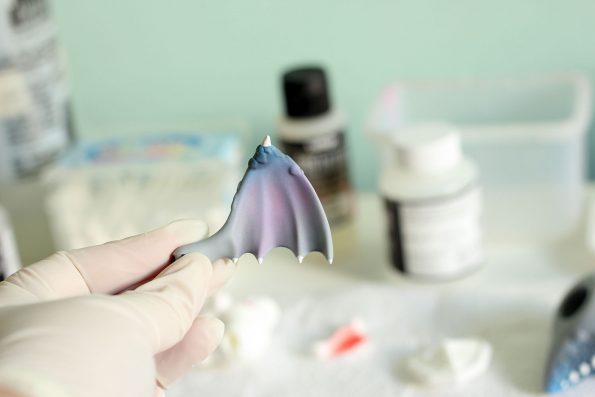
Time to seal everything again and paint the little white details with acrylics. I did a second layer of dark grey on the wing membranes to give it more dept and I also added black to the eyes before sealing again (I skipped that photo so you will see the head with eyeliner already on):
For the eyeliner I used the dark blue of the Vallejo paints instead of black. I think it gives it a nice touch. You can click on the photos to enlarge.
I somehow forgot to take any pictures of the jaw piece with the tongue, but I gave it a layer of pink blushing with the airbrush first so it would take up the pastels better and then added around 3 or 4 layers of red pastels before painting the teeth white (since they were red by then).
After sealing everything again I added a satin finish sealant on teeth, and white bones and claws, and also the horns and jaw piece. I could have used gloss finish, but I thought it would be too shiny.
I also want to mention that it was my first time using Vallejo sealants instead of Liquitex, and I quite like them. For one is a blessing not having to dilute the sealant in distilled water. Texture isn’t as rough to the touch as Liquitex, but I got the impression that the pastel colors hold way better on it. My first big screw up on Junia’s head was that the blushing ended up being too heavy, because I was not expecting the pink color to pop up that much on the head, so I was quite impressed! I used the same pastels I always use (Rembrandt).
It was also easier to clean up mistakes. When I painted with white acrylics over blushed pieces by mistake, I used a bit of thinner to clean it up and it didn’t smudge the colors that were sealed under it. I was impressed because most of the time with liquitex I lose a few layers of colors when trying to remove mistakes with water (and then I have to start over).
It also was easier to deep clean the airbrush. Usually with liquitex, every time I take the airbrush apart for deep cleaning (which I do every day after doing face ups), the tiny pieces at the front are always stuck and it’s such a pain to separate them. I once made a dent on the nozzle cap trying to separate it from the nozzle, but these past three days nothing was stuck after a day of sealing. I didn’t do anything different, I cleaned the airbrush every layer as always. I did use the vallejo cleaner instead of the Medea one, but I find that the Medea cleaner is much easier to work with, so I don’t think that was the reason.
I’m overall very happy with the sealants I got, only problem is that the bottles are super tiny and since I’m super insecure I seal each head A LOT of times, so I don’t see it lasting too much, Oh well.
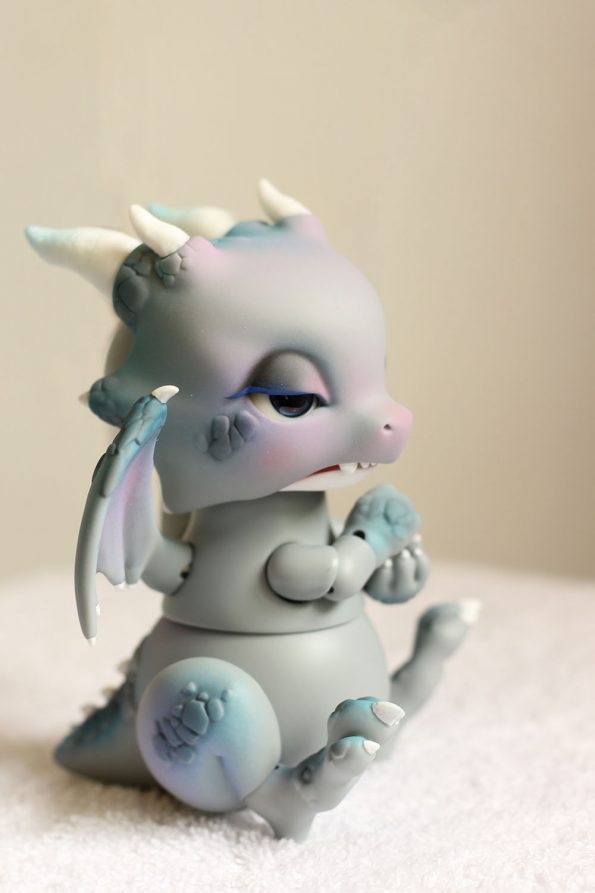
Had a lot of trouble putting this little guy together and I already did an order for new elastics because I had to use the elastic that was meant for the body on the arms and wings and use a thicker elastic I had laying around for the body, since the elastics that were previously on the wings were too short to restring him with them.
Not ideal but hey, He is complete. Hope you like him as much as I do~

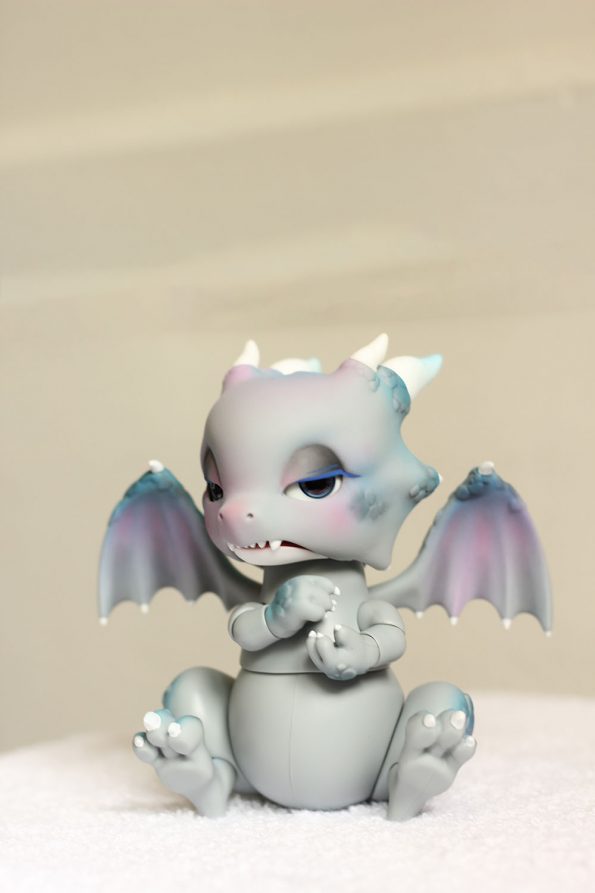


He looks so cute!!! And you are improving so much on faceup, I admire you a lot!!
The masking tape on the horns was a great idea! Love the details of the tiny horns in white, and the blue eyeliner <3
Also, it is great to read that Vallejo is such a good sealant!
I really enjoyed this post, these WIP images are great! May I request more Faceup Progress posts? 😀
Thank you!! So happy that you think I’ve improved, let’s hope I have improved doinh eyebrows and lashes too XD I’m scared~
The blue eyeliner gives him such a unique touch I think~ I was planning on doing blue eyeliner on bleater, that’s why I got that colour in the first place, now I feel like I need to do more colored eyeliners in general, they look amazing!
I’ll keep taking progress photos, no worries!
Oh thank you for posting your progress photos. I love his name. I think it suits him!
I really like the colours you chose and think you did such a fantastic job on both the paint and blushwork on him. I love how the colours have this gradient effect too so that the painted bits really just pop out so well.
I’m glad you liked using Vallejo. I agree that the bottles are way too small! It’s also hard to get in Australia. I managed to get one small bottle luckily so I’m hoping that particular store continues to sell them when I run out. I’ve never tried liquitex so it was good to hear your experiences regarding both sealants. As you know, I am only using a (training wheels) airbrush at the moment using the make up airbrush to seal my heads and I find I don’t have any issues cleaning out Vallejo after I seal. I think I will use liquitex to seal lips and eyes on my vinyl repaints instead of the Tamiya gloss. I’ve noticed the gloss doesn’t seem to dry probably. On my first vinyl head I did at the beginning of the year, the gloss is still tacky even after 5-6 months!! It must not like vinyl as much as resin.
Thanks again for taking the time to take and share these photos. I really enjoyed seeing the progress of your face ups.
So happy you like his name!!! It was the first name I thought when I saw Ashes last year and for a moment I wasn’t sure it was going to suit him, but once I finished the face up, I couldn’t see him as any other than Fiyero 🙂
When painting with the airbrush is much easier to give a gradient effect to things, I really like that quality of airbrush work, it’s much much harder to accomplish with pastels (and it can go wrong sooooo fast!).
Too bad the tamiya gloss doesn’t work on vinyl, does the vallejo work fine? you can apply the same liquid sealant for airbrush with a brush, that’s how I did the satin finish on the white bits. I don’t like the tamiya gloss because it needs way too much layers to look decently glossy, I never can make it look really glossy. I’m going to try the vallejo gloss on Junia and give you my impressions of it 🙂
I’m so glad you enjoyed the progress photos!
You did such great job with the faceup and blushing, love the way it looks! The colors are so pretty *3* Can’t wait to see your Junia finished too!
Thank you!!! As soon as I get free time and a sunny day (today was so cold!) I’ll start Junia, I already gave her a few layers of sealant 🙂 hope this time it goes well XD
Such a good name for him and I loved reading this and looking at the photos. Good work! The colors go well together too. And you will do great on eyebrows and lashes! 🙂
Thank you!! I’m glad you like him and his name~ I’ll be really patient doing eyelashes and eyebrows on the other dolls so hopefully I won’t have tor e do much, thank you 🙂
I think you’ve done -such- an amazing job painting him. I’m a fan! (Both of Fiyero and you 😉 )
I hope you’ll get another chance to paint your heads soon! 😀
Thank you very much!!!
Let’s hope the weather gets better 😀
He looks amazing! I love the vibrant colours on the grey resin ^-^ I would love to try out an airbrush someday, the finish looks so neat and it seems to be so much easier to blush fantasy pieces especially.
Thanks! Airbrushing colors is so much faster compared to pastels, and I’m sure that with practice you can gain as much control with the airbrush, but I just don’t have that much experience yet so I only use it for the bigger areas that need to be blushed and use pastels when I need more control on where the color is going to be.
Hi Alejandra,
I really admire what you’ve done with your Fiyero and I love his name. Using several different shades of colour has given real depth and made him much more realistic looking than those that I have seen blushed with one colour. I am so pleased you went into detail regarding your use of Vallejo (which I have yet to try), the clean up sounds so much easier than any other sealant I have tried in the past, though I do wonder about the smell, how did you find that?
Thank you so much for this informative post.
Hugs.
X
Hello!! Thank yopu for your kind words, I’m so happy you like Fiyero!!
The vallejo sealants I’ve been using have no smell at all, I wear a mask when spraying, but there’s no after smell (plus I went ahead and opened the bottle with no mask and no smell came from it). They are also non toxic (though a mask is needed still of course). But you need an airbrush if you want to apply it as a spray, other than that you could use a brush, not sure how that would work in big areas, but I didn’t find any problems brushing the sealant on small pieces like the horns and the teeth.
I love it when people document their customizing progress! I always forget to take photos in between, LOL!
Anyway, your blushing on him is simply amazing, the color combo and the softness of the colors all complement him so well!
Thank you!!! It’s always so nice to see comments like this from someone who knows more than I do :D!
You should try to take some progress photos some day, I’m sure we all could learn so much from it!
Ohh!! I love the blushing! They all look so great! Thanks for sharing this!!!
Thanks!! Wish I could have shared more face up processes but I lost the photos of the other doll’s.