
I was surprised to see so many people interested in how I made the floor I talked about in my previous post. It was a crafting project I planned to make for so long and I had many ideas on how to approach it, but they all had a common factor, and that was to use a piece of wood as my surface, mainly because it is harder to bend than a cardboard and it was most likely to stay flat even if I decided to apply a liquid glue.
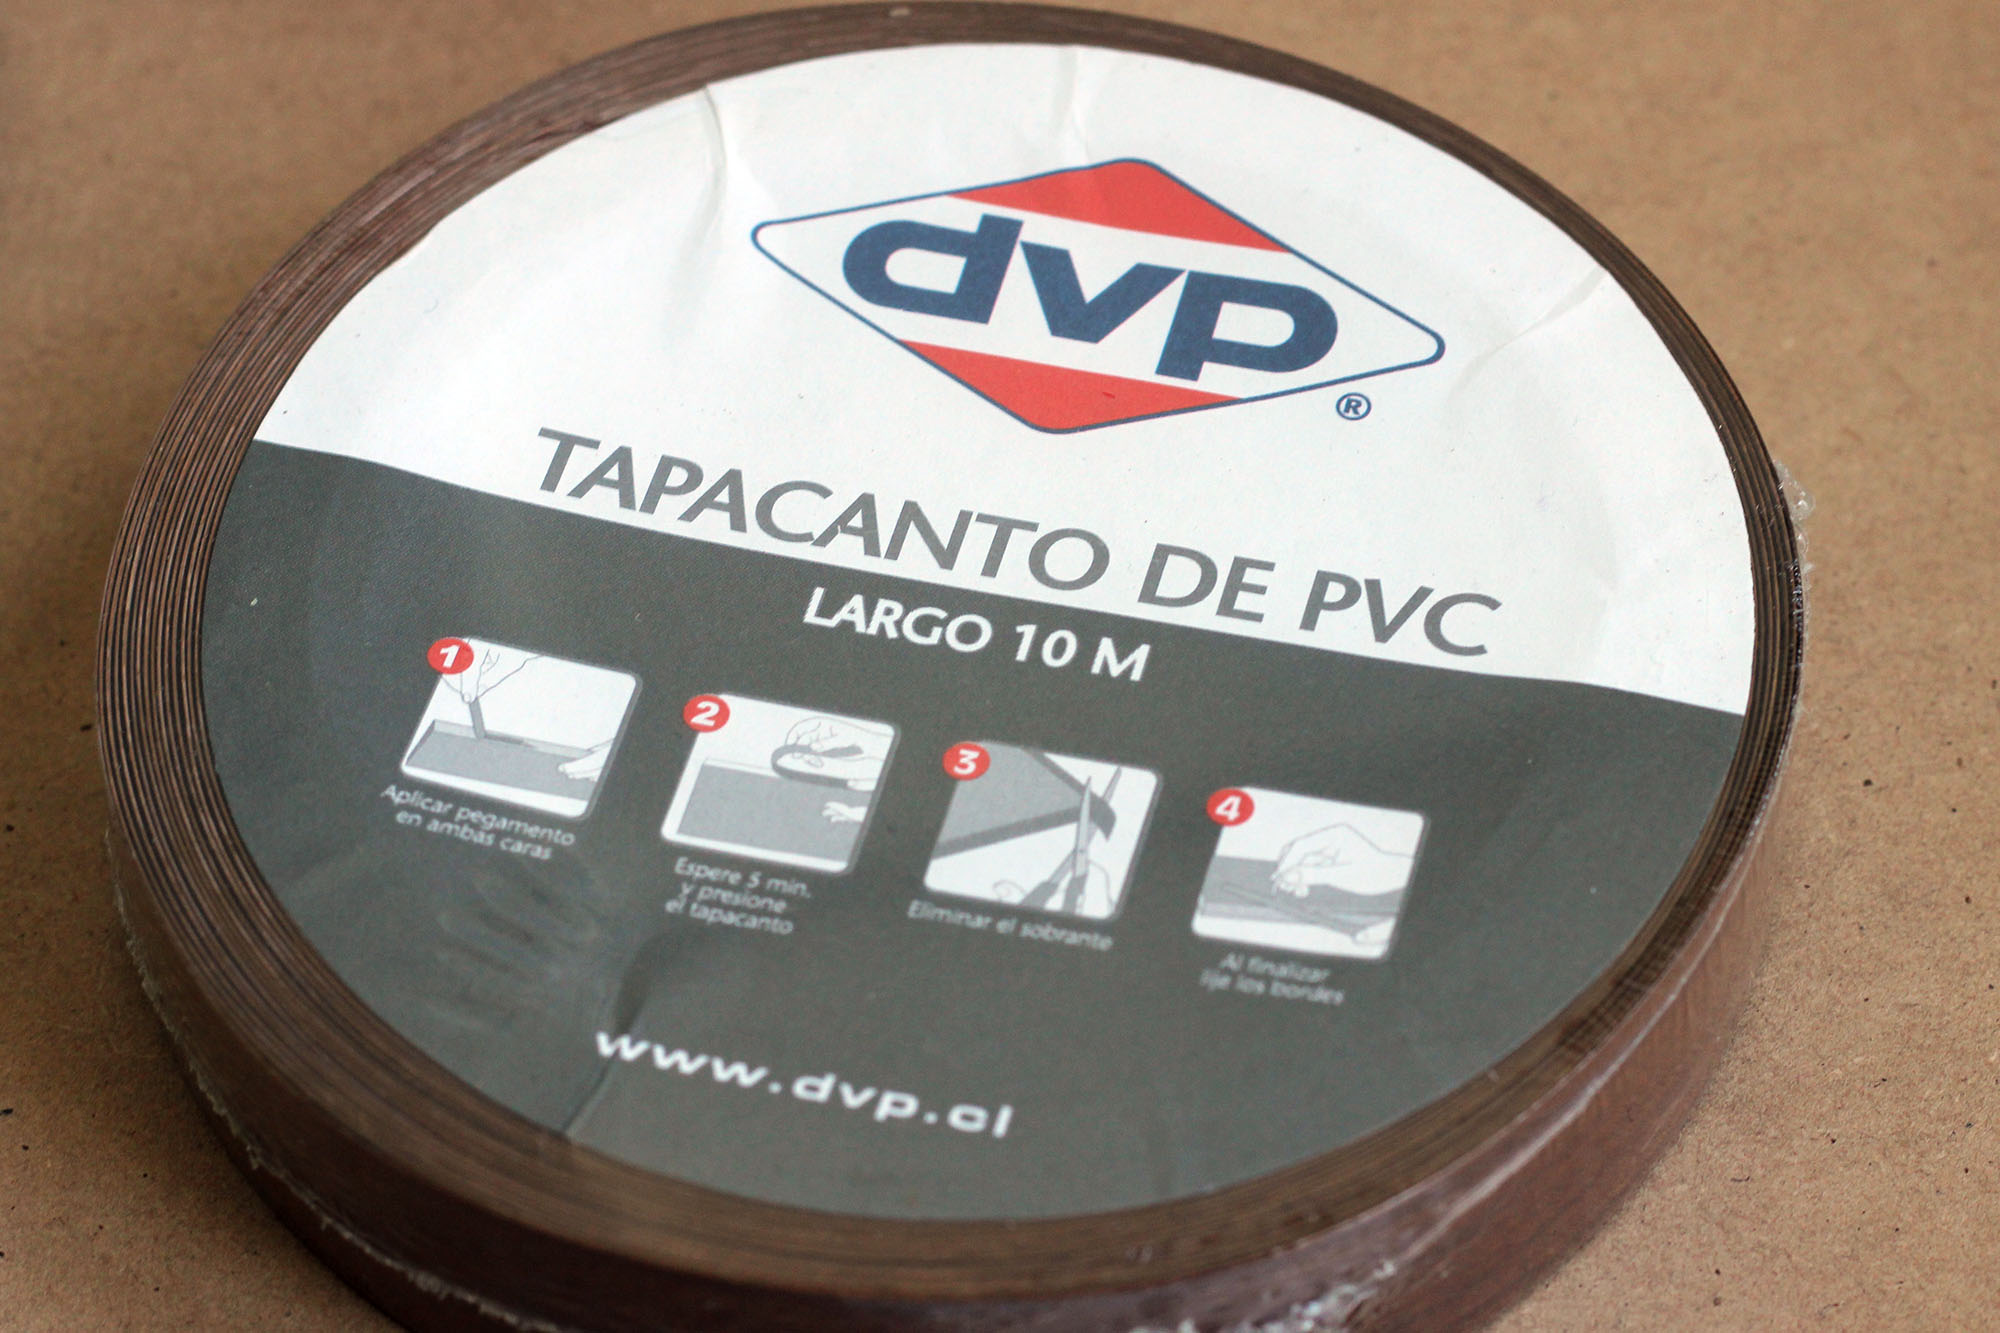
So I went to a hardware store to get some wood (or a store like Home depot, which is like a bigger version really). And next to the pieces of wood there was the answer to all of my problems: pvc edge banding.
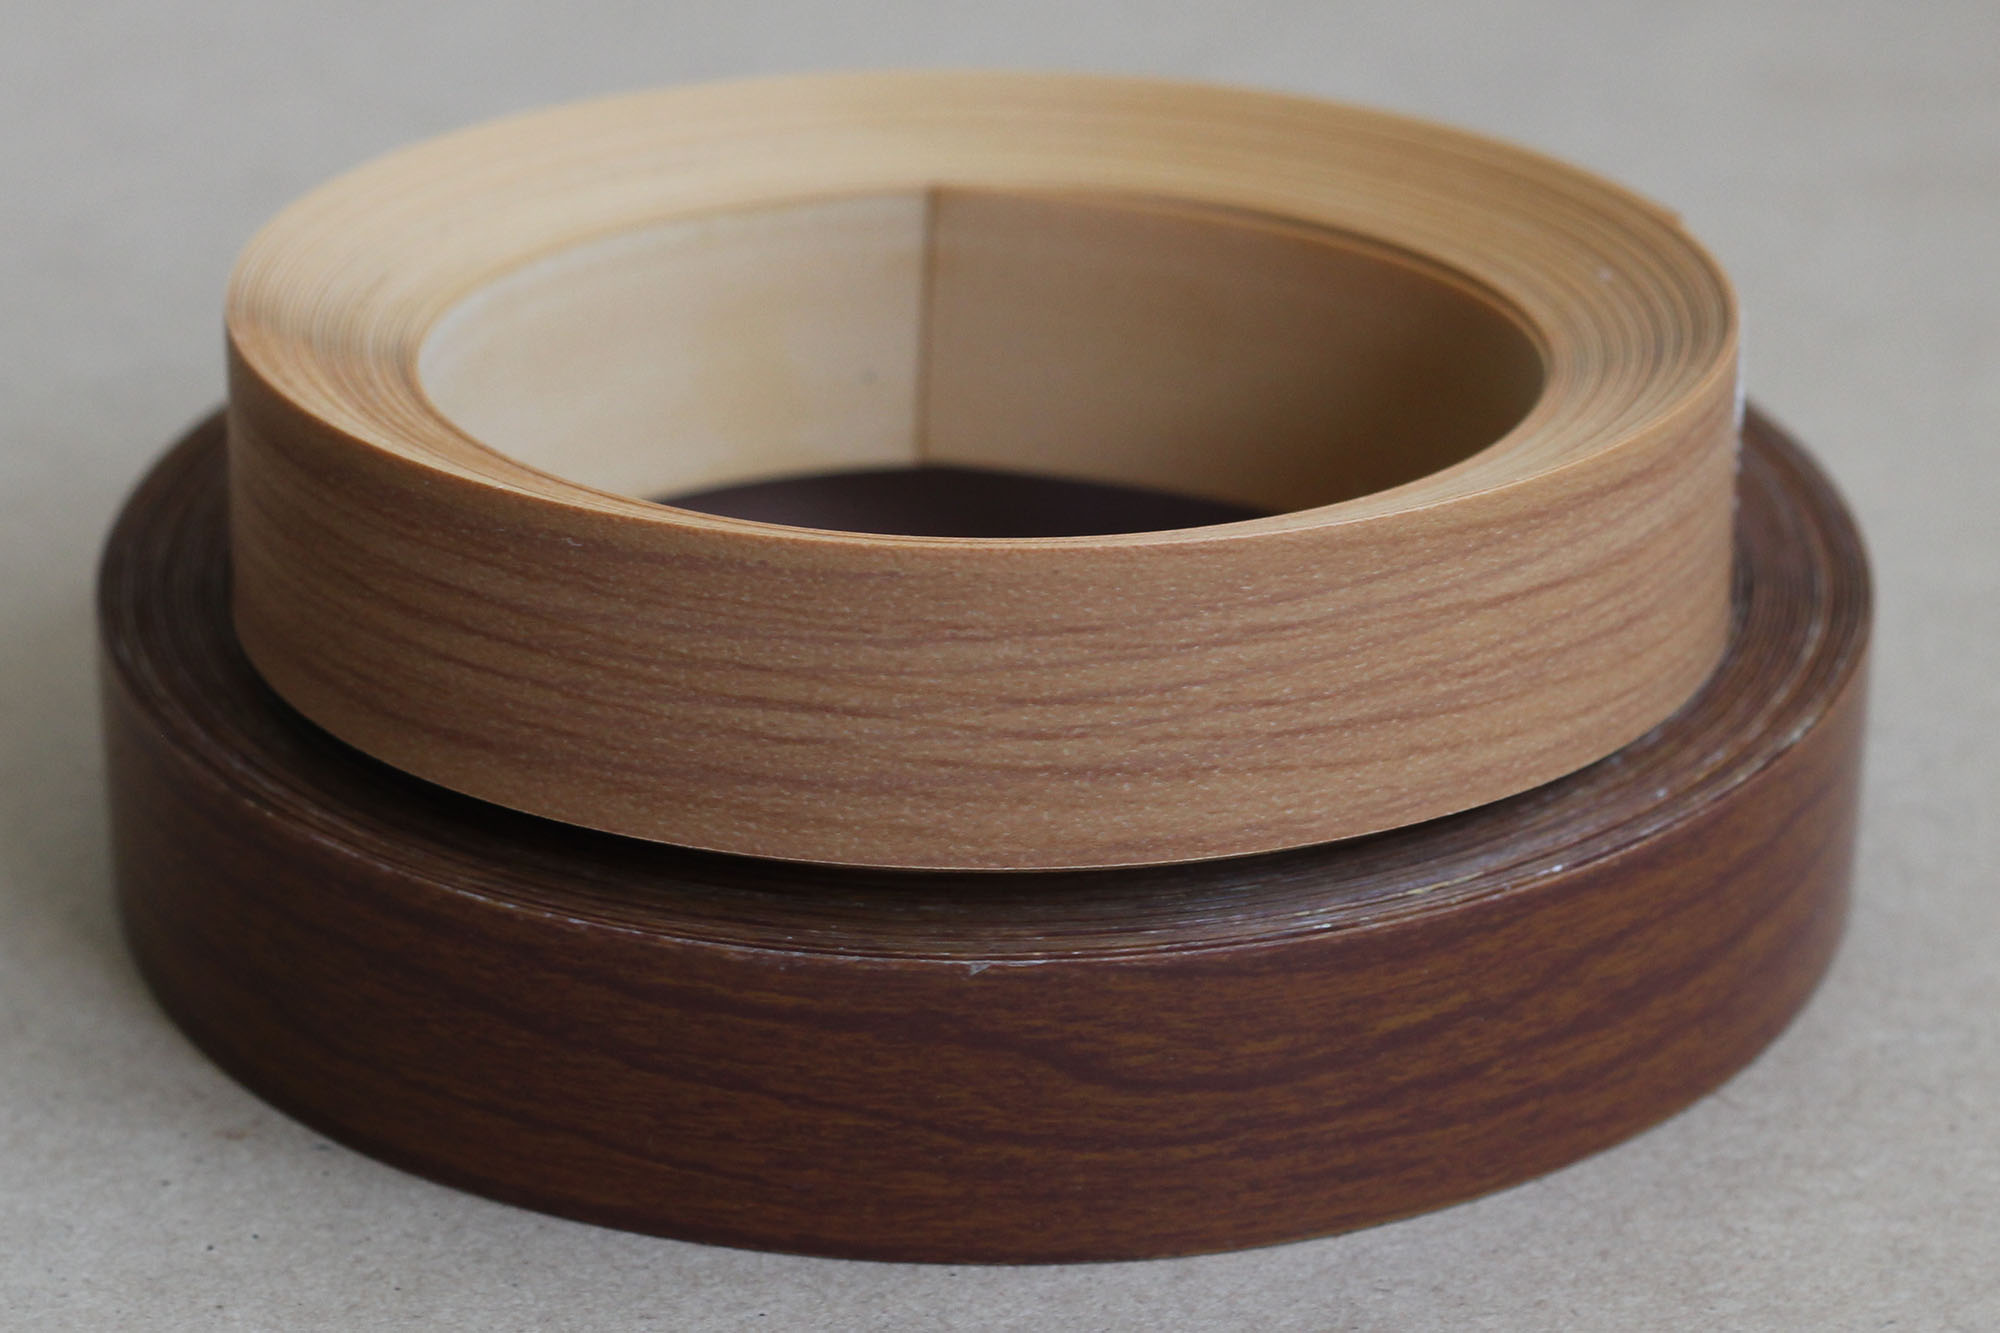
They sell it in many colors and effects, including many shades and types of wood looking ones.
There’s 2 types of tape: one that comes with glue on that’s activated with heat (instructions say to iron the tape onto the wood) and the one you need to apply glue first.
The first type has a texture where the glue is, so I didn’t want to risk it and went with the one that is totally flat. To have better control in placing it onto the surface I used double sided tape instead of glue (though I did experiments and both pvc and all purpose glue worked fine).
That’s pretty much all there is to know about the flooring, but I’ll include instructions too, since I did a second floor and this time I took some photos.
Materials
You will need:
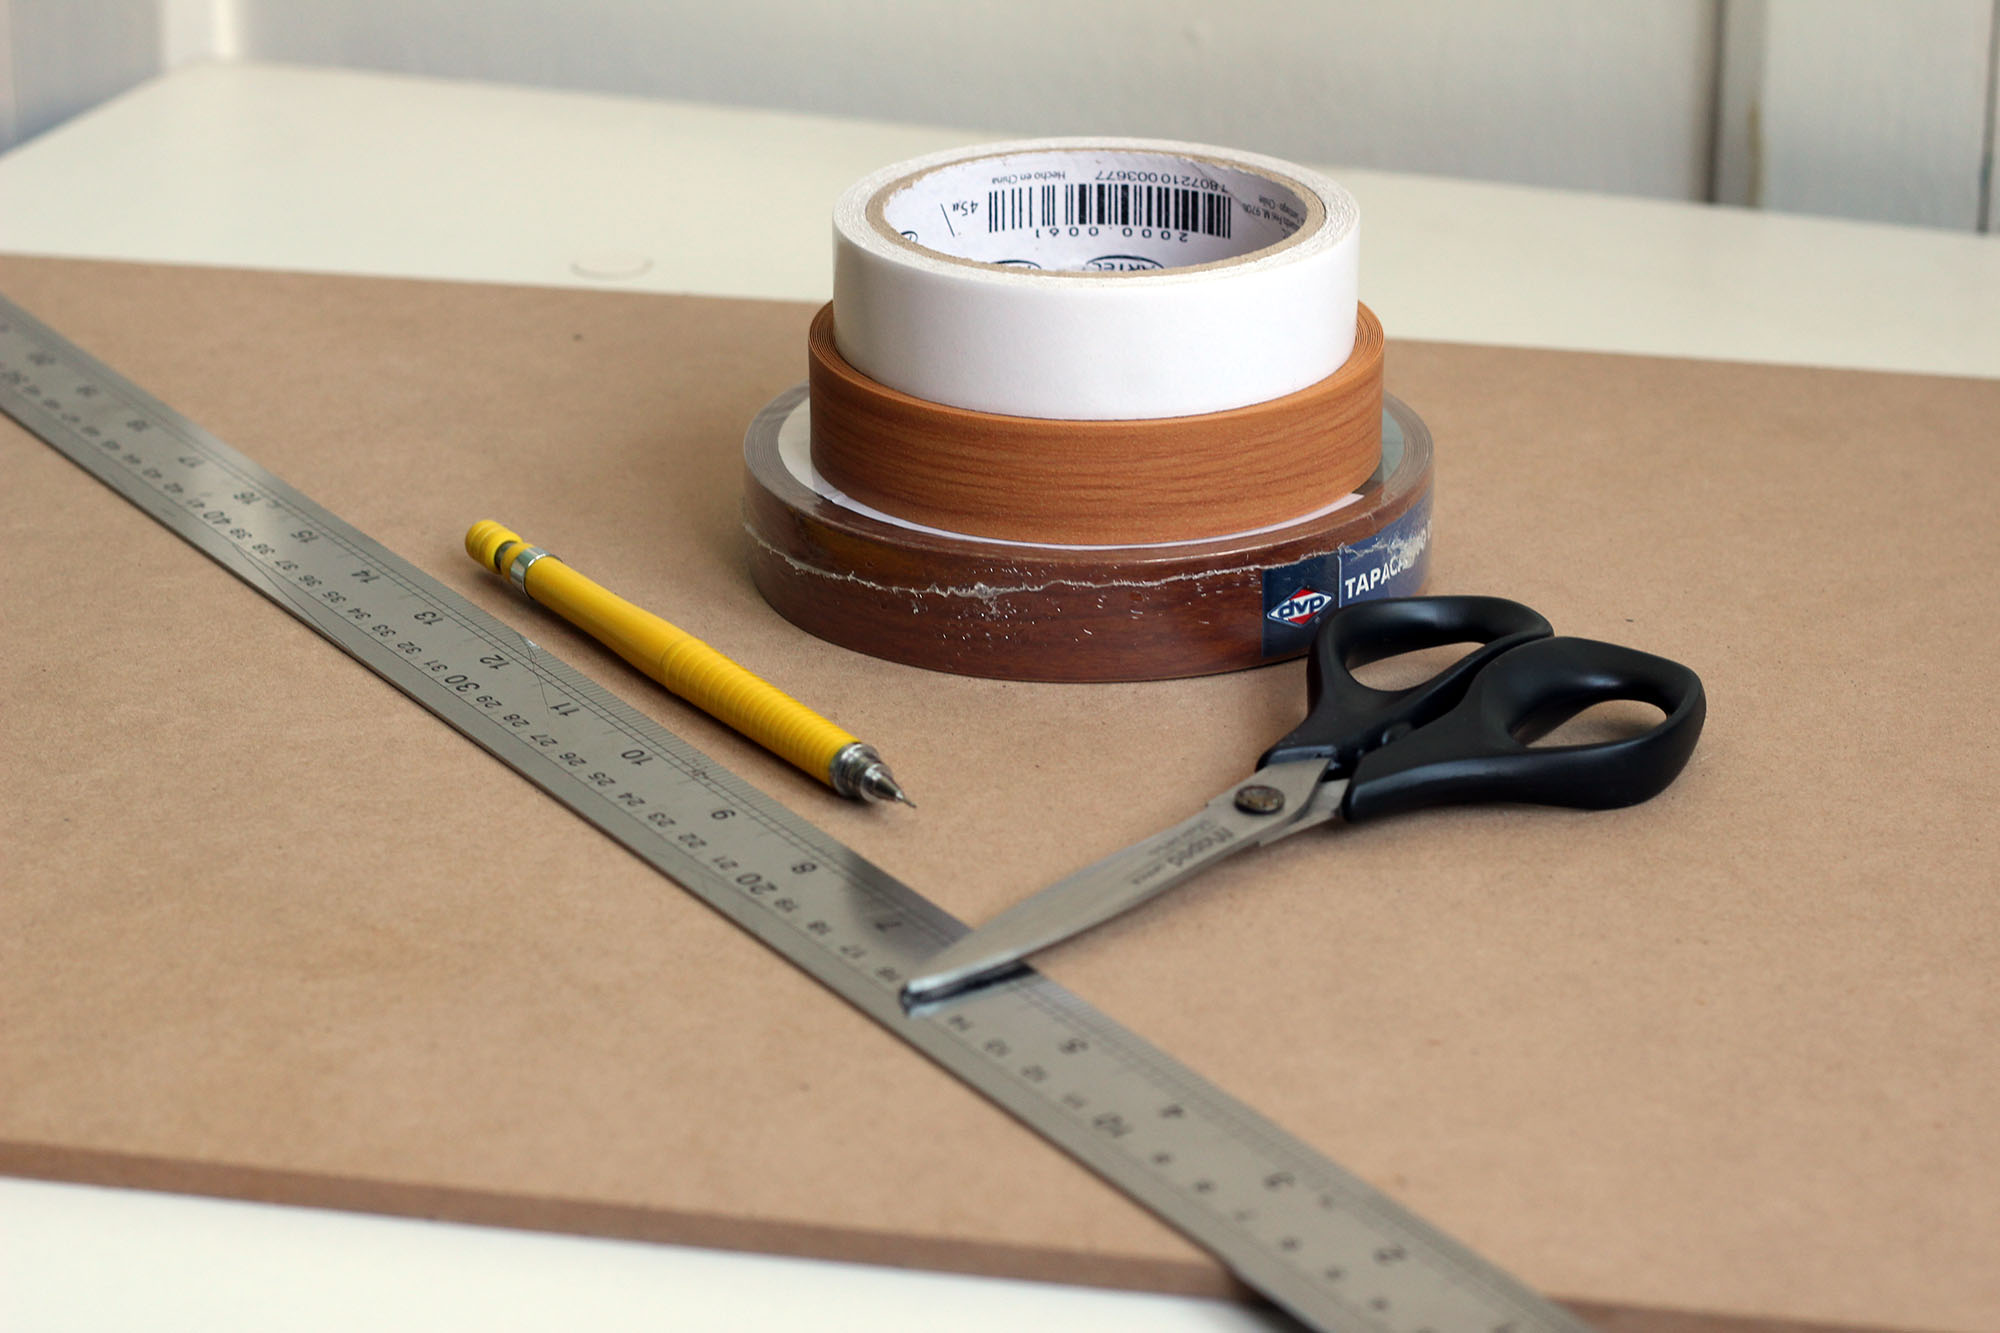
- A flat surface (I used a 60×40 cm. piece of mdf wood, 5mm. thick)
- A roll of pvc edge banding (or 2 depending on how large your surface is, I used a bit more than 1). Color and design is up to you.
- Double sided tape
- Scissors
- Ruler
- Pencil
- Sanding paper (opcional and not pictured)
The floor
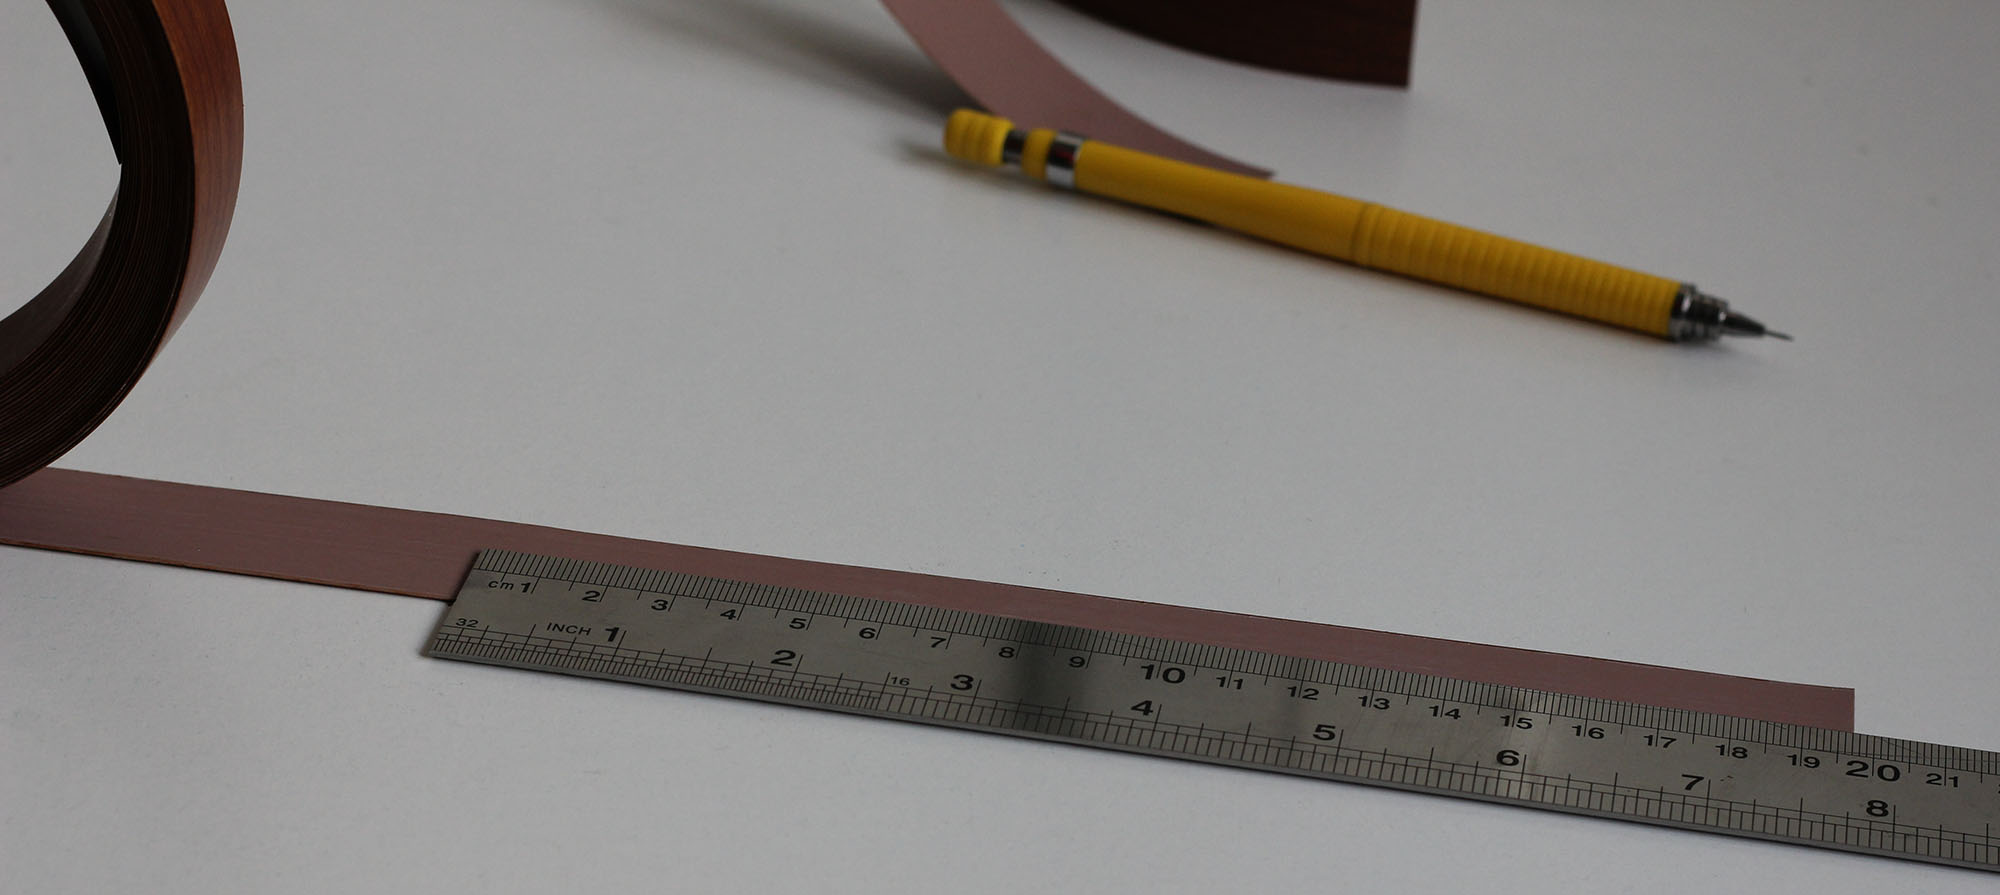
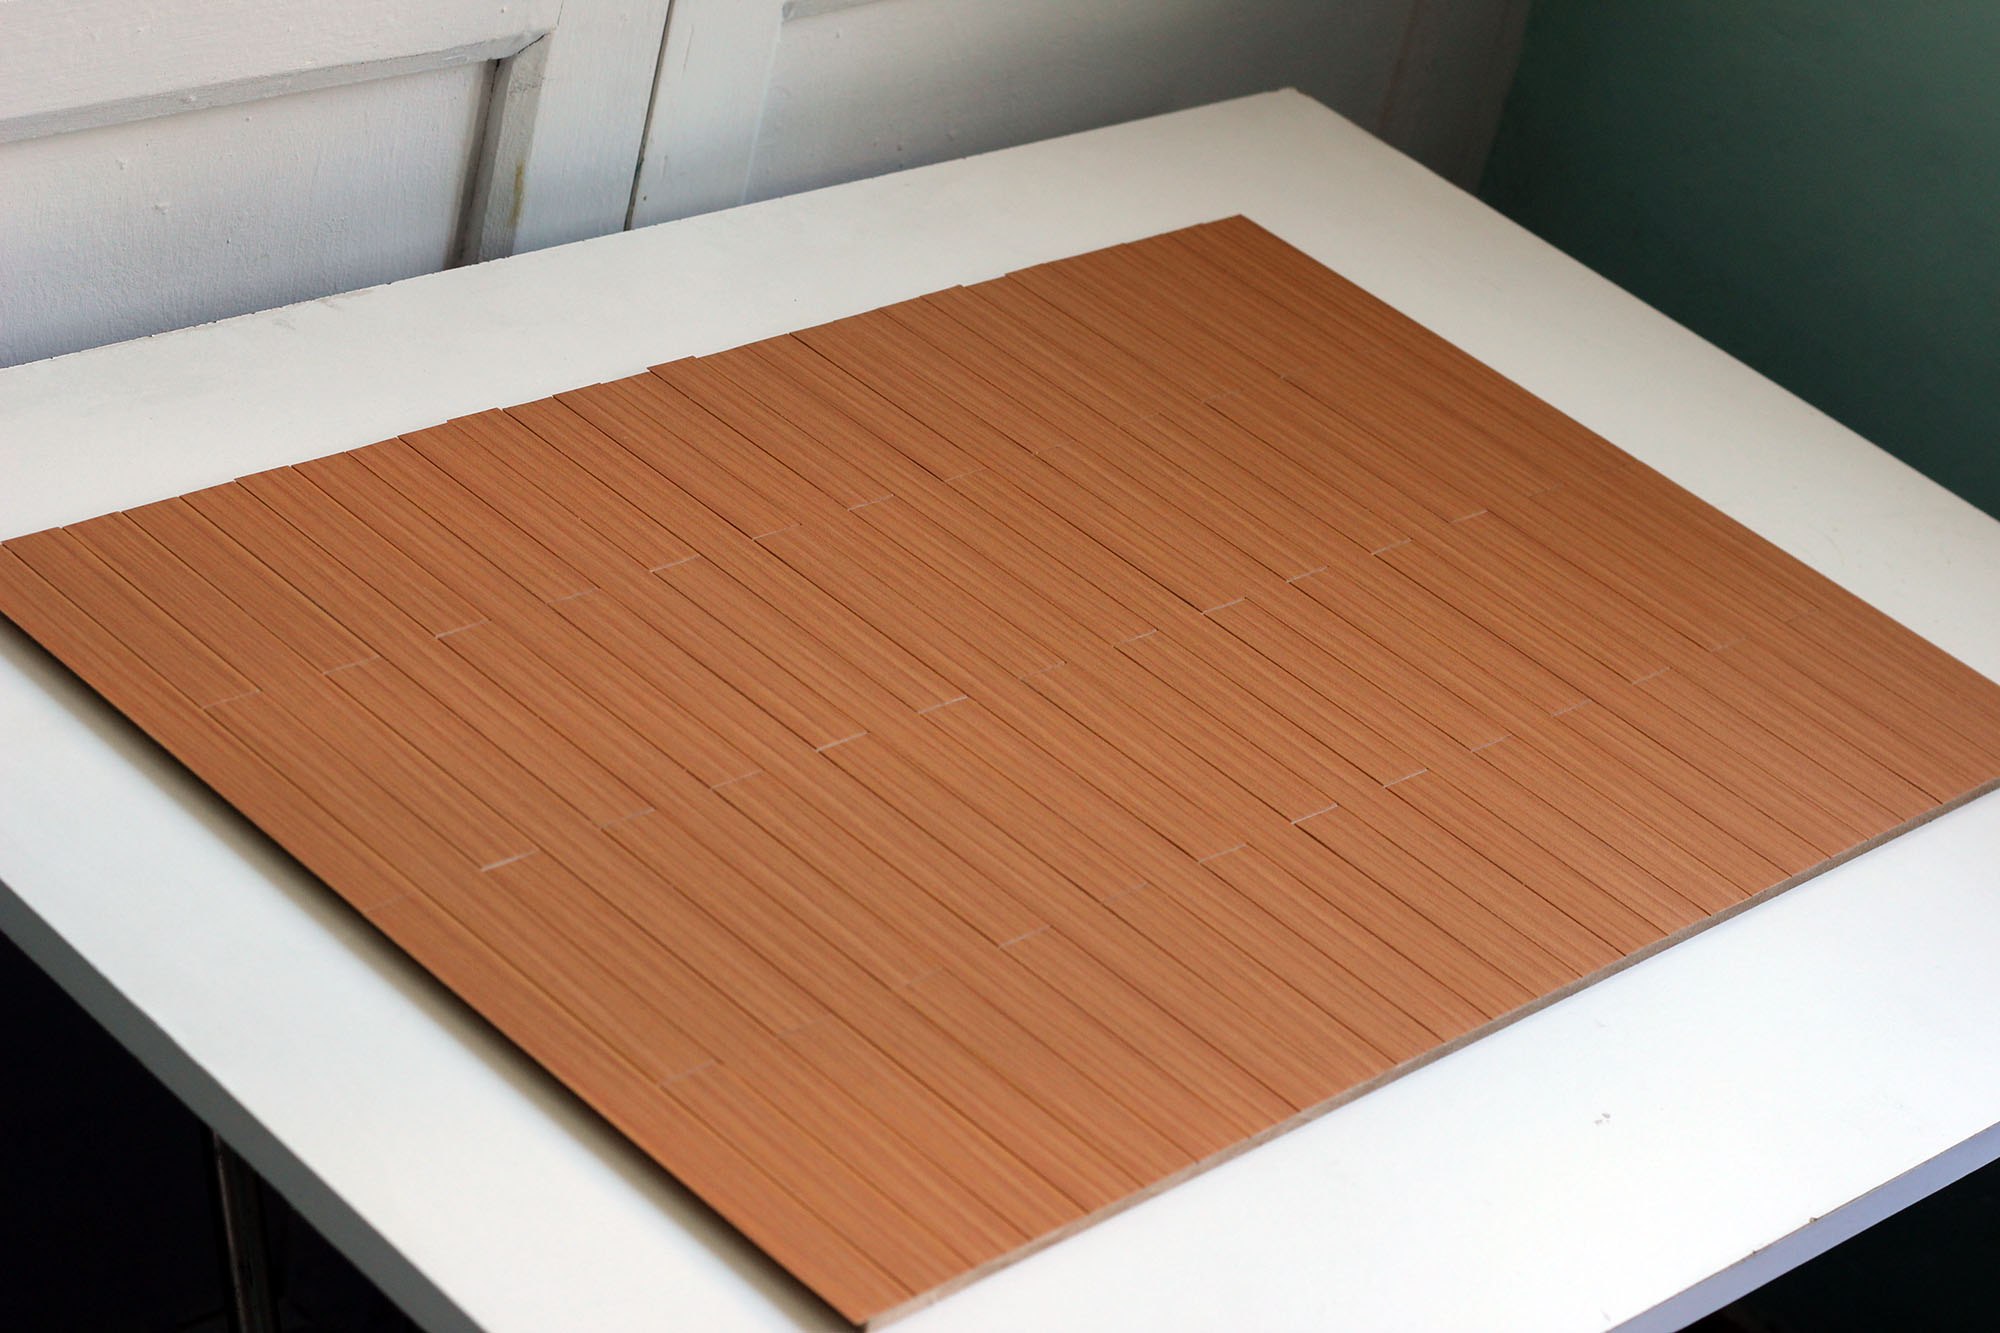
Cut pieces of pvc edge banding in 2 different sizes. Since I was working with a surface of 40cm., I cut some pieces in 20 and others in 10cm. Scissors are best for this job.
Add the double sided tape to the bottom of your cut pieces. Make sure the edges have tape so they won’t come off or look weird. I used a wider tape and cut the excess with scissors.
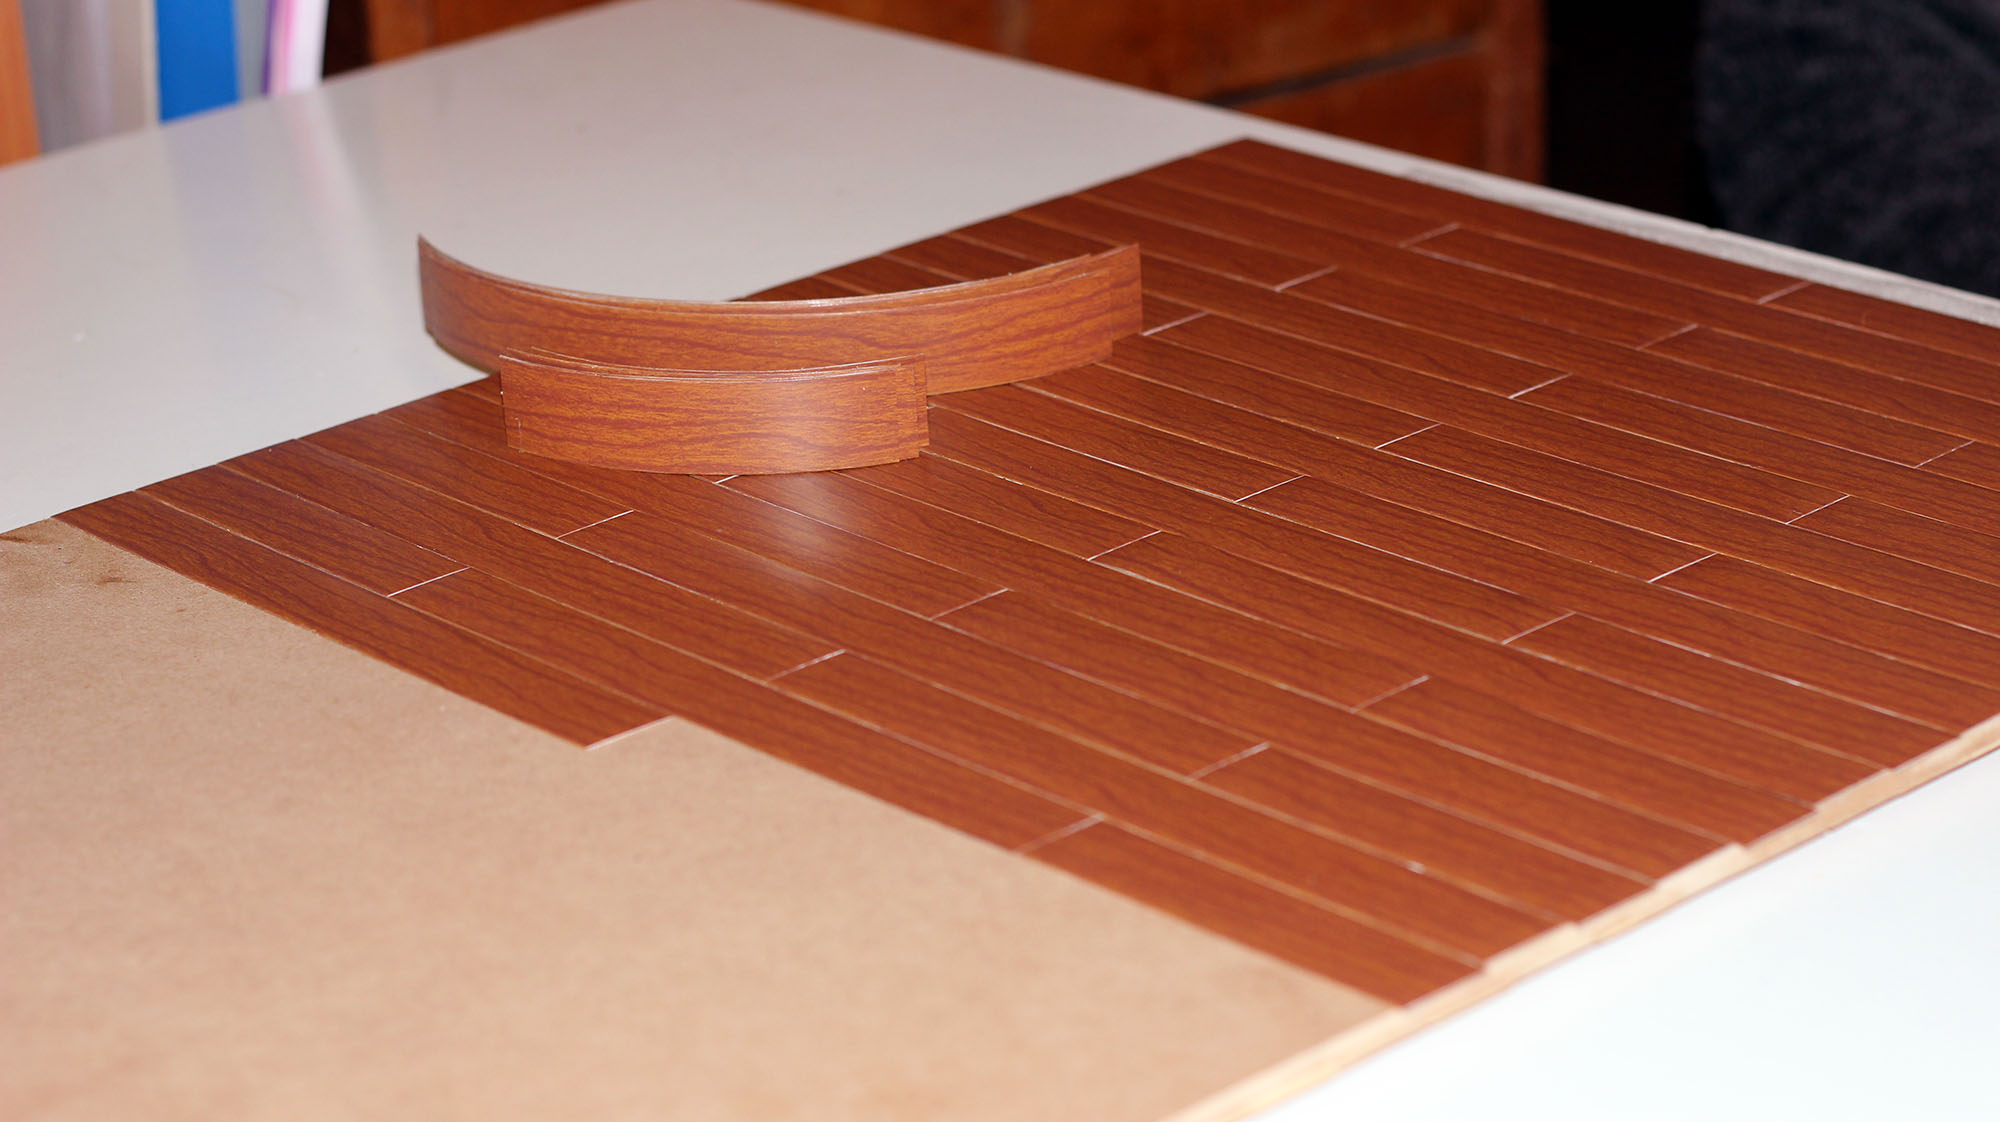
Stick the pieces to your surface leaving a small gap between them (less than 1mm). The pattern I did was like this:

You can make it as regular or as random as you like. It is good to plan it before you cut your pieces.
Crappy photo but it was aleady dark when I got to this point.
That’s basically it. If you have some excess tape on one of the edges at the end, you can sand it off.
You can make this floor for a diorama or leave it as is. Since I don’t have that much space I just use colored paper as a background and the floor makes the effect of a diorama. I also used the same piece of wood for both tapes, one color on each side. Reversible floor, isn’t that great?
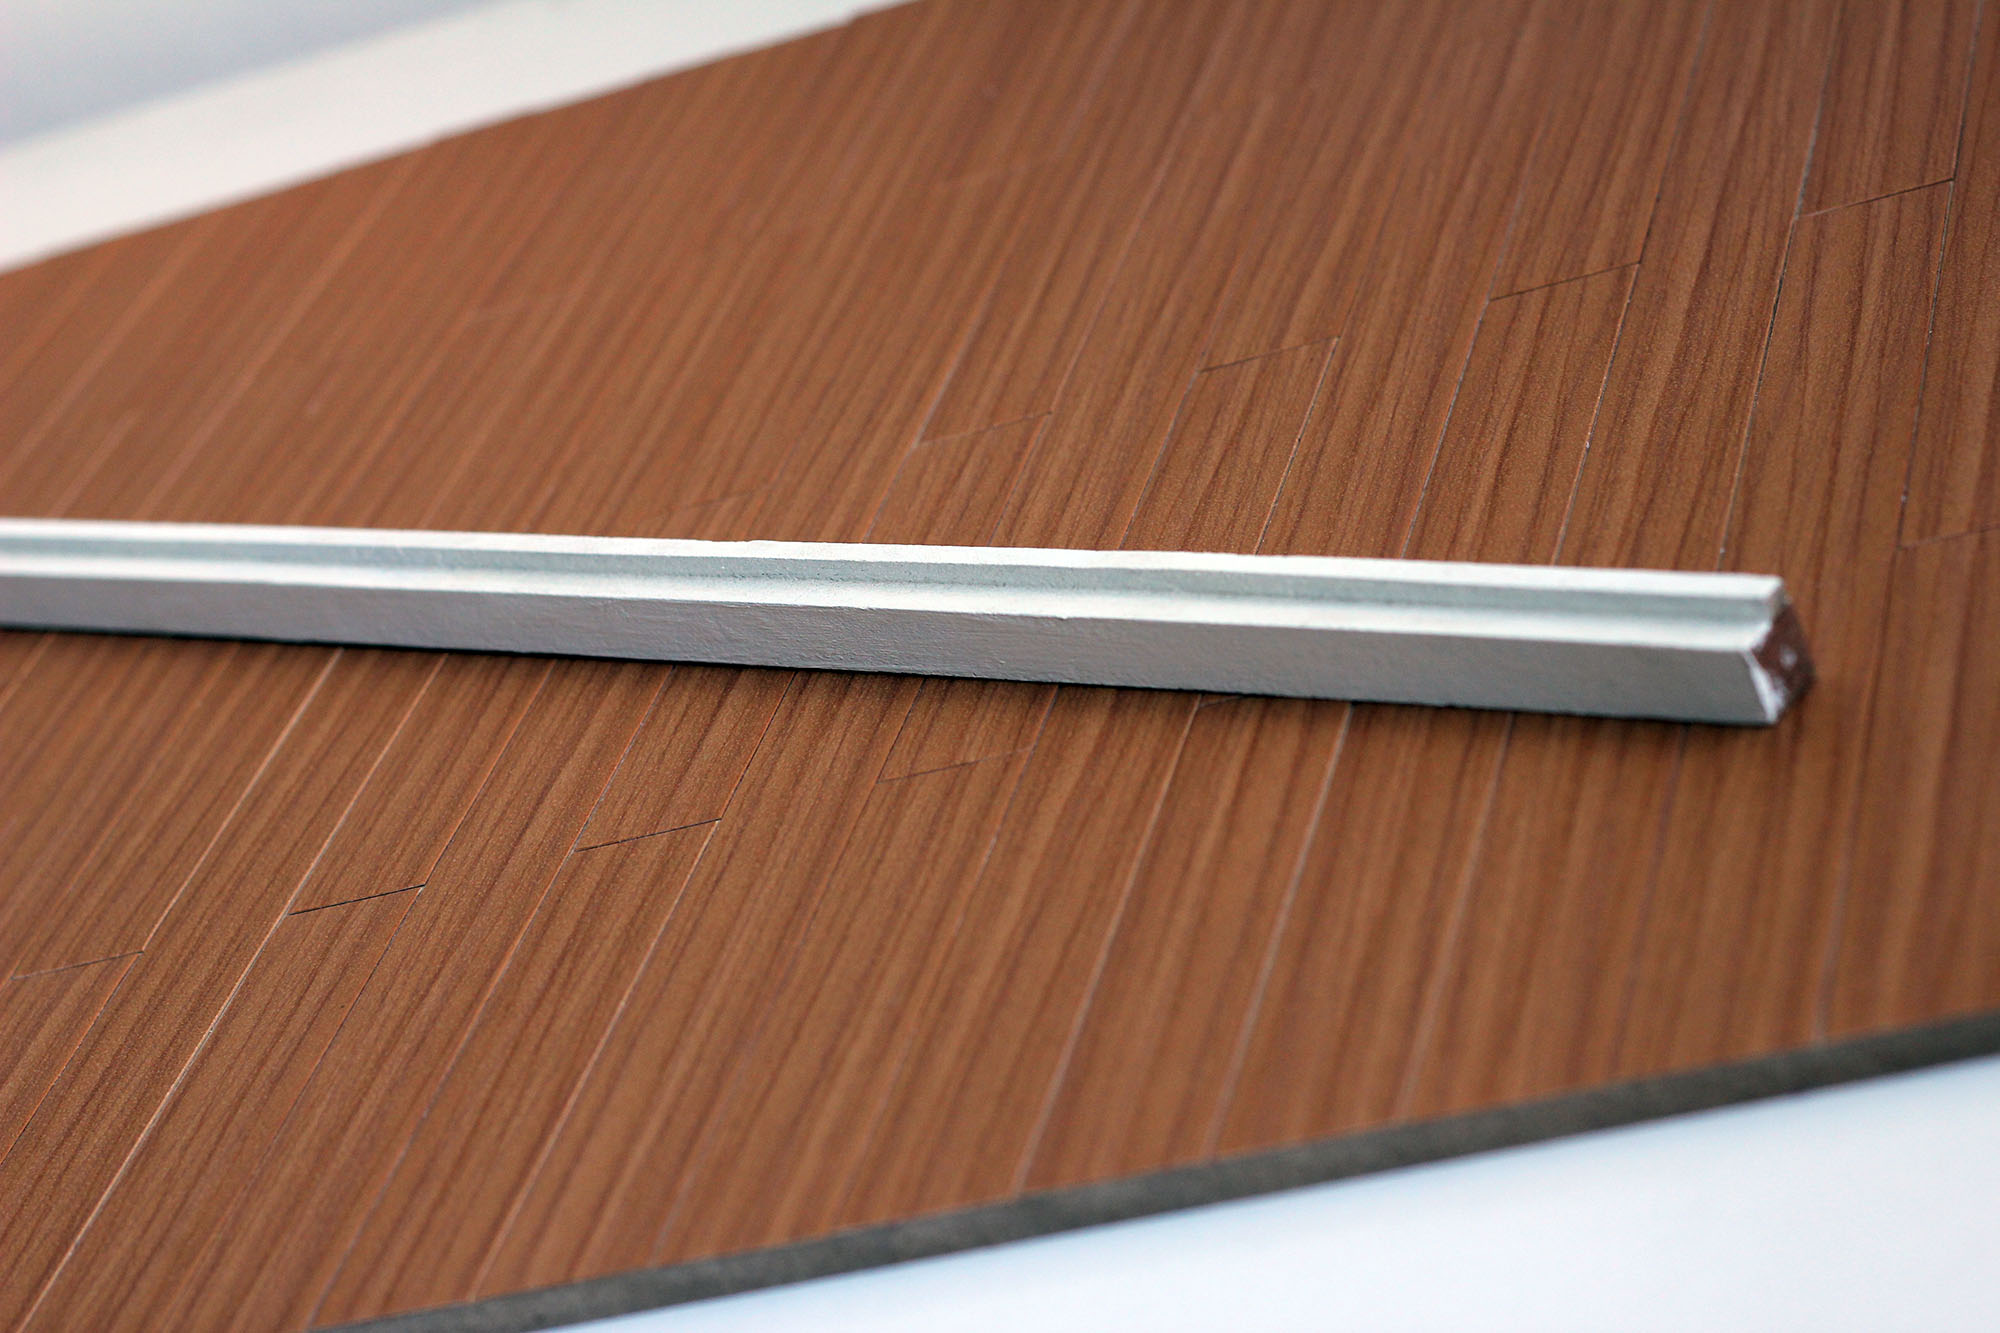
To make it look more like a house, I glued 2 wood sticks with different thickness and painted them white, to make the floor plinth. I just place it in front of the background when I’m taking photos so nothing takes that much space.
It was a bit of time consuming, but I think the results are great. You might want to paint your piece of wood a darker color before you stick your pvc tape on it so the spaces between woods pop up more, I wish I did, but it looks good enough.


Wow this is an amazing idea, so simple yet so effective! Thanks for the suggestion!
I also love the idea of reversible floors/walls! ~ Thanks for the inspiration!
No problem!!! I’m glad my solution can help others :D!! I think reversible floor and walls are a great way for people who lack the space. I have plans of making more elaborated walls in the future too. Even one with a window! Let’s see how that goes 🙂
This is so great!! I wanna try this at some point. You made it look so easy and obvious 😀
Great work <3
I don’t think it was obvious at all!!! I was standing in front of all that tape waiting for my piece of wood to be cut when my brother pointed it out haha!!! We weren’t sure if it was going to work or not, but luckily it did so I could inform you guys <3!
This is a great idea!! Another amazing tutorial, thank you so much for sharing it 😀
And reversible floor, love it <3
Thanks! so glad you like it! Reversible floor is the perfect idea to save space too 🙂
Oh that’s an excellent idea for making the floor, thank you so much for sharing! I would’ve never guessed that there’s such material available, I need to check if some Finnish stores would have something like it too >3< The end result looks perfect!
It’s a plastic-y tape that you stick to the border of a piece of wood to make it look neater (especially those cheap ones that are just sawdust glued together). I’m sure they have it there too, though I have o idea what it might be called, it was a bit hard to find the english name for it, and I get the feeling that it goes by many other names, even in english!! Hope you find it!
This was very inspiring! I looked into it, and it seems that it might be a bit harder to find in Finland though. I’ll keep looking!
Actually (for Safir and other Finnish readers) this can be found with the name ‘reunanauha’ at local hardware stores 🙂
Oh so you found it!! great! 😀
I’m glad you liked the tutorial~
Wow, great idea! The result looks really good! My boyfriend also said he’s got a roll of one of those materials somewhere too. 😀 I have so many projects going on but I hope at some point I’ll be able to do something like this. 😀
You are always making nice things for dolls so I’m glad you liked this idea 😀
I had a white roll of this thing when I made a table to do face ups, but it never occured to me I could buy the wood like one for flooring by then haha. Thanks for reading!
Hi Alejandra,
Simple, yet very effective. Thanks for posting this easy to do project, it’s a really good solution for anyone needing a floor.
Hugs,
X
You know me! I love simple crafts haha :D!!
Thank you so much for posting this tutorial! This is fantastic and I had no idea you could get tape like this. I will have to see if my local hardware store has it. I really love this idea, not only because you can keep the surface nice and flat using this method but you can make it reversible and by adding the white painted wood and coloured background, easy diorama to put together and store away nice and neat. I really appreciate you sharing this method with us. I will bookmark all your tutorials and try them out. I’m particularly excited to try this one and the bathroom wall, just need to find a doll size bath tub!
I’m always so happy to read someone finds my tutorials useful. I never thought I’d be putting any in my blog because most of the things I do are very simple, but since some things have given me good results, I think it was good I shared. Can’t wait to see what you do out of them :D!
That is so creative! I would have never thought of it, and now it seems so logical and obvious! Doh! XD Thanks so much for sharing it with us! This is a must do for me now!!
I know right? How come I didn’t think of it sooner, I pass by those tapes all the time XD
No problem, glad it could be useful to others!
Wow, this is a wonderful idea. For some reason, I’ve never thought of it. I’ll definitely use this idea, thank you so much for sharing! <333
No prob!! I am glad people like the idea :D!!!!
Oh, this is great! Thanks! I have been wondering how to, in a easy way, make something that may work with all the dolls I have, no matter size. Making a floor like this would work and then adding on colorful papers as wall – or even use the real walls at home. Need to take a visit to the nearest hard ware store! Haha, never thought of that! 🙂
I’m glad you like it~ you’ll see how easy it is and it looks really nice 😀