Hello everybody! Today I want to start a new section in this blog for you guys! I’m not the most crafty person in the world, but I’d love to share some things that I can do with you, so I thought making some tutorials could be nice.
Since I’m also lazy, these tutorials will be all super easy. For today I want to show you how to make props for a bath photoshoot: a wall with tiles and a bath cap.
I sadly can’t teach you how to make the bathtub because that was bought many years ago in a beauty store, but I’m pretty sure it shouldn’t be that hard to find one.
I did all of this in january, but the actual photo of Ailene in the bathtub was taken this week (tried once before but didn’t like the photos).
For the background I chose the hardest path possible because I was trying to recycle whatever materials I had in hand. You could use already colored paper (I painted mine) or even paint the tiles onto a white cardboard. I wanted to glue each tile separately because that would give it a bit more of a tile effect, but of course that doesn’t matter since you won’t be able to appreciate it in the final photo (I knew that but I wanted to give it added detail lol).
The background:
Since the background is super easy and can be done in many ways, I’ll just post the pictures in order of what I did:

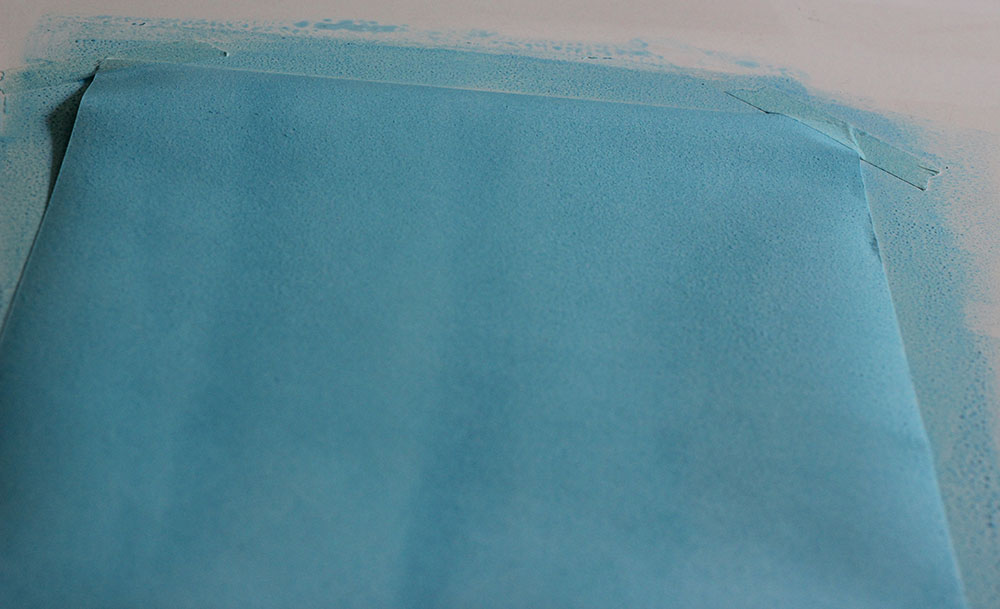
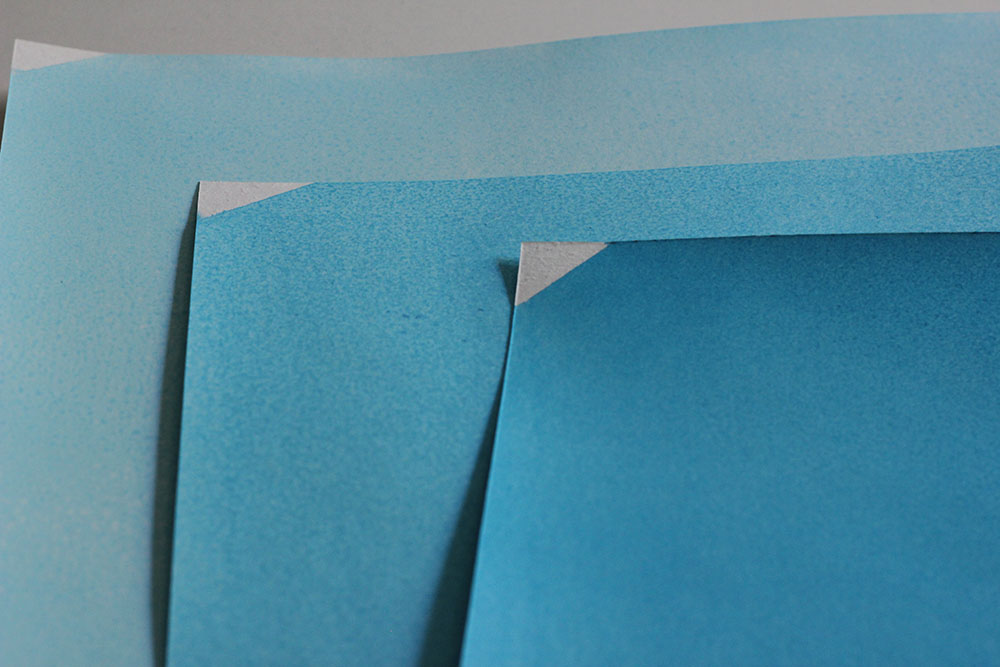
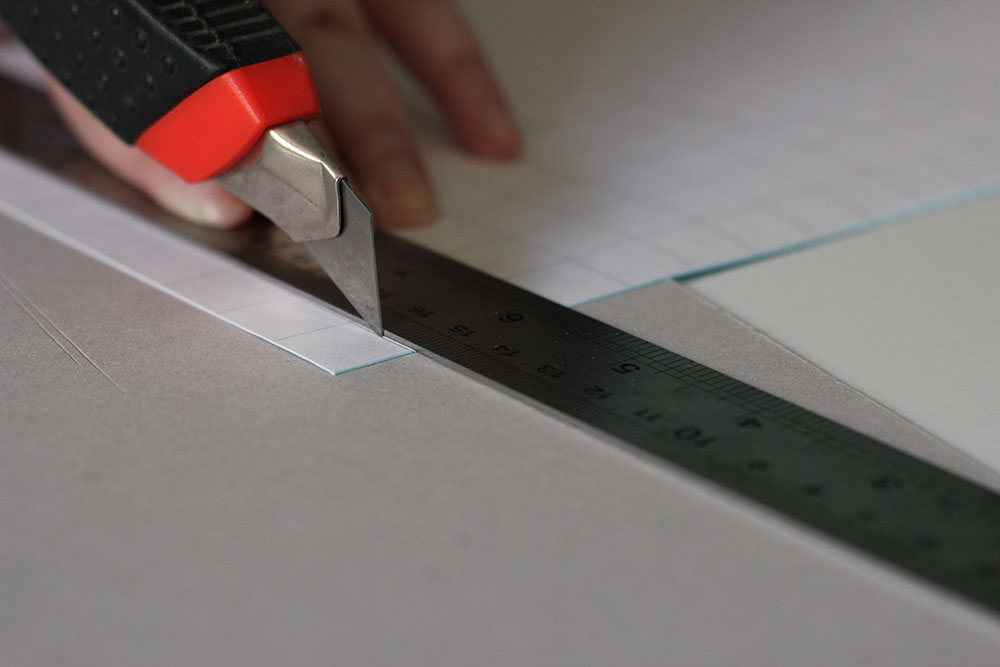


And that’s pretty much it for the background. You keep gluing tiles until you feel it’s enough. It might feel like you will be gluing squares of paper forever, but you will eventually finish XD.
The bath cap
I’m not so good sewing so don’t laugh at my skills. This bath cap is YoSD sized.
For the bath cap you will need:
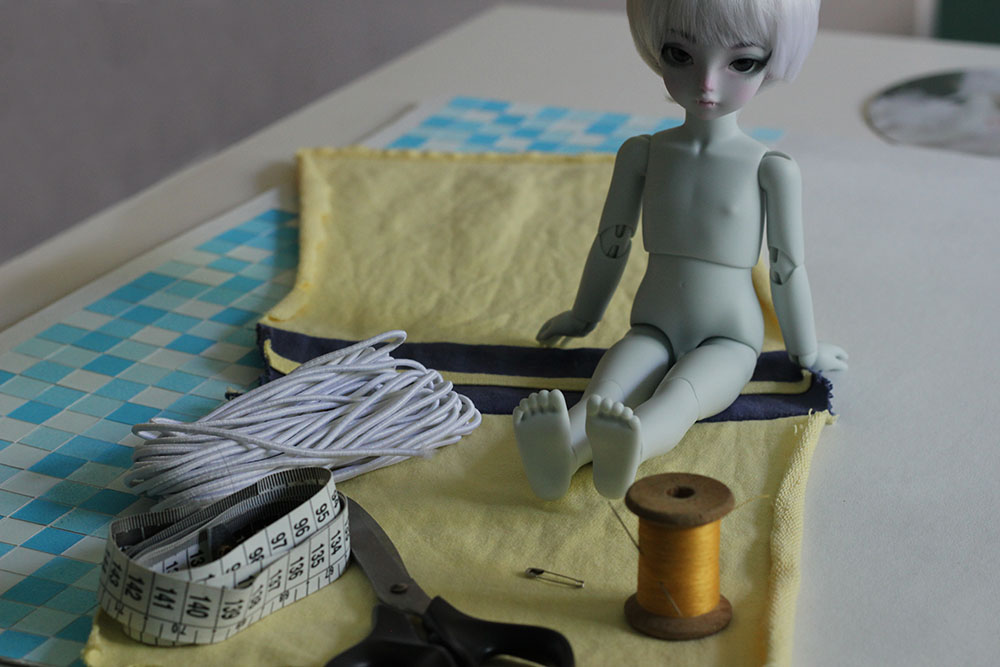
– A piece of fabric (yes, that’s a piece from old sweatpants)
– Elastic (I used the cord type, but the flat kind can work too)
– A meassurement tape
– Scissors
– Thread of the same color as the fabric (again, the closest I could find here)
– A needle
– A safety pin
– A dolly model

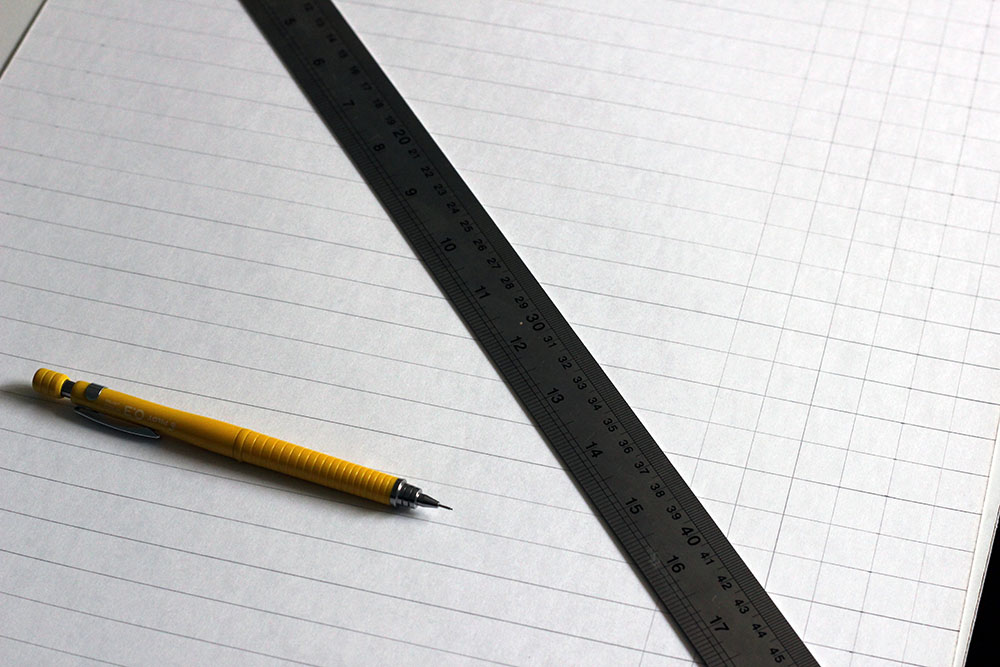
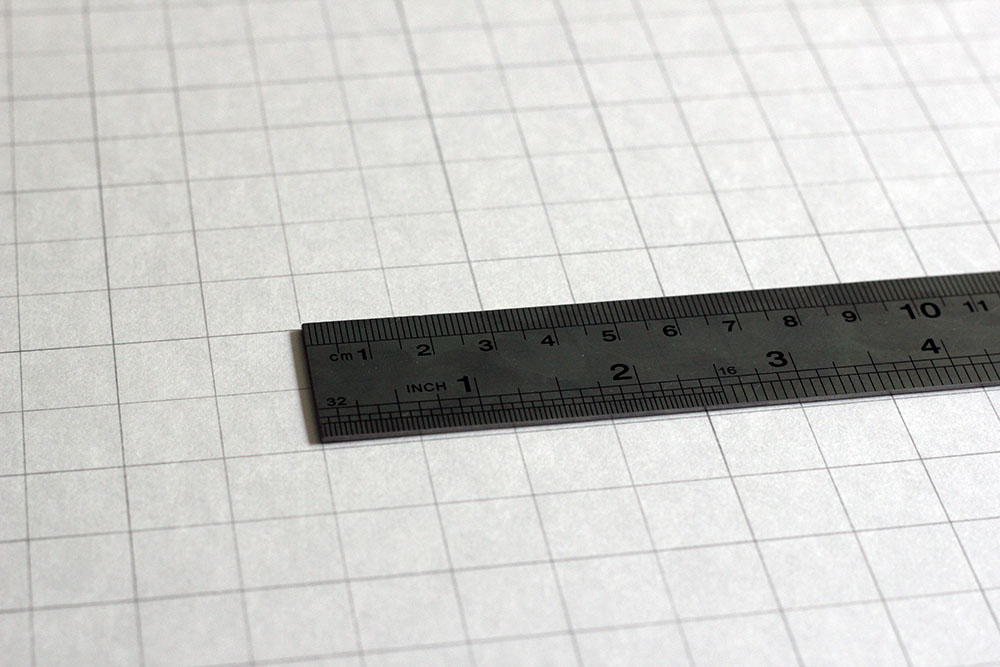
Meassure around the head where the cap is suposed to sit. Take the meassurements with the wig on. For YoSDs its around 20 centimeters.
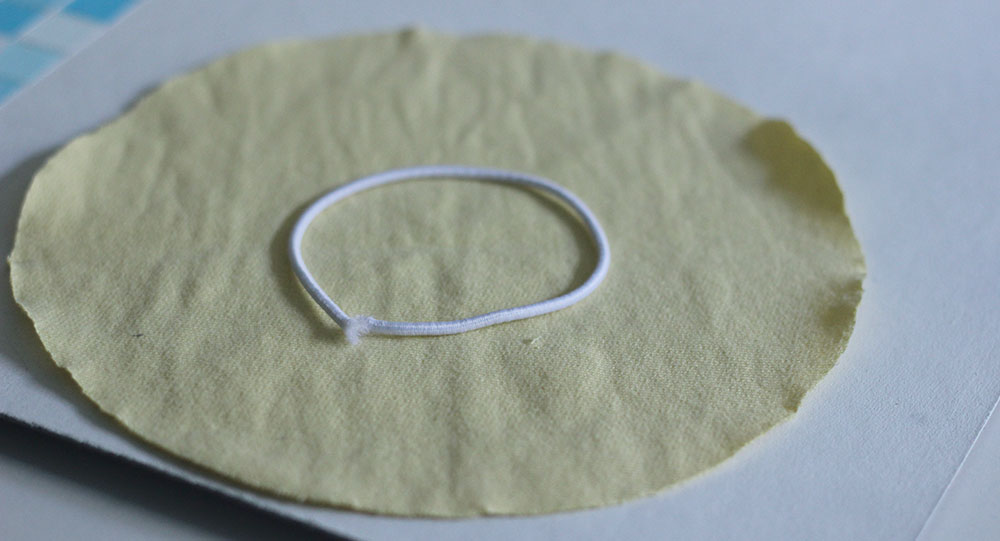
Cut the elastic at 20 cm., we will trim the excess at the end. Cut a circle with a diameter of 18 centimeters for the cap.

Sew all around giving enough space for the elastic to pass. Leave a small gap to introduce the elastic.

Use the safety pin to introduce the elastic around.
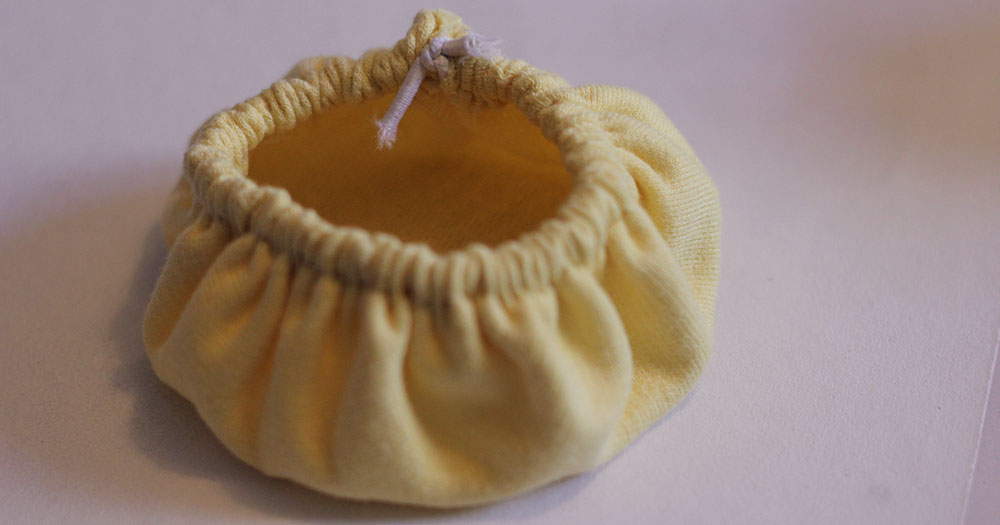
Tie the elastic at the end and it is done.
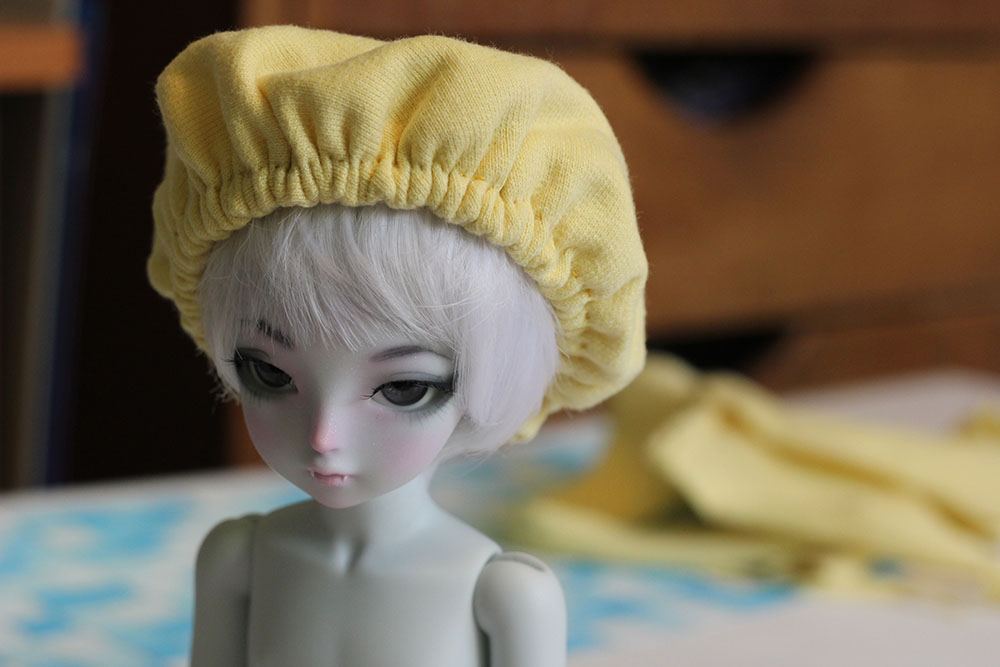
Our model seems to think it is a chef hat, but it doesn’t matter, we finished!
After all that all you need to do is put everything together and make a cute photoshoot.
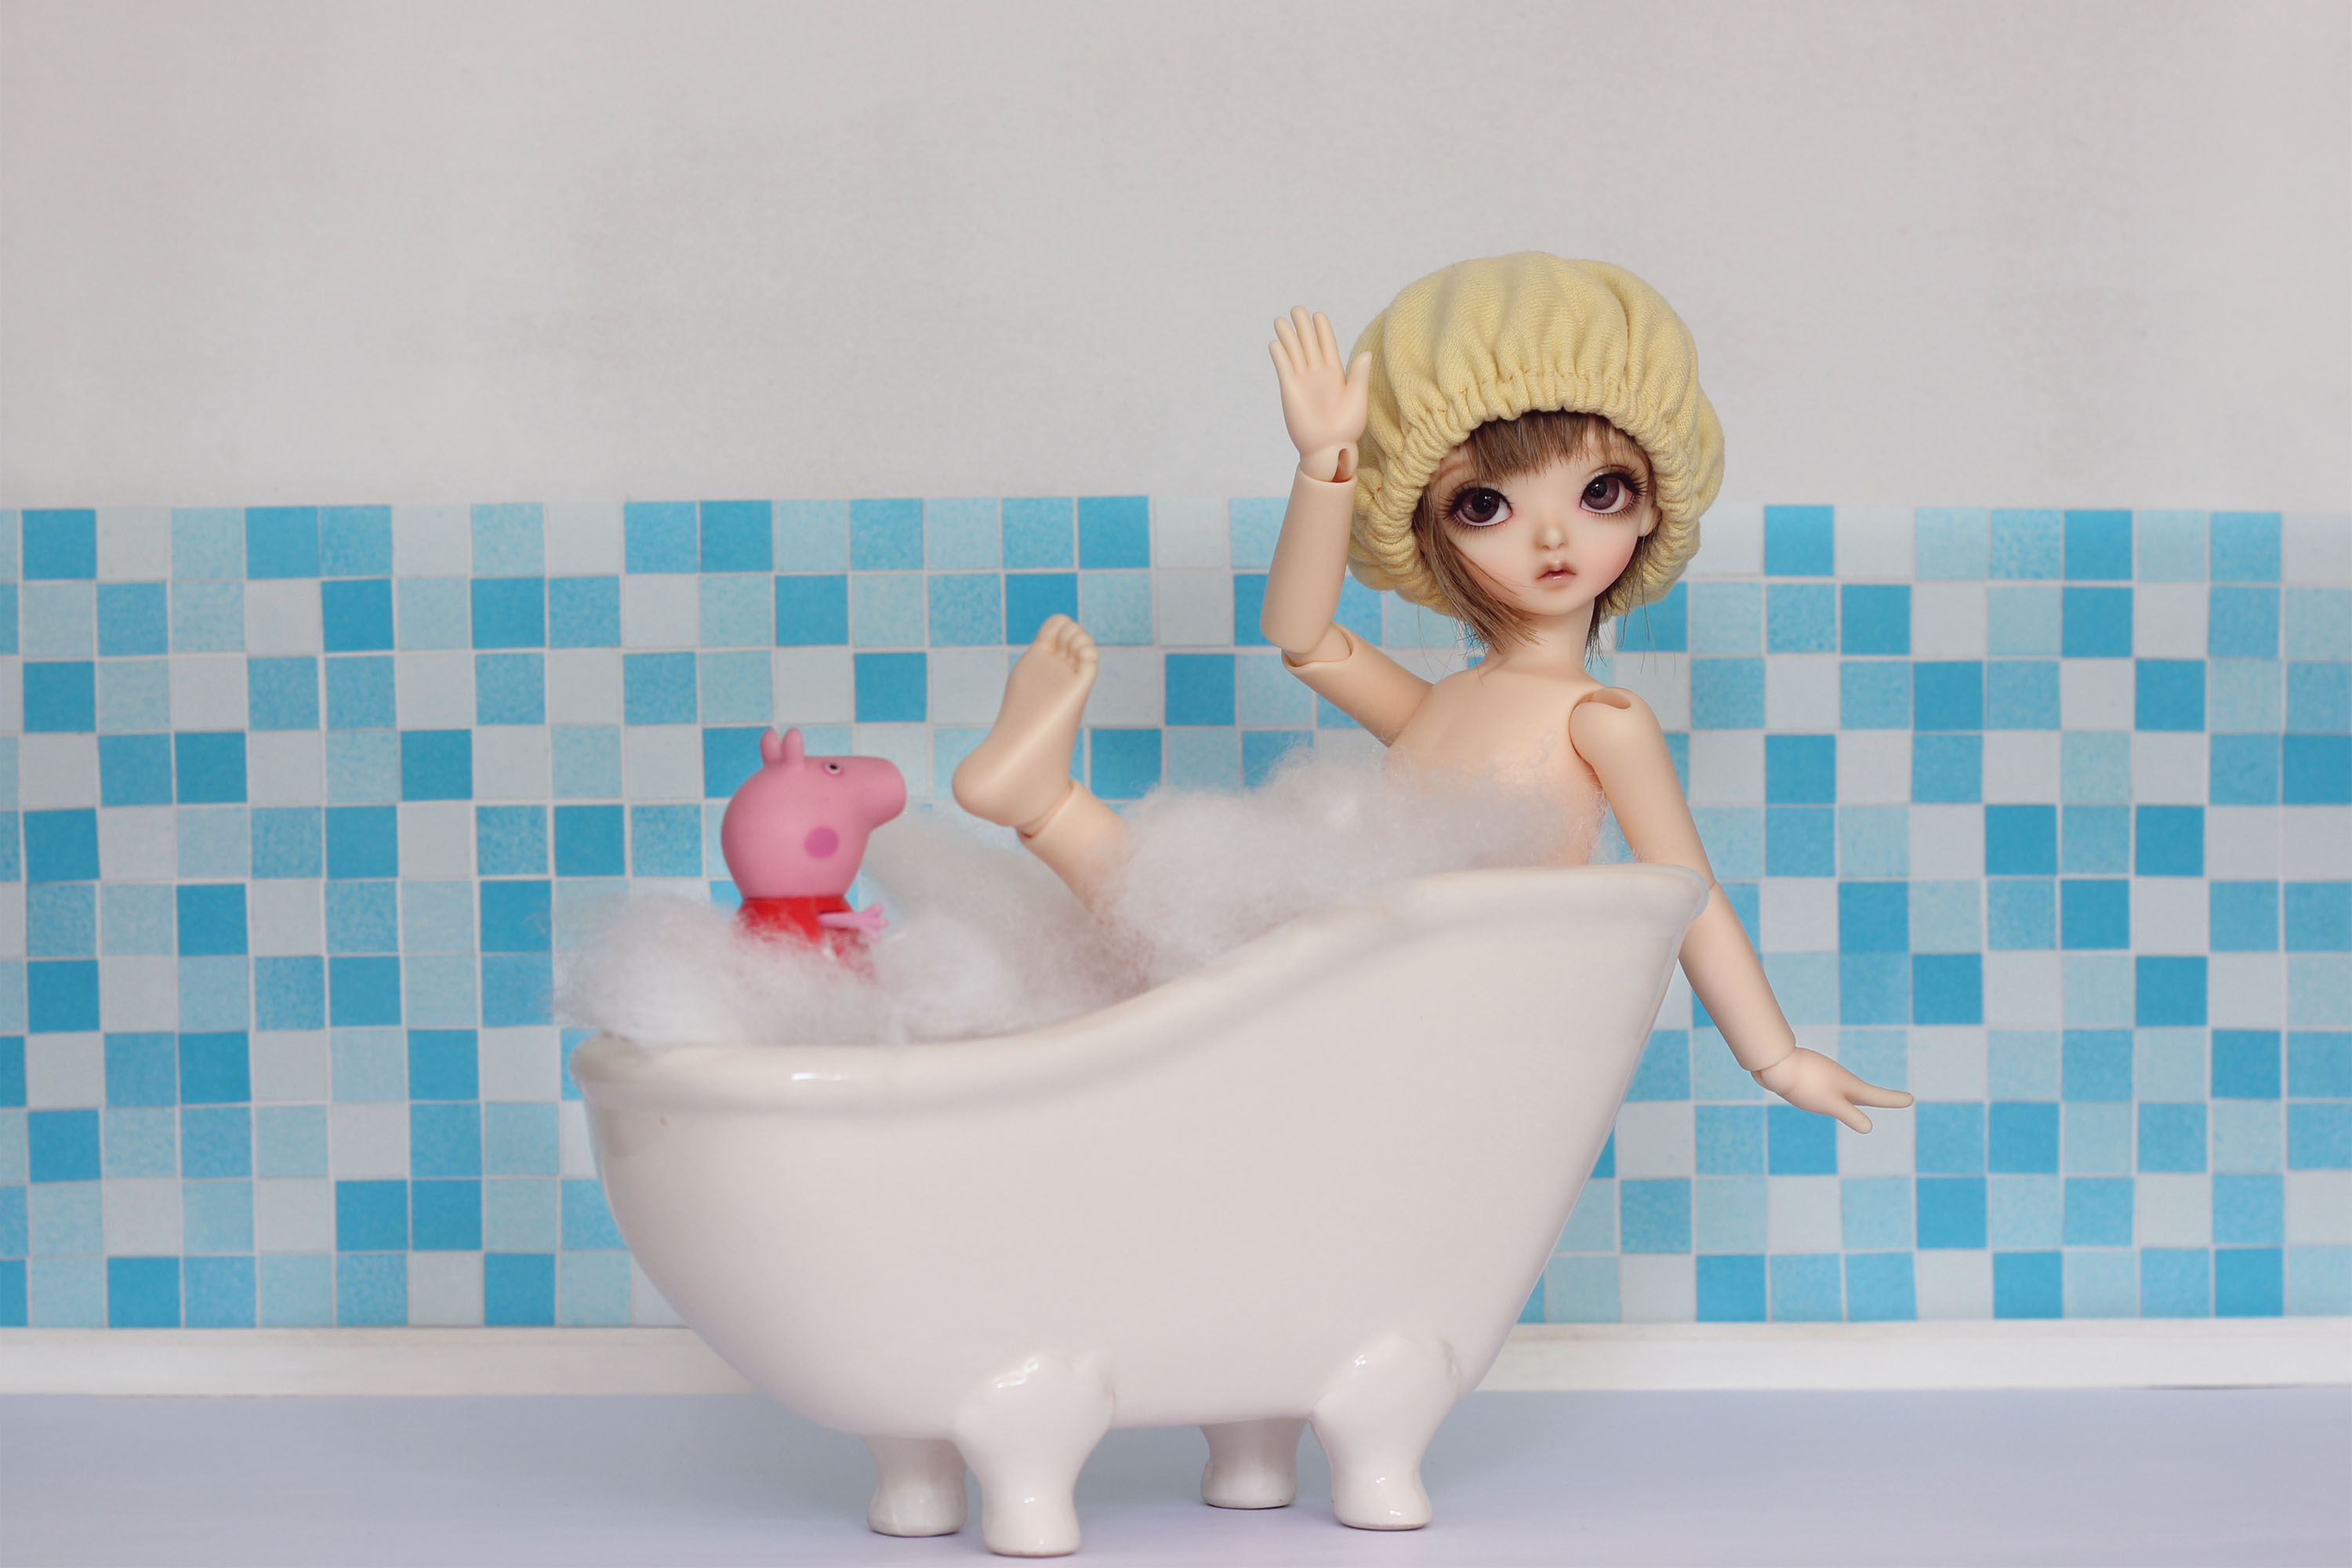
For the soap/bubbles effect you can use cotton balls (tried once, it looks good) or stuffing for teddies, that’s what I used in the end.
Hope you find it useful!


Ailene is looking so cute!!!
I loved your tutorial, I think I will give it a try some day. I still harbor the hope that one day I will make a diorama for my tinies.
And the cap is so cute!
This tutorials are awesome, thanks for doing it!!! 😀
Thanks!
I’d love to make a diorama someday too, but since I don’t have space I think it’s a great idea to design separate walls, so that’s why I’m going to attempt now.
I loooove crafty stuff, thanks for making this post!! ♥ I would’ve never thought that you had actually made that background, I thought they were real tiles or that the whole thing was just a background paper XD It looks so realistic! I definitely want to try out your tutorial. Now I just need to find the perfect bath tube, then maybe Lulu can try out the cap tutorial as well and send her greetings to Ailene ^^
Yay! hope you find a bathtub for Lulu, She would look super cute!!! ~ 😀
The background looks better in the tutorial photos than in the real shoot, it was fun to do and it worked for what was intended haha
Hope I can think of better things to make tutorials in the future~ I’m doing arocking horse at the moment and I’ve taken photos of each step, so maybe I’ll post that, though it will be a long while until I finish it since I have no time atm ;_;
Looks great! I find it very creative 😀
Your tinies look like they are enjoying themselves ^^
Thanks! And they are, specially Ailene, She gets the most time out of the box XD
Woow, I think you are sooo creative! x3 And you know what they say~ a lazy crafter is a good crafter! (who said that!)
This photoshoot came out sooo cute ~ the tiles look really great with all the separate squares like that! I think you can build a full bathroom like this~~~
Ailene seems to be having a great time in the bath too xD~!!
Hahahaha thanks!!! You could build a full bathroom like that but it would take so much time @.@!
I had a great time taking the photos as well 😀
Thank you for the tutorial! This is a great way of making a tiled bathroom wall and very clever. You have a lot of patience! Those squares are so tiny. In one of our local craft stores, they actually sell tiny tiles – they are usually used in craft projects but would be good for dolls too I think. I will have to try this tutorial and the shower cap one at some stage.
They are actually not so tiny! but yeah it took a while :)! And no prob~ I thought no one would care since it’s so easy hahaha
Lucky you! You should try using those tiles, I bet it will look a thousand times better!
Hey that’s really neat Alejandra! I have one of those baths too, and a little yellow ducky. 🙂 I have always meant to do a bath shoot, but never quite got round to it. I will be doing one soon though to add to my new blog.
I enjoyed this post and I admire your patience at cutting out all those little squares to make the tile background…well done!
Hugs,
X
Thank you!! That’s super cool, I tried looking for a little duck but I think the piggie works too 😀
Hope you do a bath shoot sometime too, not only it is super fun. but you always have the best props!
I also thought the background was some sort of one paper. 🙂 I love it! I would’ve tackled the bathing hat same way you do, good work with that, it looks sooo cute! ^__^ Great tutorial! I have seen those bathtub kind of things for soaps, maybe that would work as a tub if it’s deep enough to hold in a doll? That stuffing material looks real as bubbles. 😀 I want to try something like this too!
Thank you! I’m pretty sure those could work too, depending on the size of the doll ofc 🙂
Hope you try it!
Not crafty!? Oh how you lie! I love this though!! I might work on a background of some kind now!! Thanks for the tips! 😀 She looks so sweet! <3
I do not lie! Can’t you see how uneven the tiles are? XD And no prob, hope you will use it :D!
Thanks!
Such a great tutorial! I think it’s an awesome idea. ^^
Good job on it all!
Thanks!
Neat idea to do mosaic 🙂 And the photo turned out great!
Thank you!
It must have taken forever to glue all those small tiles on! xD
I think it’s such a great idea and it turned out really great. I’m in love with the final photos! Ailene looks so adorable! ♥ Gaaah, now I want a bathtub for Ayla as well! >_<
Thanks! Hope you get a bathtub too :D!!! It took me some hours to glue them but I didn’t do it all in one sitting 🙂