
I know most of you are enjoying spring at the moment, but here is getting colder so I already started thinking about winter.
One of my favorite winter accessories are the earmuffs, there are so many styles!! I always wanted my dolls to have some, but never found a pair that I truly loved.
Today I’m going to show you how to make your own.
Materials
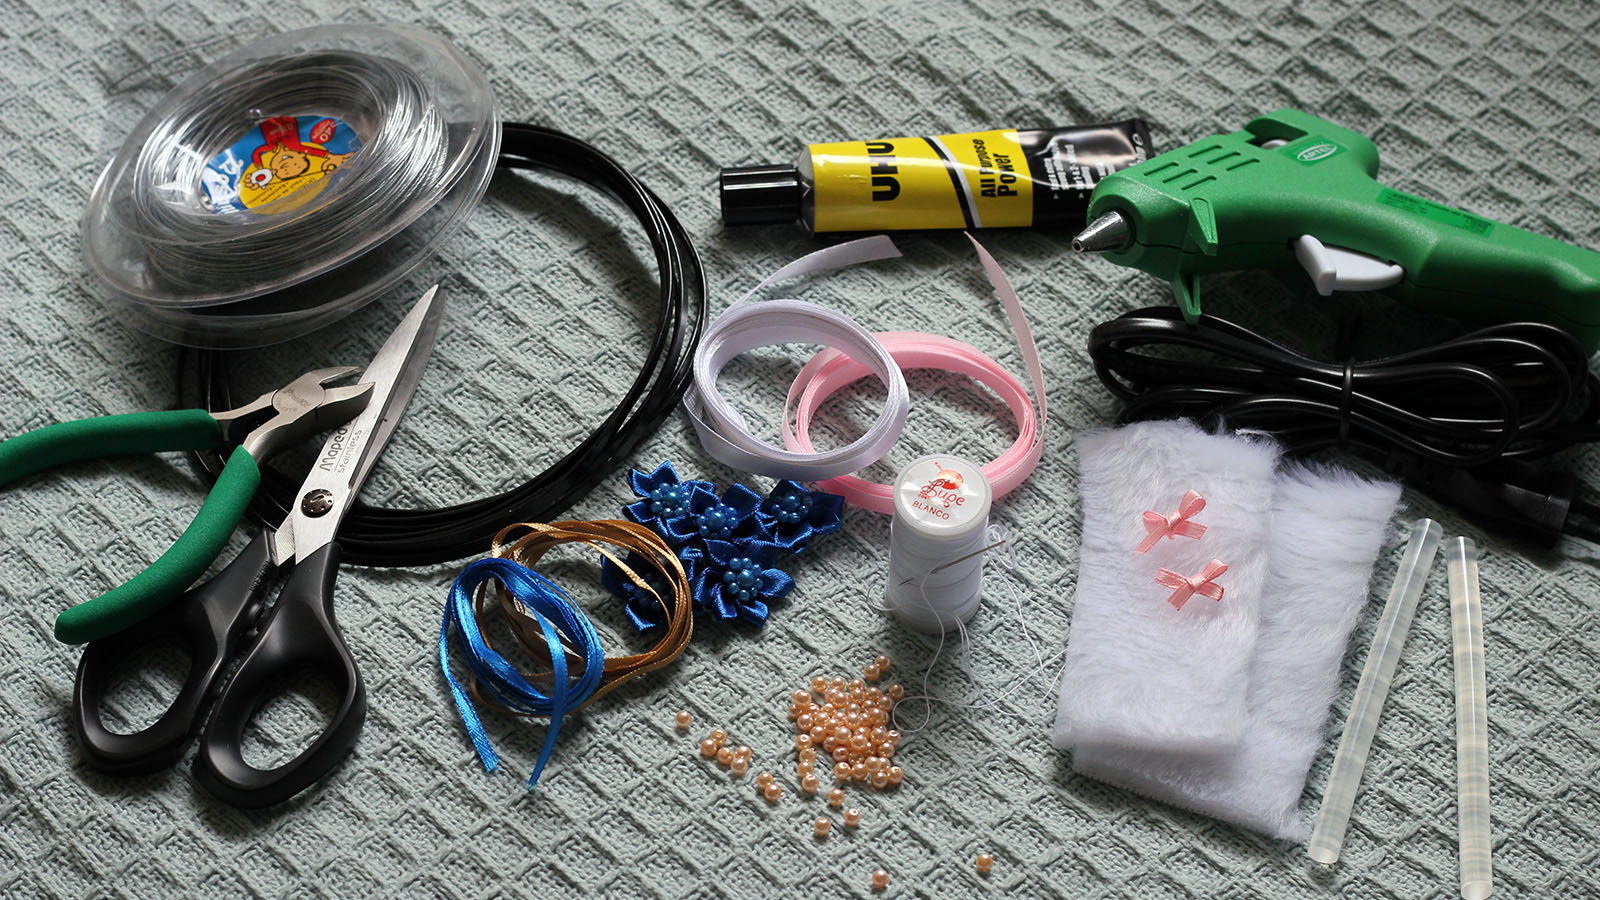
You will need:
- Wire. The kind of wire you will use depends on the hairband you are making.
- Glue. I used both transparent glue and a glue gun.
- Scissors.
- Diagonal wire cutter or any other tool to cut wire.
- Pliers (not pictured).
- Ribbon or pearls (or both).
- Fluffy fabric. I have no idea how it is called.
- Thin ribbon, beads, pearls or anything to decorate (optional).
Headband
We will start making the headband. I made 2 different kinds:
For this one I used Irene’s tutorial. I think She explains it very well, so please check her blog for instructions.
The second type is a headband with pearls. This is how I did it:
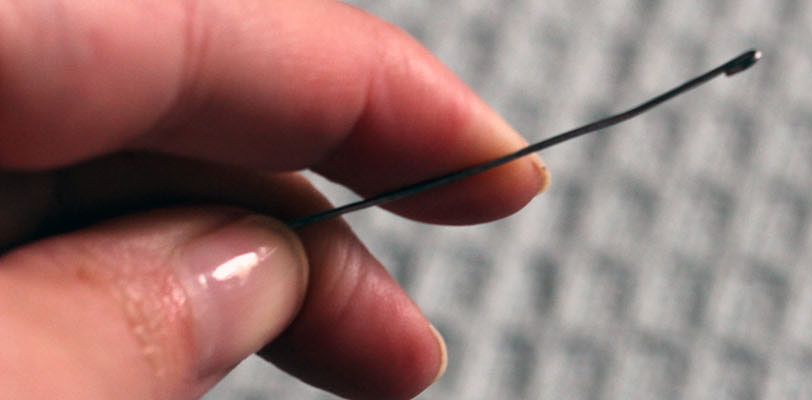
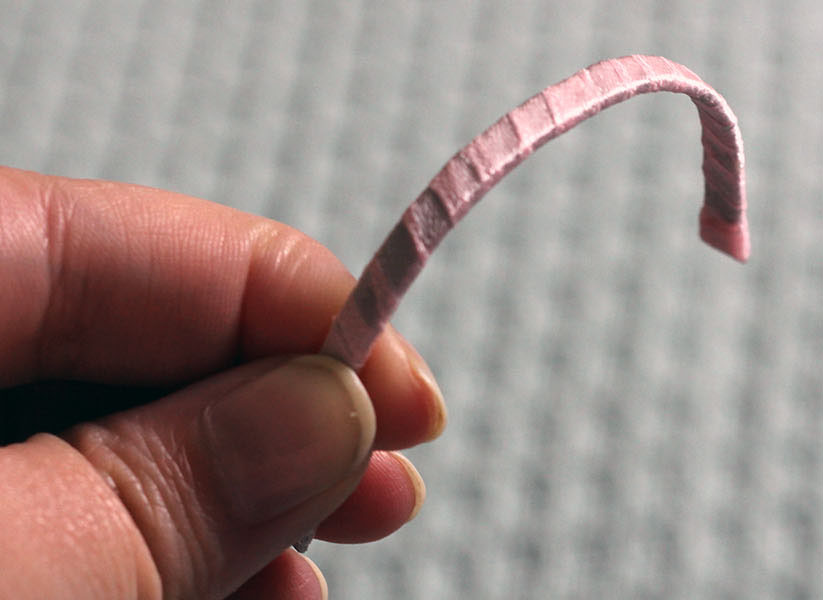
Cut a piece of regular wire and fold one of the ends using pliers.

Insert pearls until desired length. Cut the wire and fold the remaining end so the pearls stay in place.
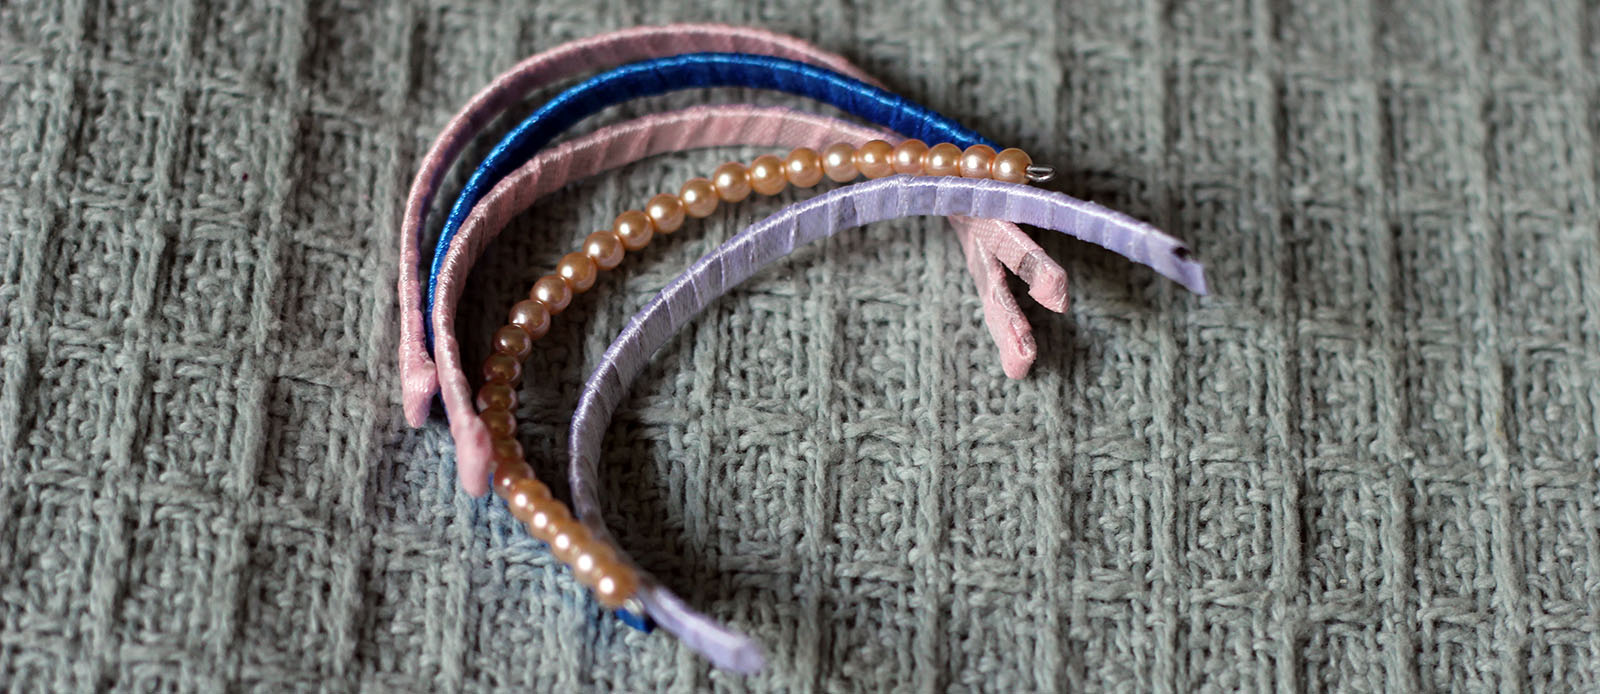
Here are some headbands I did using both methods. Of course you can be creative and use other materials and techniques as well.
The size of the headband depends on the doll’s head.
Earmuffs
Now that we have the headbands ready it’s time to do the fluffy part that covers the ears. I tried different things and this is the method that worked best for me.
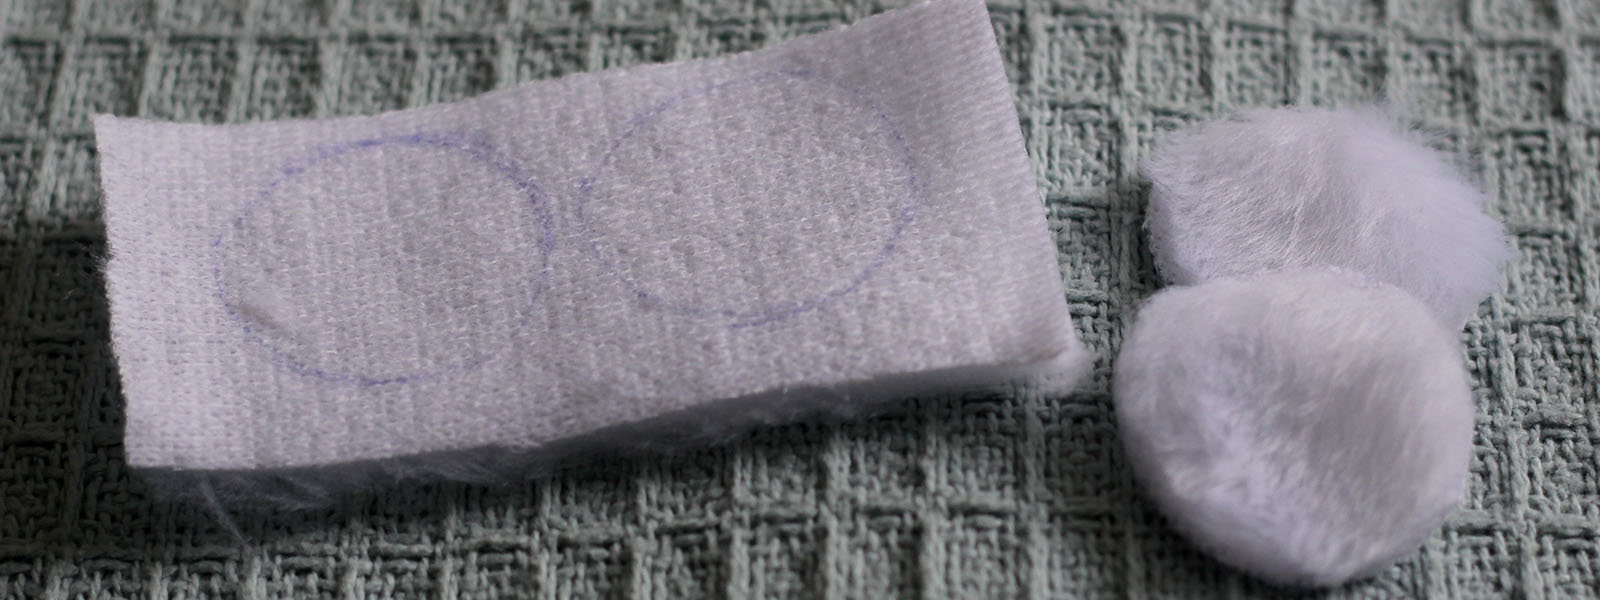
Draw 4 circles of the same size at the back of the fabric and cut them.
Two circles make one ear piece and you need 2 for each pair of earmuffs.
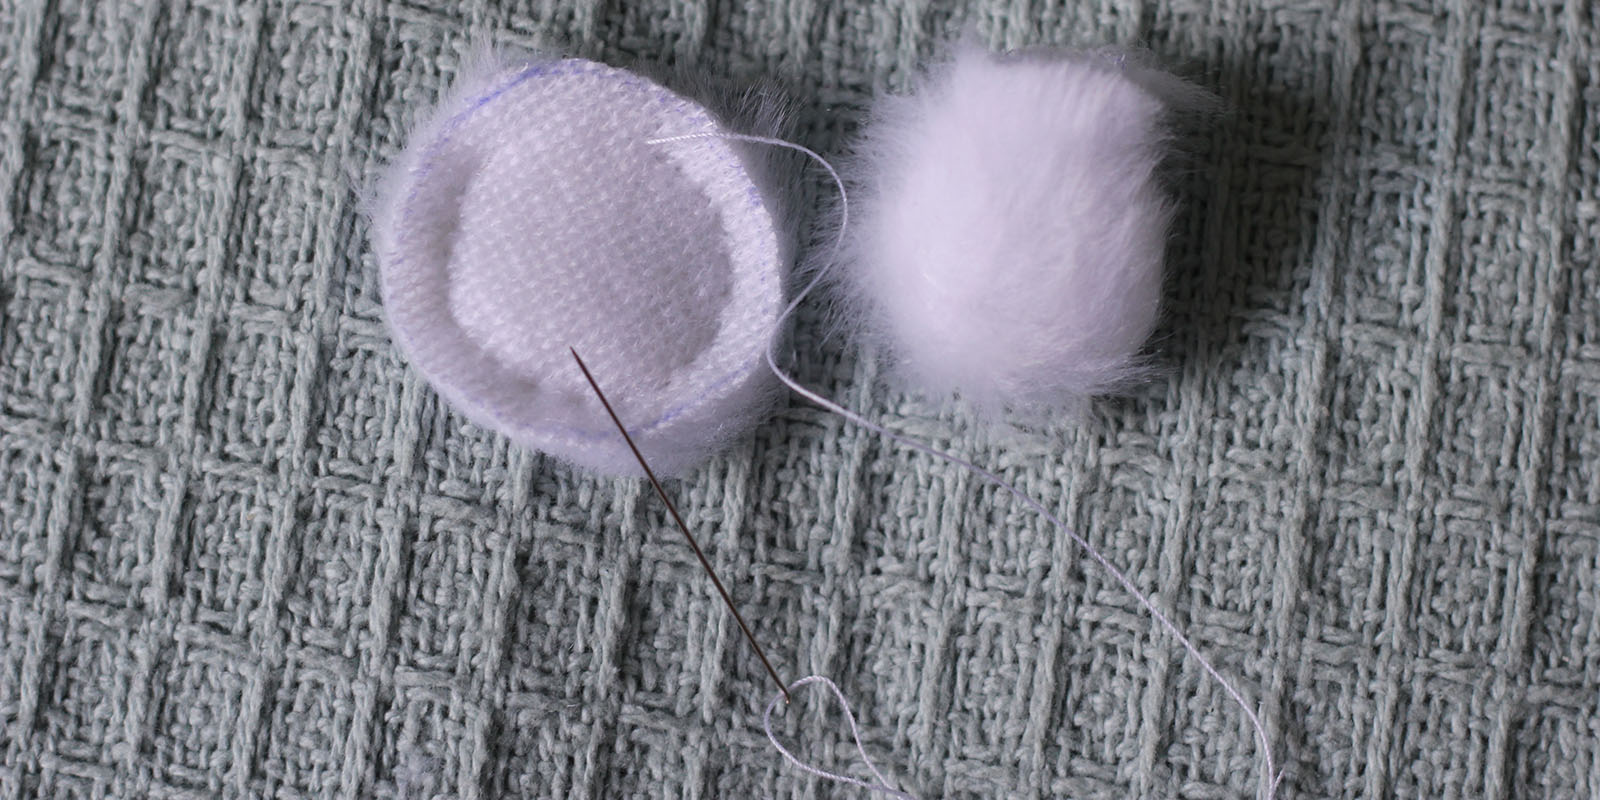
In the photo you can see the sewing from inside on the left and the result after turning it over on the right.
Face the hairy part of each circle together and sew tiny stitches by hand around the circle. Leave a gap unsewn to turn over the fabric.

Now that you have an opening in the ear part, use your fingers to fold the edges of the fabric inside the hole.
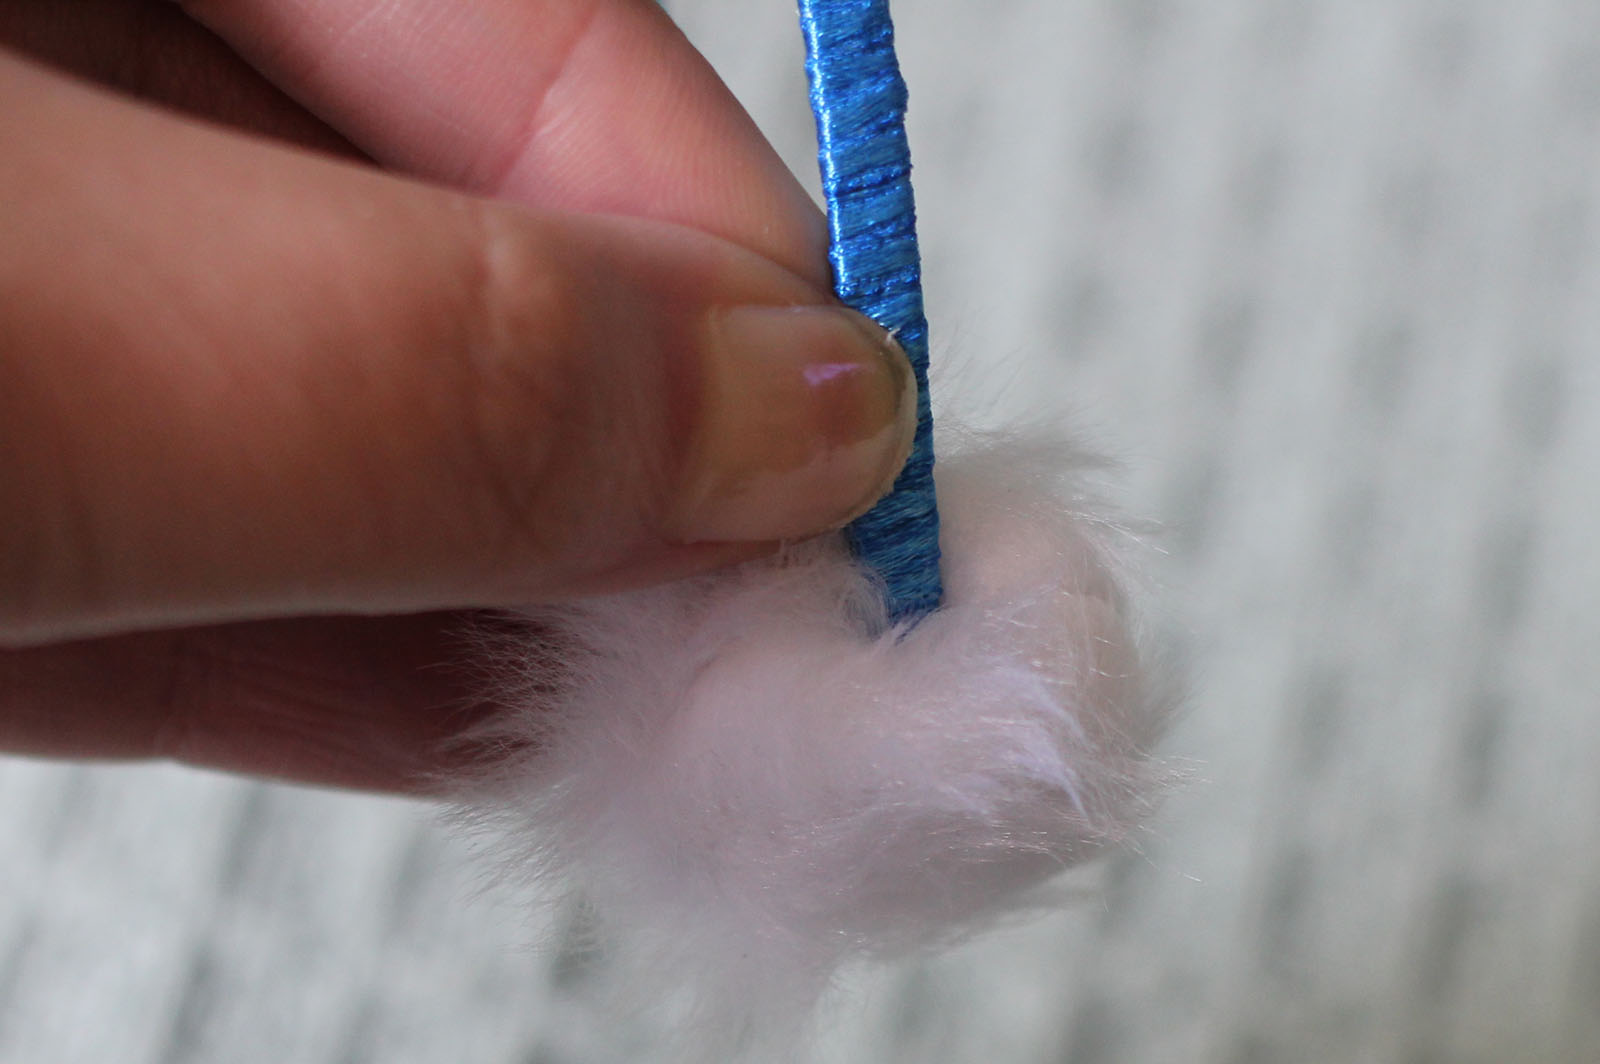
With a hot glue gun put some glue inside the hole and stick one of the ends of the headband inside.
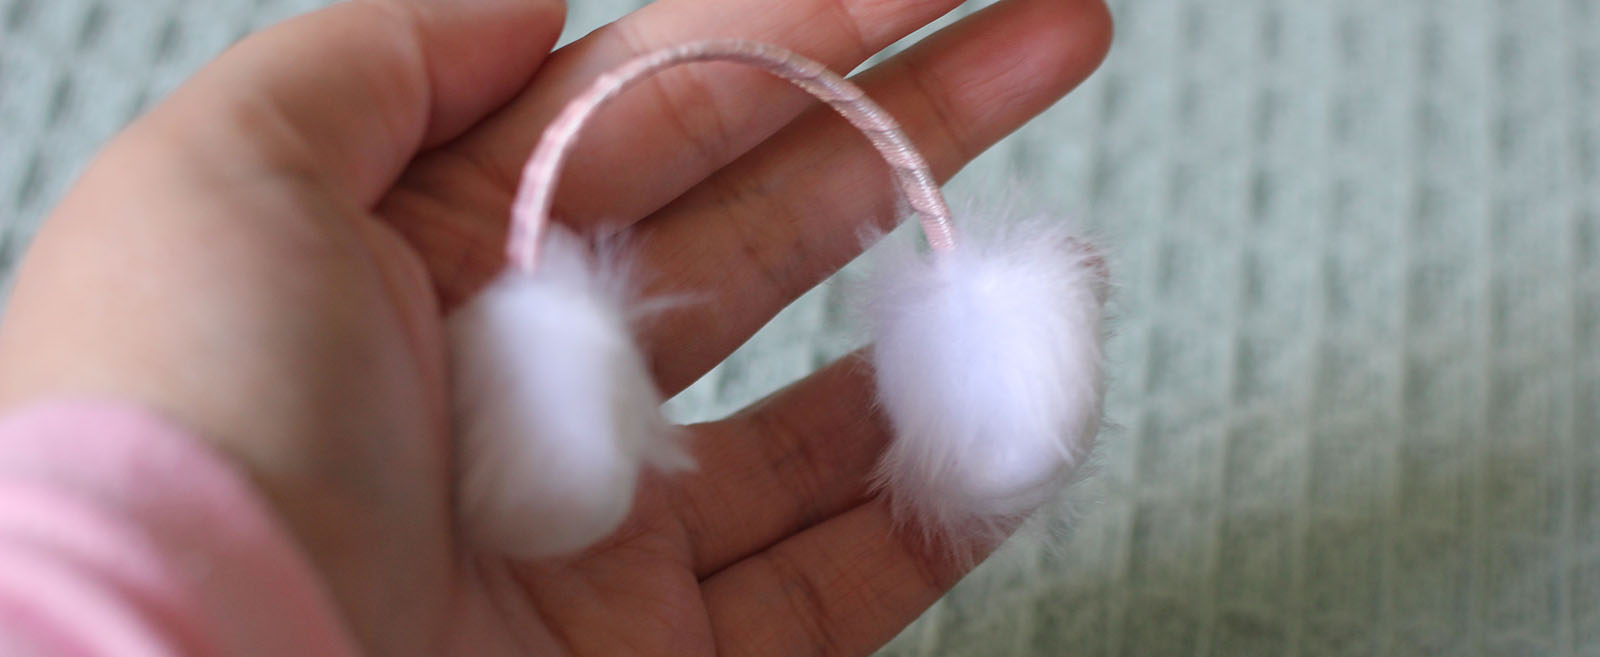
Do the same in both ends of the headband for a basic pair of earmuffs.
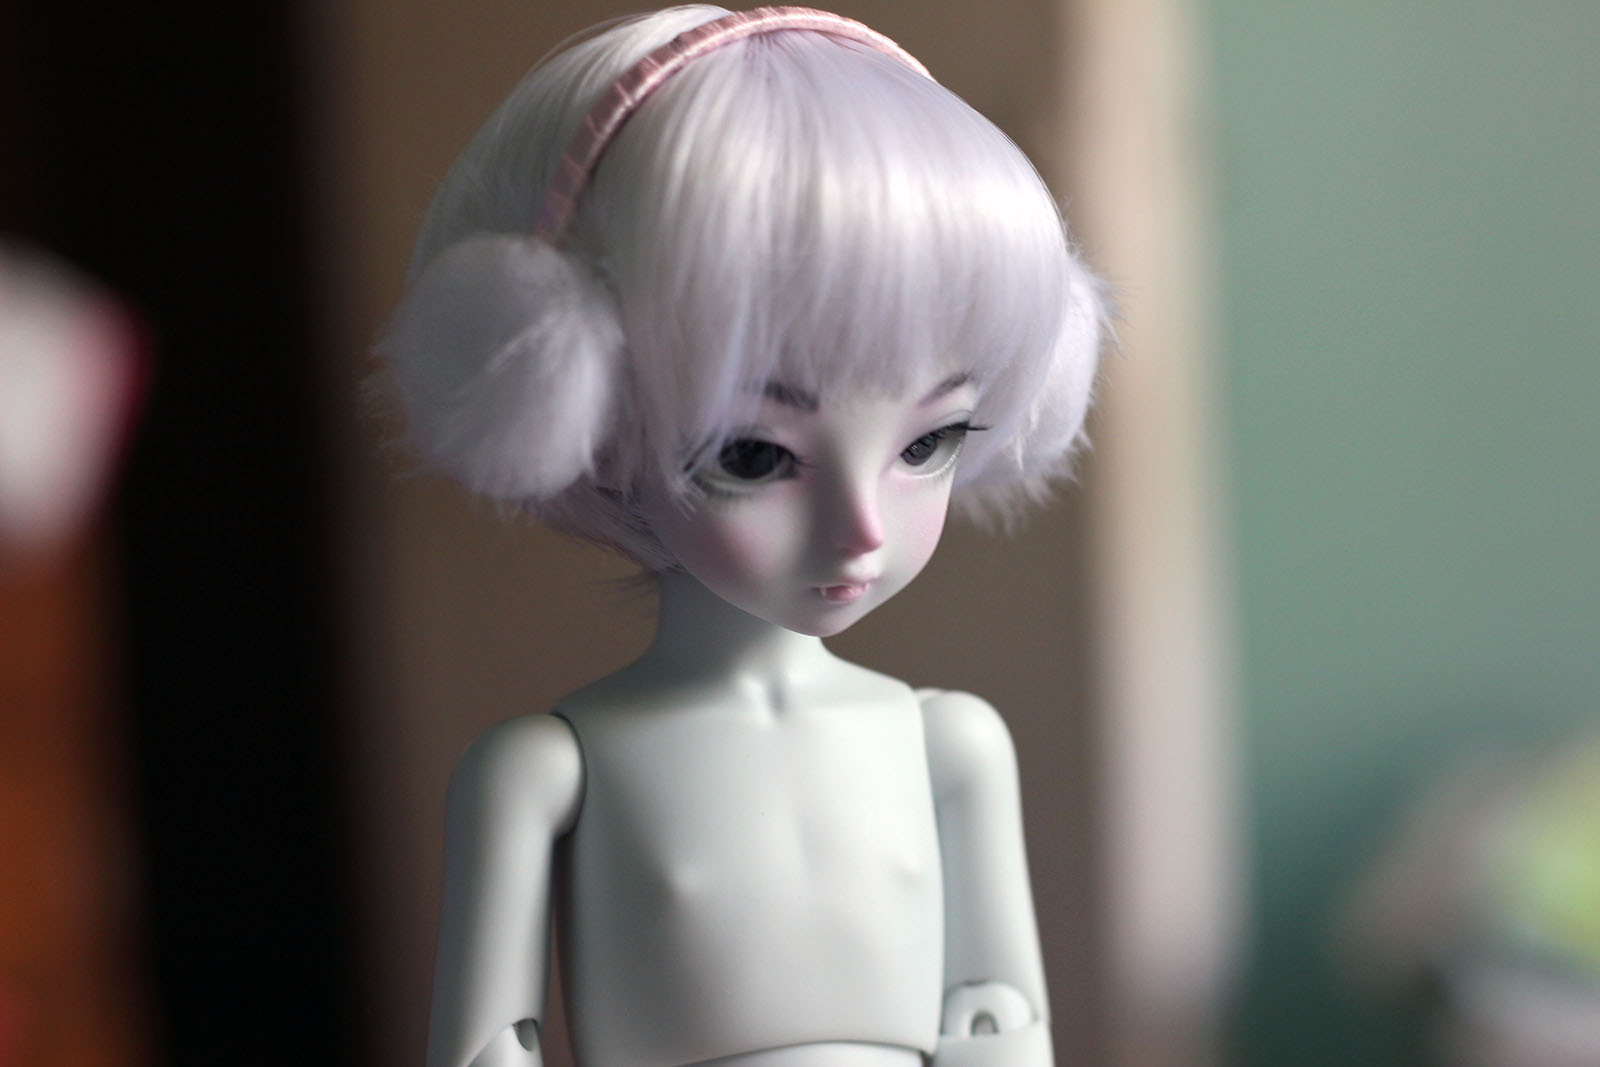
Here’s Faolan modeling XD
As an extra step you can decorate the earmuffs however you see fit. Some ideas:

You can glue a matching ribbon on each side or use an accent color for them too.
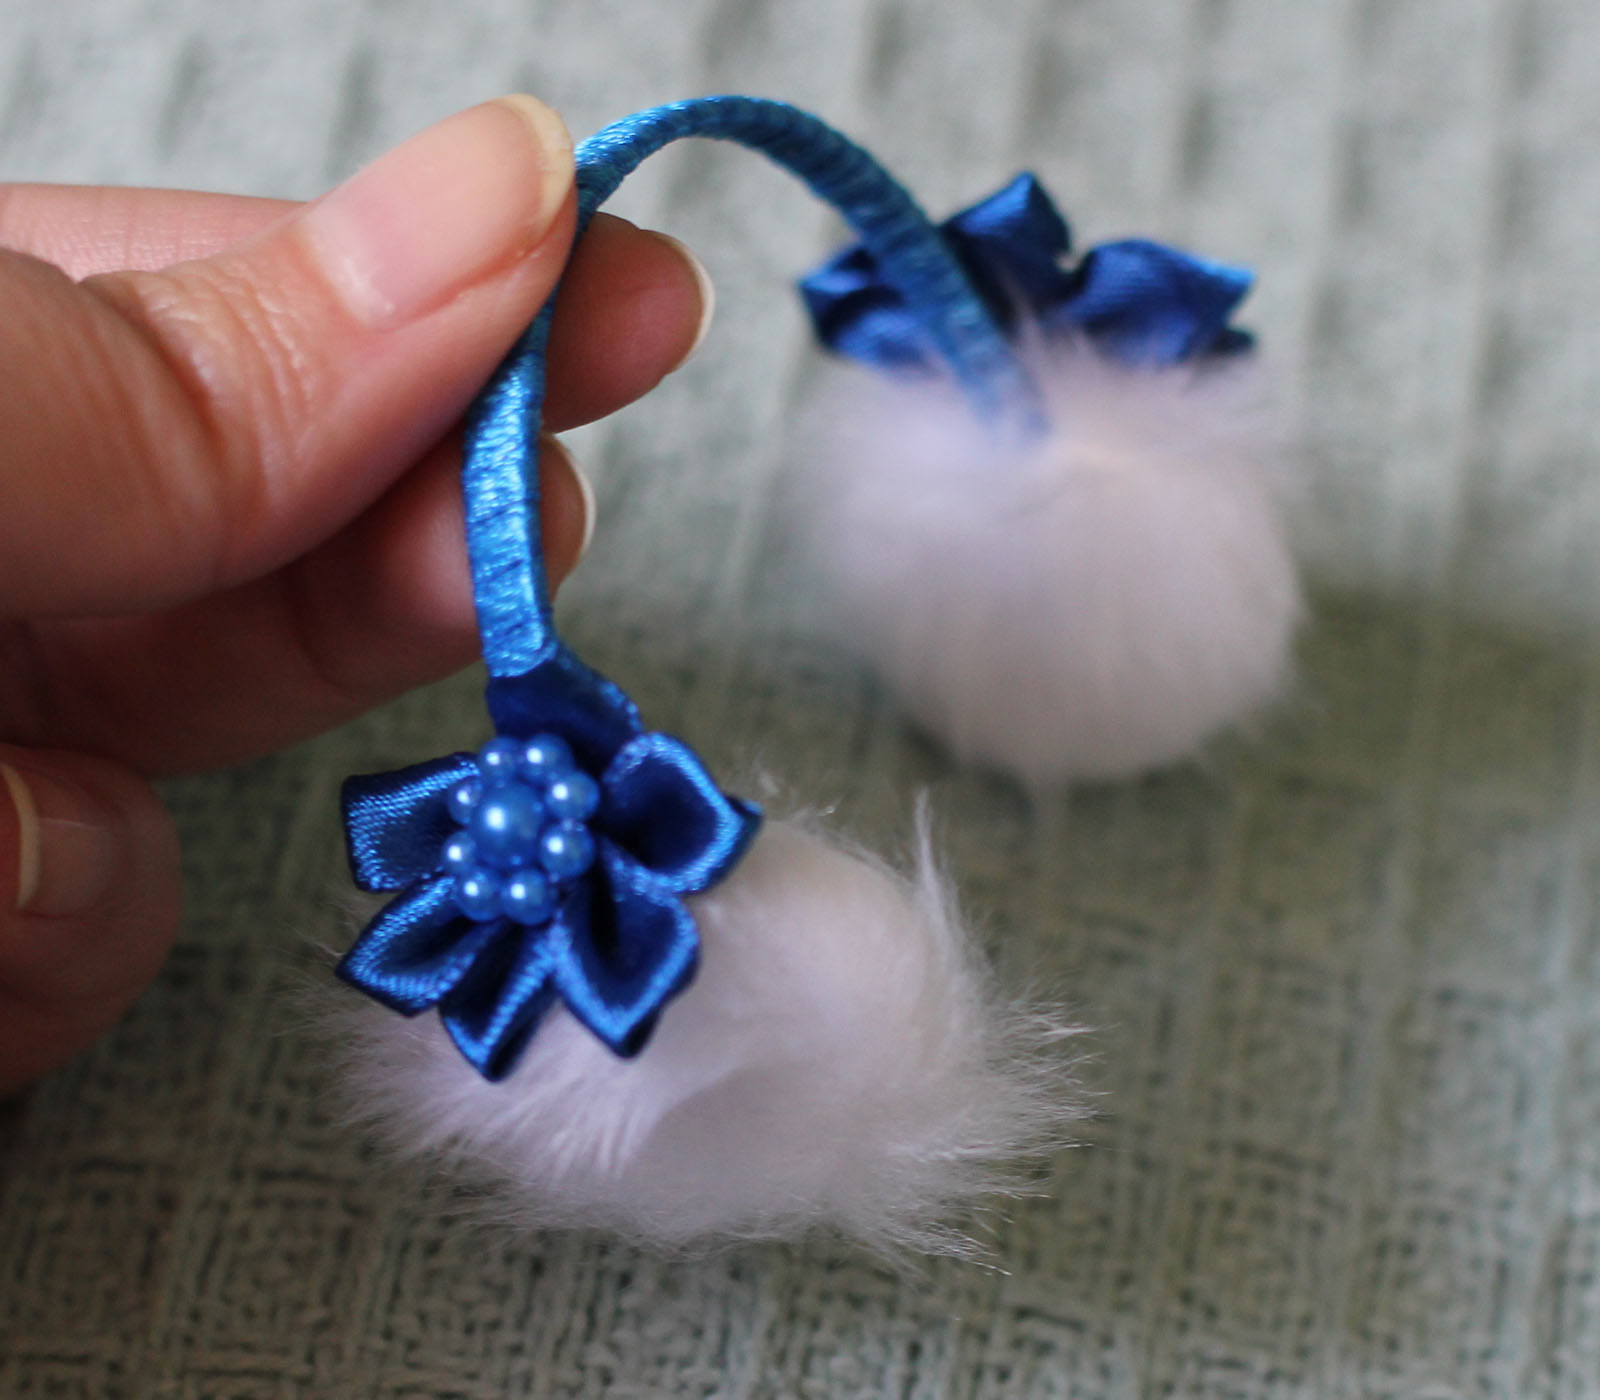
You can use more elaborated ornaments. My brother got me these blue flowers made of ribbon and beads long ago for my dolls, and today I finally used them. This is my favorite pair of earmuffs so far.
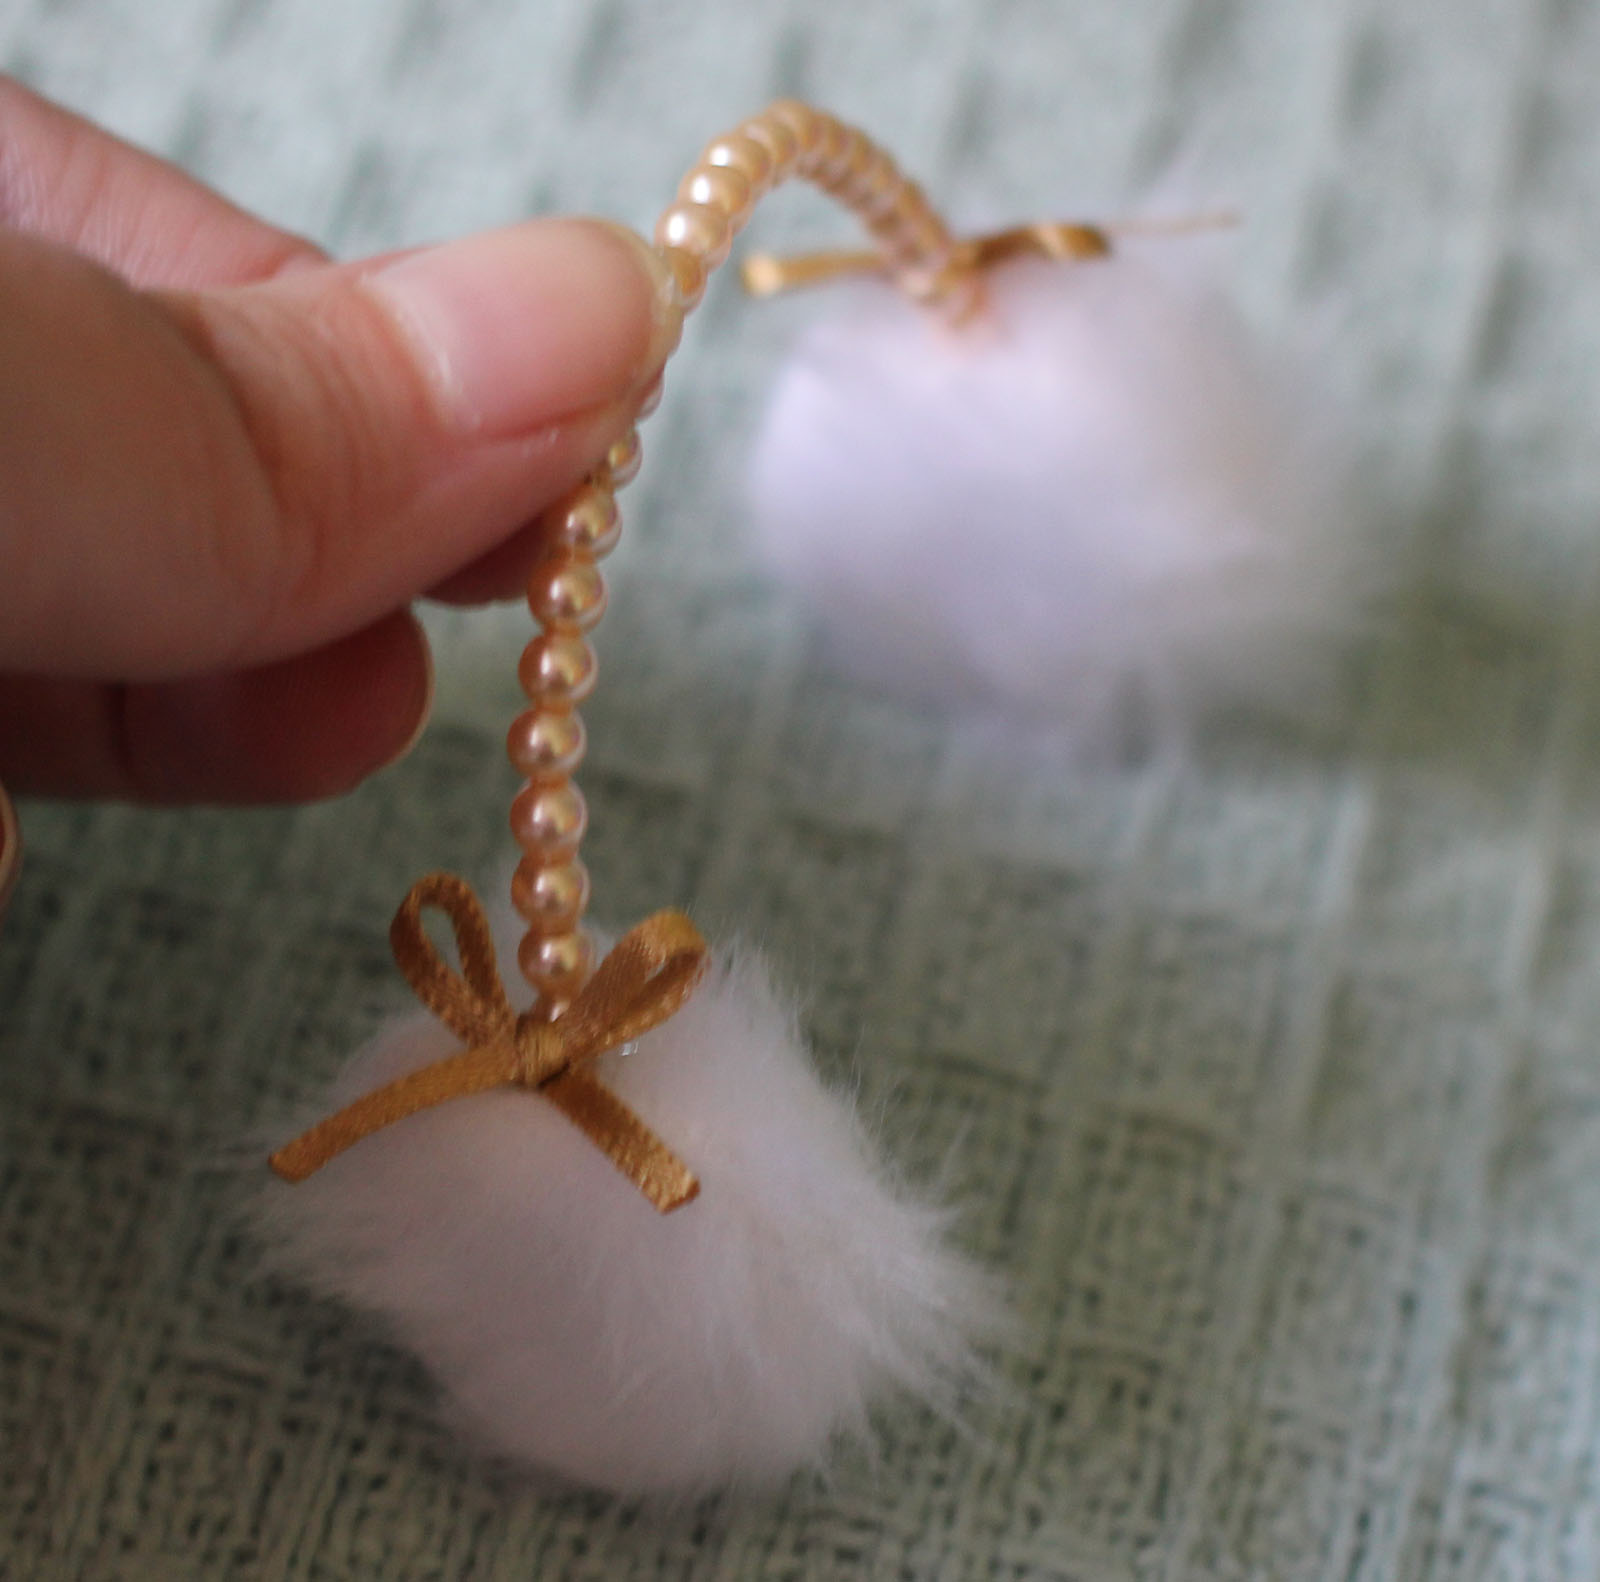
You can also mix pearls with ribbon for a romantic look.
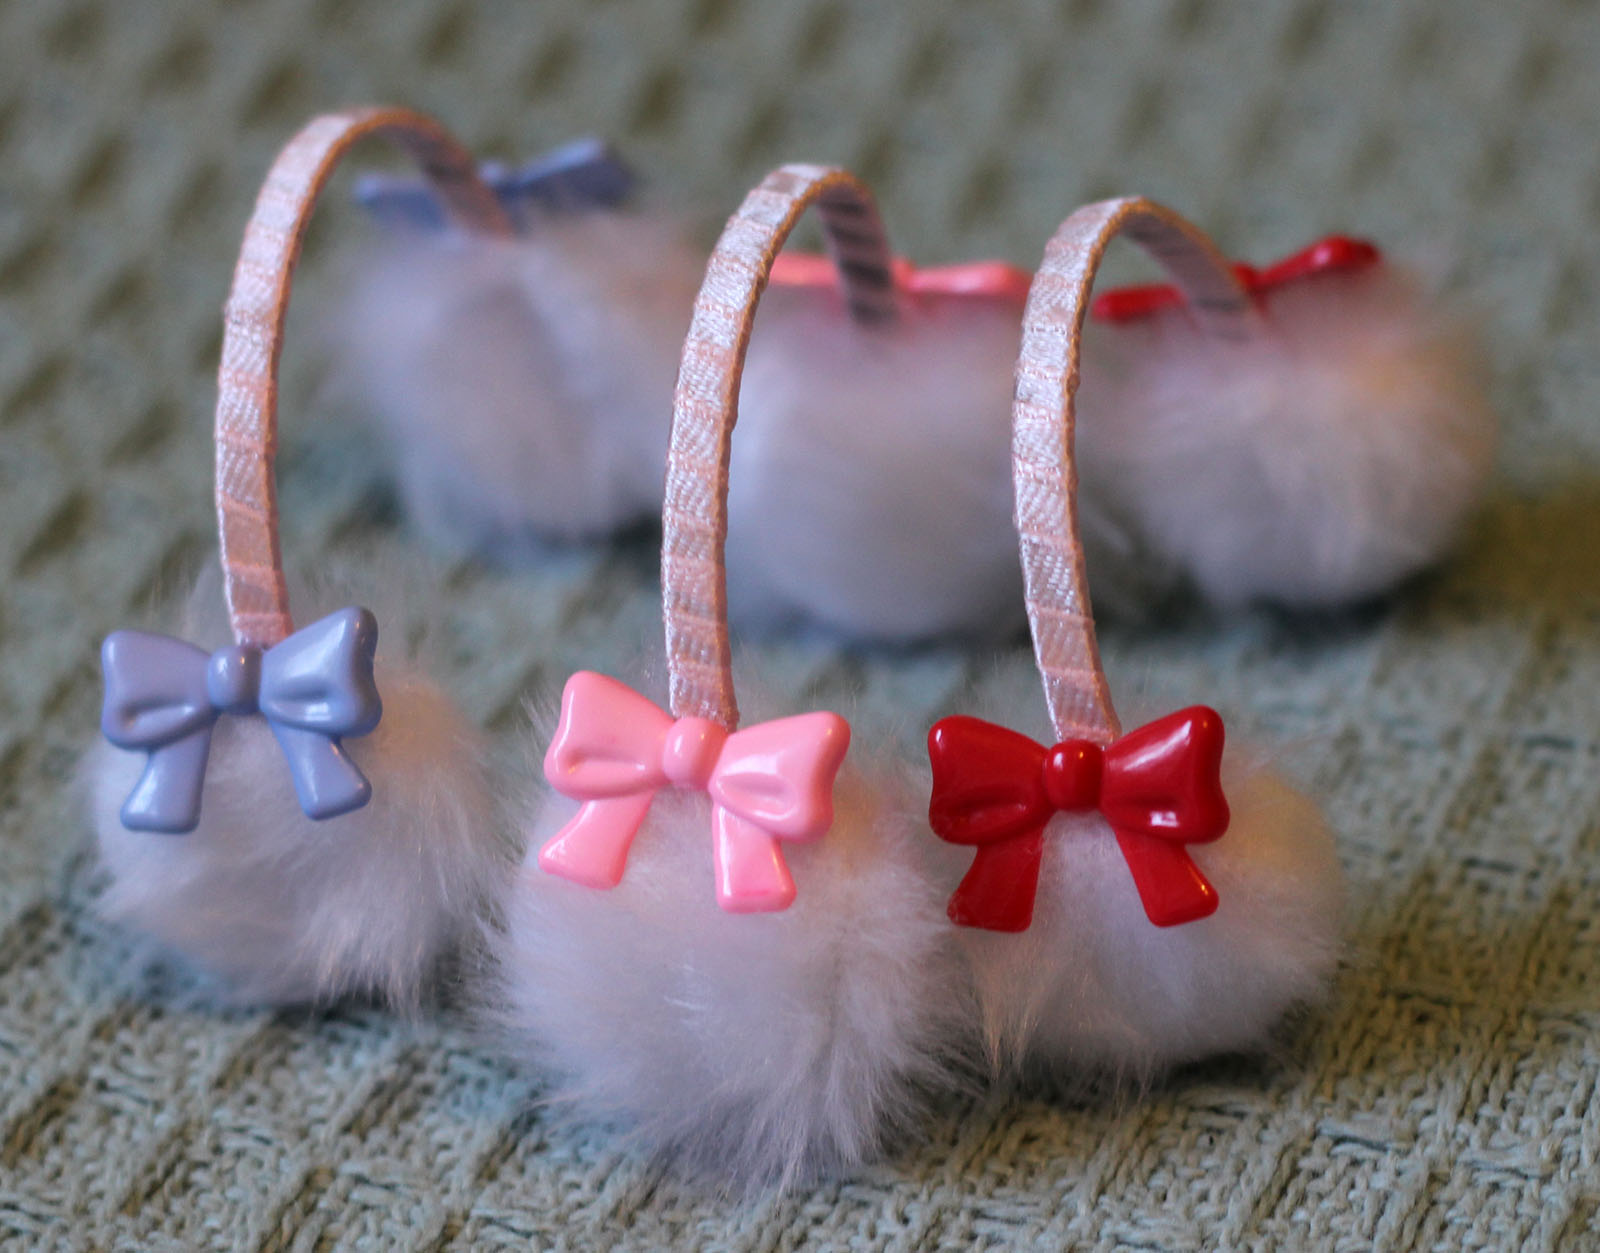
Or use plastic figures or buttons.

So what do you guys think? I think they turned out really pretty. And it is super easy to do too.
I want to thank Irene for the headband tutorial that inspired me to do this and for the crafting supplies She sent me. I would be still looking for the floral wire if it wasn’t for her XD.


These looks amazing!!!! I love the blue one and the beads one, those two are my favorite!
I will definitely need to try this <3 Thank you so much for the tutorial!
You welcome! Hopee you find it useful!! Thanks for your support 🙂
Aww these earmuffs look so adorable! ♥ Thank you for the great tutorial, I definitely need to make some of these for my girls~ It’s starting to be less cold here in Finland, so I guess earmuffs are not needed until next winter… I’ve tried making some in the past, but the result wasn’t so good XD
Hahaha I’m glad you like them!!!It sucks that our weathers are opposite, but it’s okay, you can mke them for next winter, while I try to figure out some summer props lol
Ohhahh, these are soooo pretty Alejandra, I love them all! Isn’t it great when we can inspire each other to be so creative? I have all those requirements, so I really should have a go myself. Coming on winter here too, so my crew are going to need some to keep their little ears warm.
Thanks for the inspirational tutorial. 🙂
Hugs,
X
You welcome!! I’m glad you like it and want to give it a go~ We have matching weather yay!! I’m always being inspired by what you and the other blogs are doing with their dolls, I’m glad if I can contribute a tiny bit to that 🙂
Woow, they all look so great! I love the beaded earmuffs as well as all the little details you’ve added ~ the ribbons and flowers are so cute x3
I definitely want to try and make some 😀
And I will be sure to send some more different types of crafting supplies to you in the future!
I’m glad you like them!! It was super fun to do thanks!
You should try :D! I know of a PW girl who would look extra cute with them X)
I might become a hoarder like you in the future lol, having so many crafting supplies at my disposal made everything extra fun and the result was so good too 😀
Thank you for sharing this great tutorial! I’ve always wondered how to make earmuffs so I will definitely put this on my list of things to make for my dolls. Looks like the FR girls may get some earmuffs at some stage!!
I always love how easy to understand and user friendly your tutorials are.
I’m so happy you like my tutorial!! I wrote everything so many times and edited it a lot too, wanted to make sure it was short and clear, hopefully I succeeded.
Your FR crew would look incredible with some earmuffs I agree <3
Very clever! These are adorable – I’m tempted to give it a try myself now. 🙂
You should try! It is super easy 😀
Great work!! They are fantastic! 😀
I always get so happy seeing other people’s tutorials and their creativity. I really enjoyed reading this one. They are so cute and pretty *^^*
Thanks!! So glad you like them!!
What happened with your blog? ;_;
I’ve changed the address of my blog, because I didn’t think A Tiny Jurney really fitted it anymore since I don’t really collect tinies anymore. ^^” But the new address is: aethercaelus.blogspot.com
Aether Caelus is the name of Ludwig’s ship in my story, so I think it is more befitting ;D
Ah okay it makes sense, I feel betrayed (jk) XD
I changed the url in my links too, so I can stalk you properly ~
Haha yeah well I’m still keeping my Alice. She just won’t be a part of my main story, which is why my old blog name didn’t really make sense anymore as well ^^”
But glad you still want to follow me <3 Thank you!
Oh my – look at those cute earmuffs! Totally adorable! Great tutorial and better save this one when the colder times comes around in September over here! 🙂 It is getting warmer during the day but the nights are still cold! Looking forward to the sun shining and the nature waking up!
Here the day is getting cold and the nights colder ;_;!!!!! XD I’m glad you like them!!!
THIS IS SOOO COOL!! I was just thinking about how I could make some headbands for my dolls. They look so adorable!!
Hahaha another project for crafty Crystal :D!!! Hope you do them~
They are beautiful! Thank you so much for this! 😀 I’ll try to make some for my dolls next winter. >w< We're having spring and hopefully we have warm summer too and no need for eamuffs yet! 😀
Hehe no problem! Oh how I envy you! This has been the coldest fall I’ve had in so many years 🙁
This is so adorable! Definitely adding to my list to try one day 🙂
I’m glad you like it!
These are gorgeous, I’m definitely going to give this a go….and hopefully soon, before the winter is over.
Thank you for sharing this tutorial Alejandra.
xxx
I hope I get to see your earmuffs! It’s always fun to craft something for the dollies!